In this guide, you have a step-by-step walkthrough you can take when installing an eSIM on your Motorola Razr Device.
Installing an eSIM using a QR Code.
Before attempting to install the eSIM, there are three main things you will need:
- A strong internet connection - Ideally, you will need to be connected to Wi-fi or to have a good 4G signal.
- An eSIM compatible device - If you are unsure, here's a list of compatible devices: List of compatible devices
- The device isn't locked to one Mobile Network - If you are unsure whether or not your device is locked to a certain network, have a look at our article on how to check if your device is "locked/unlocked": Locked/unlocked devices
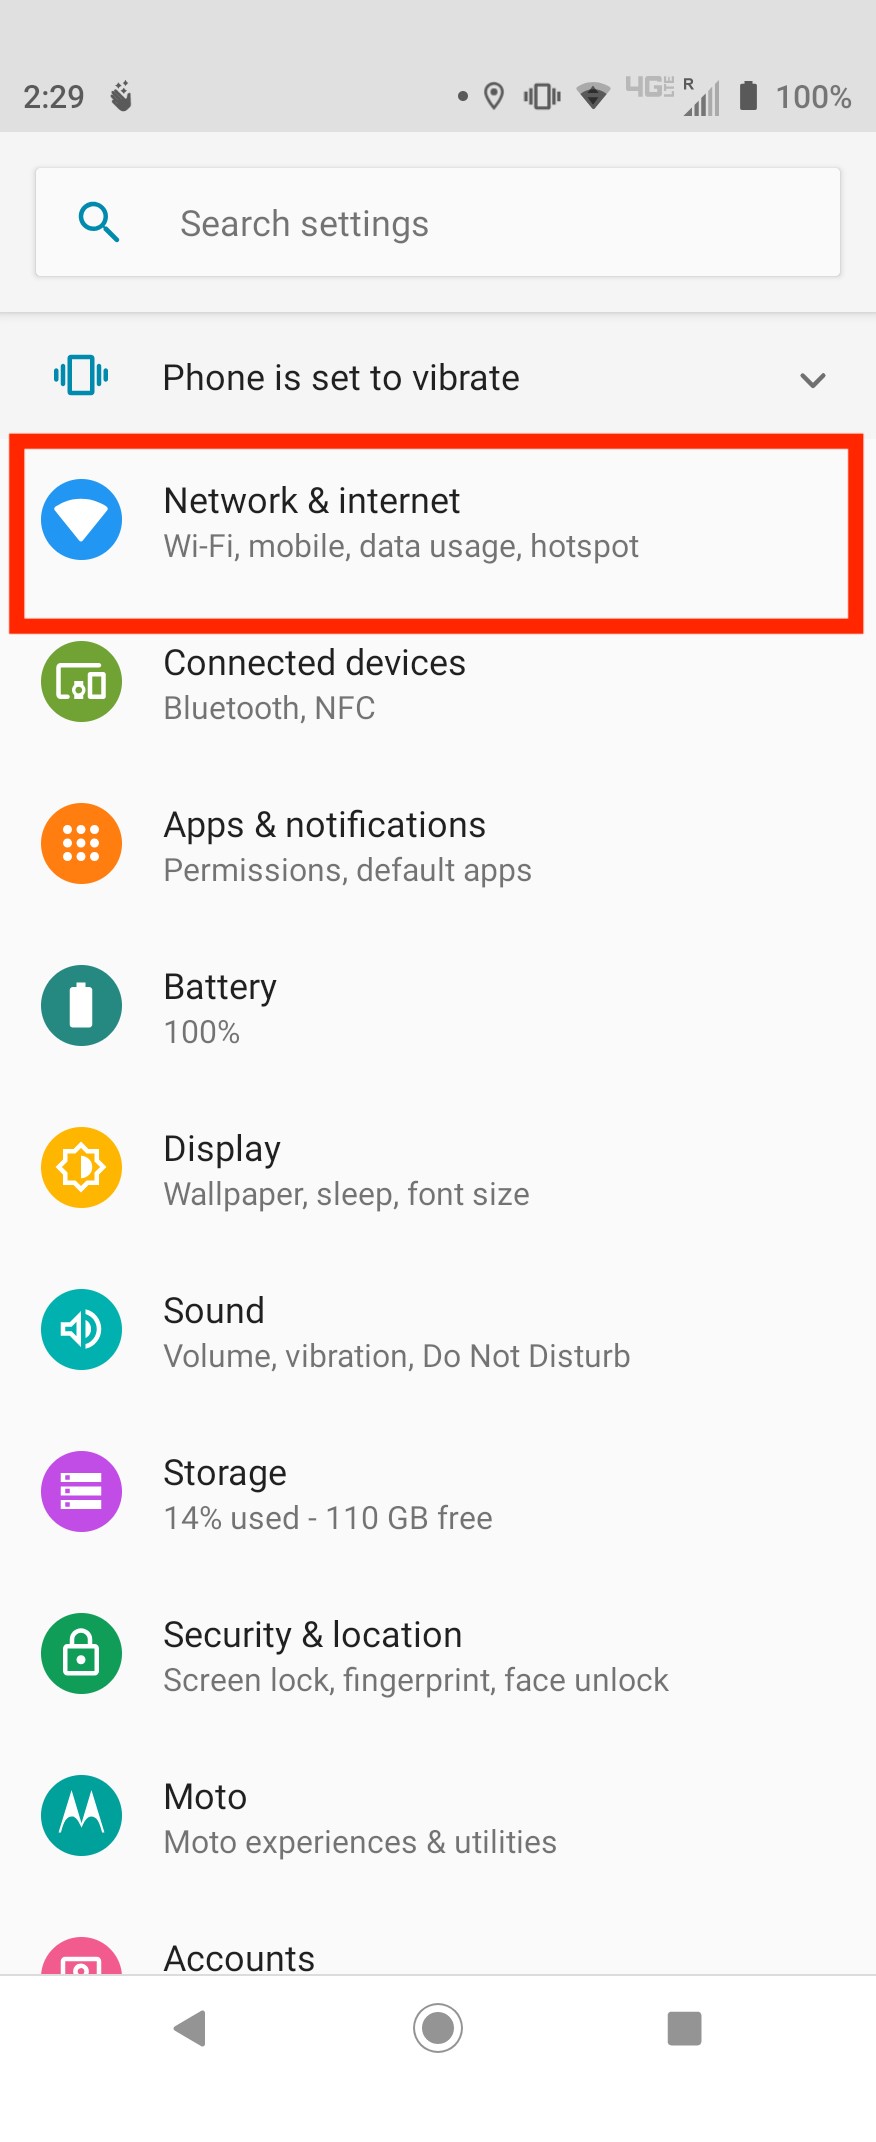
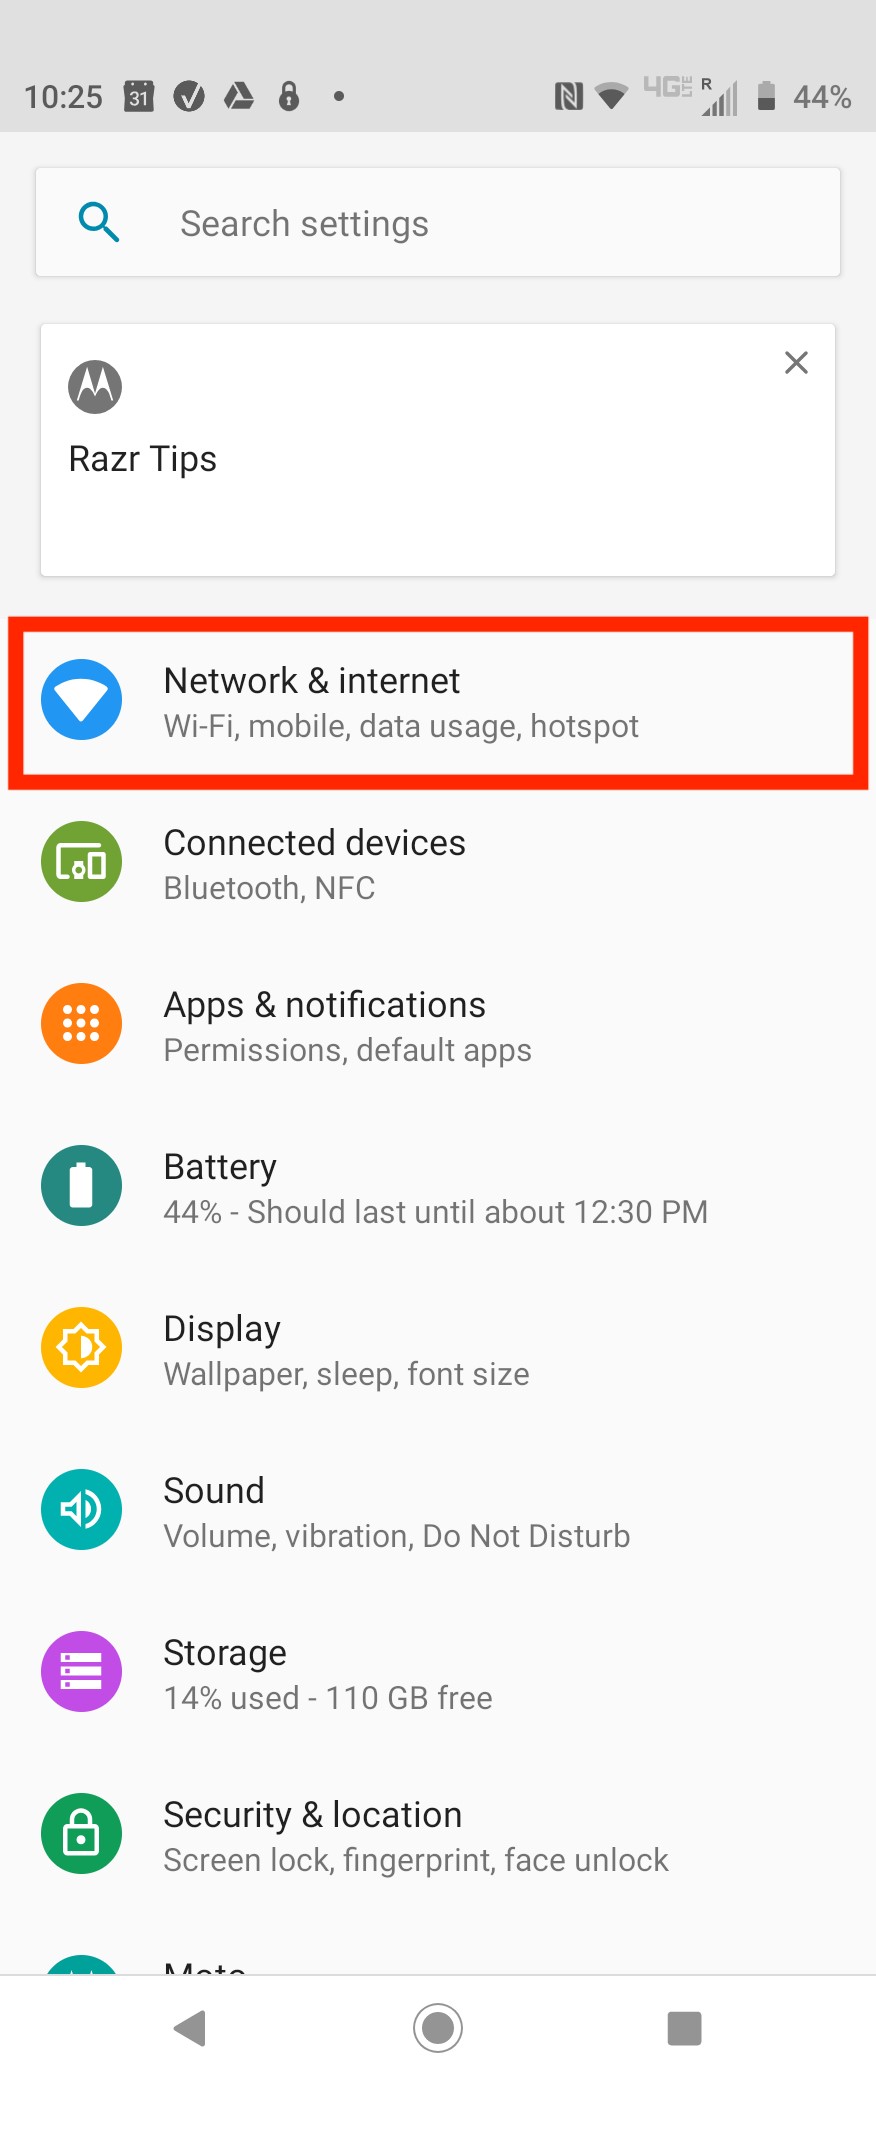
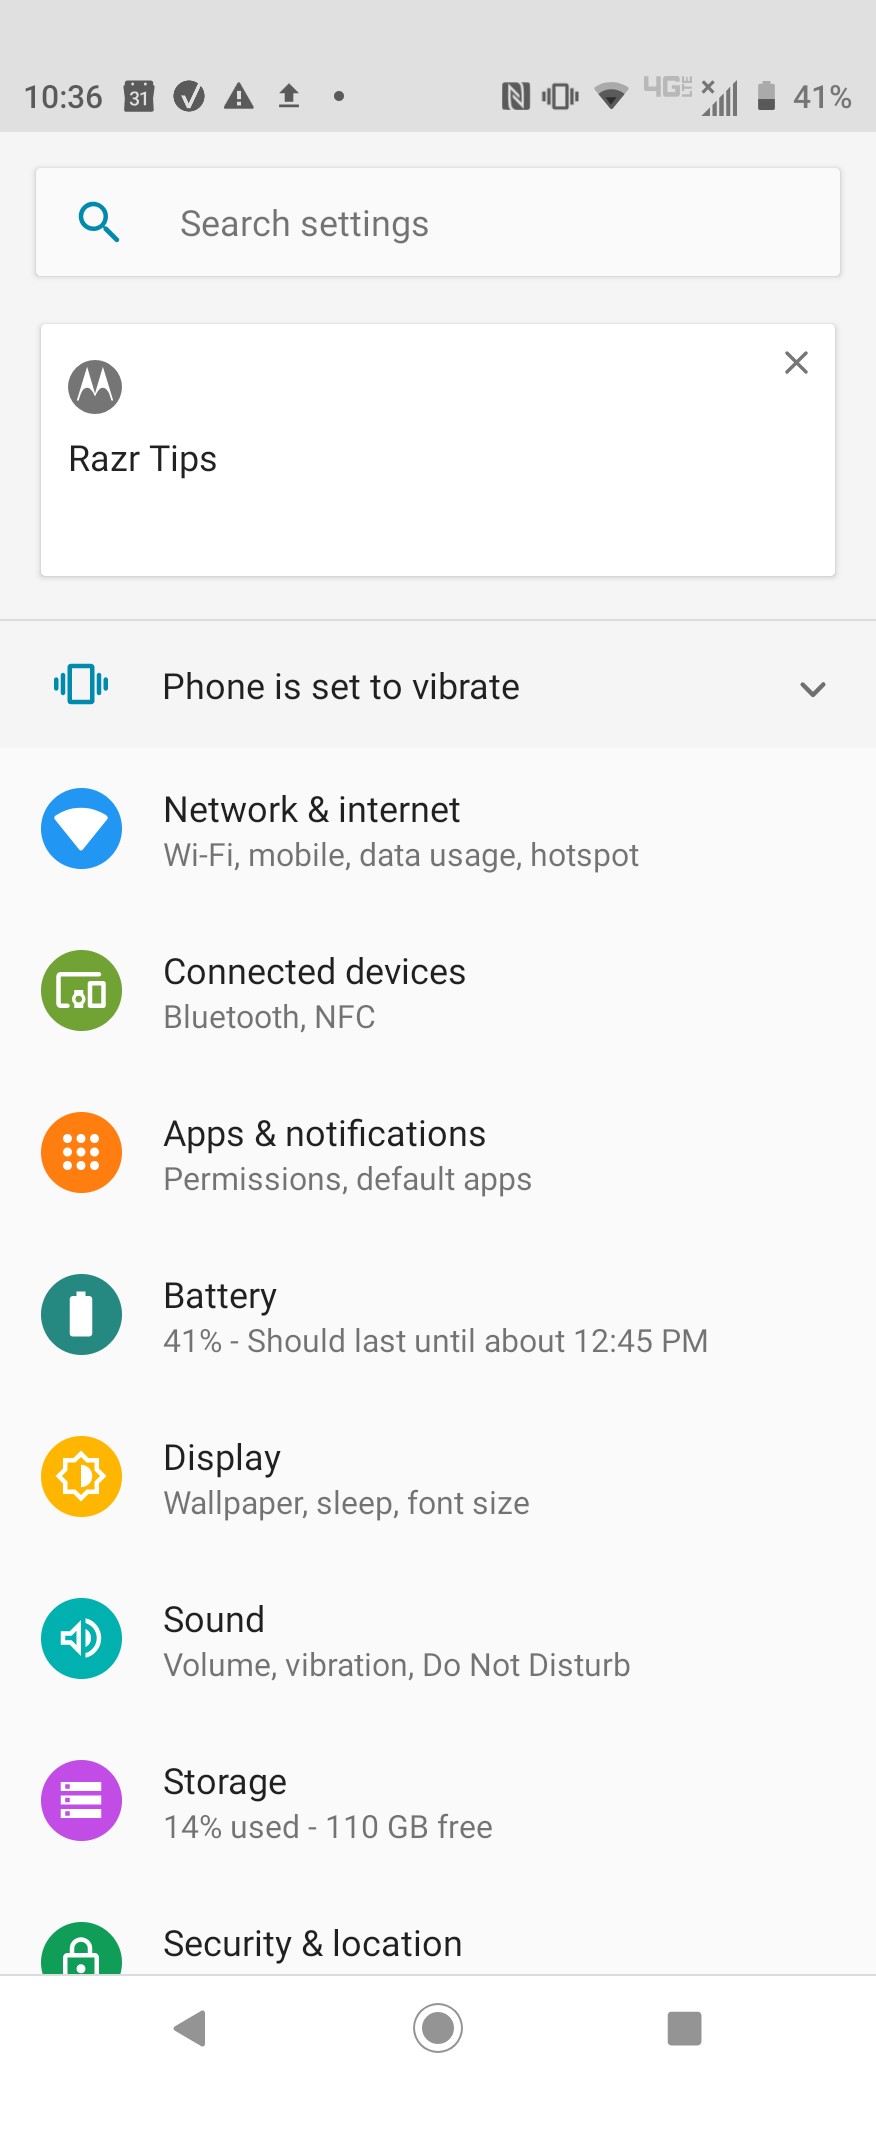
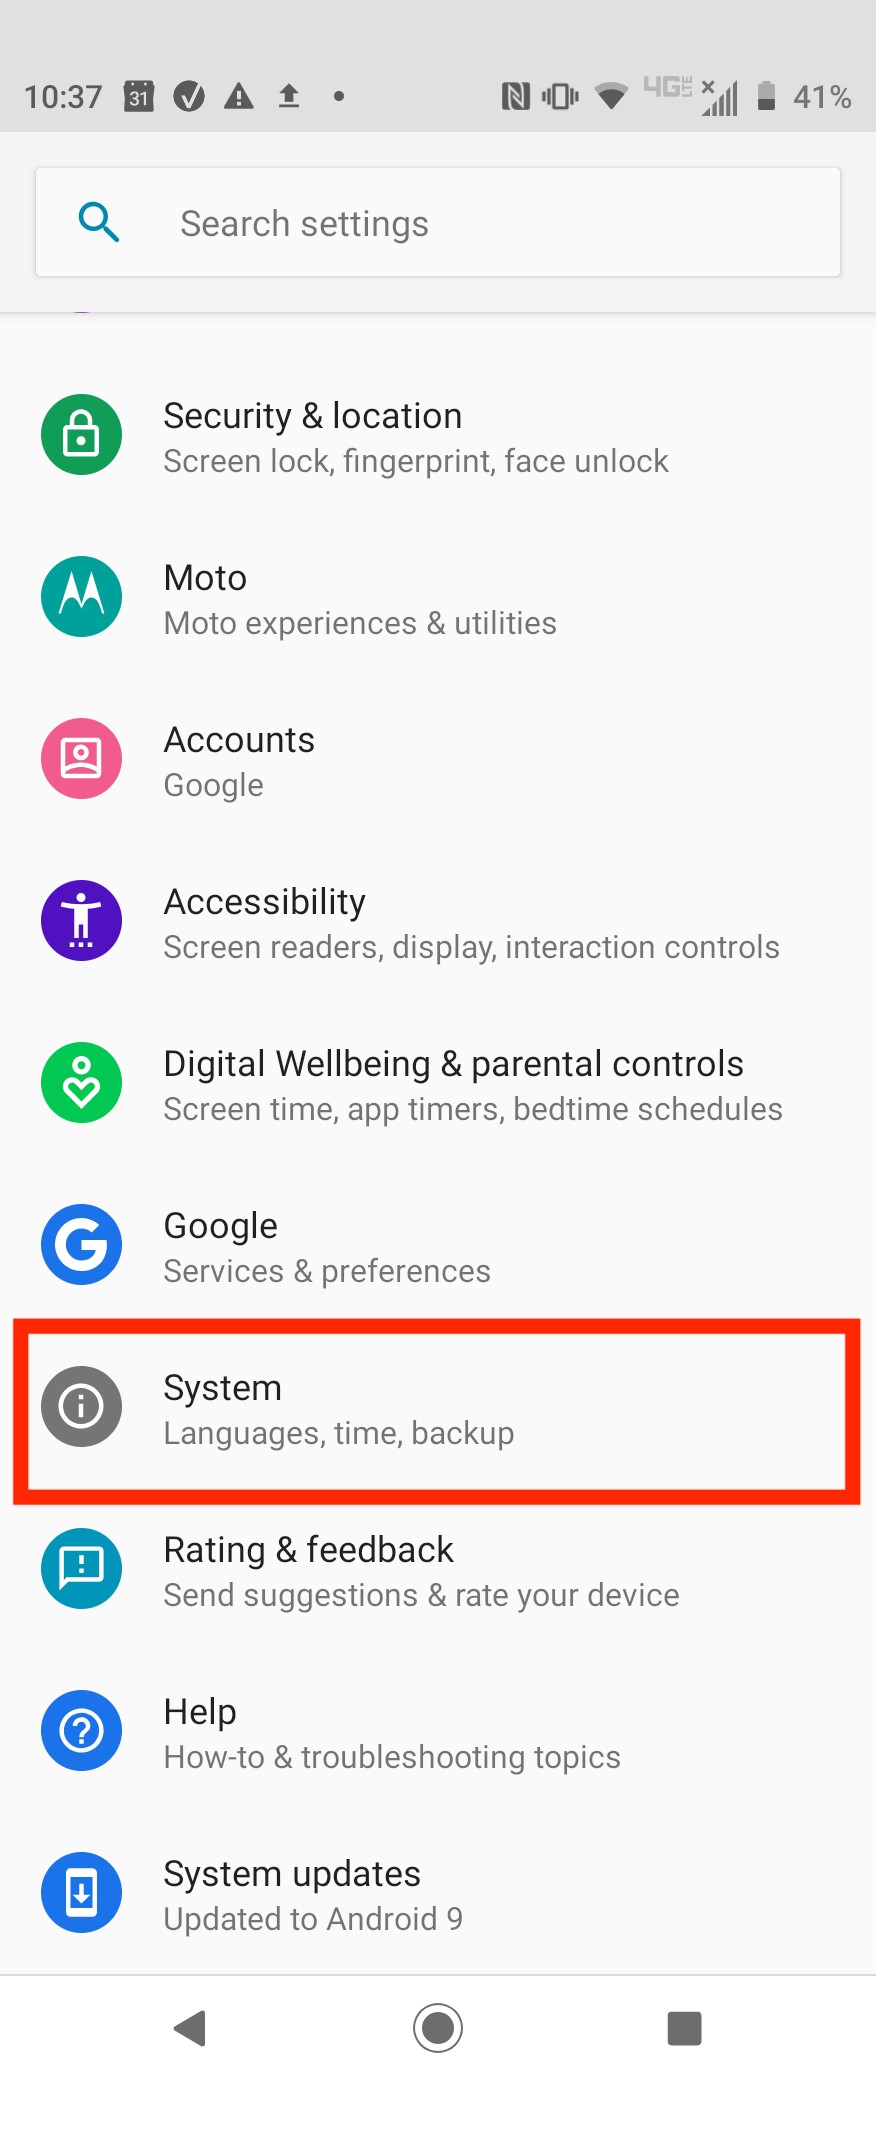
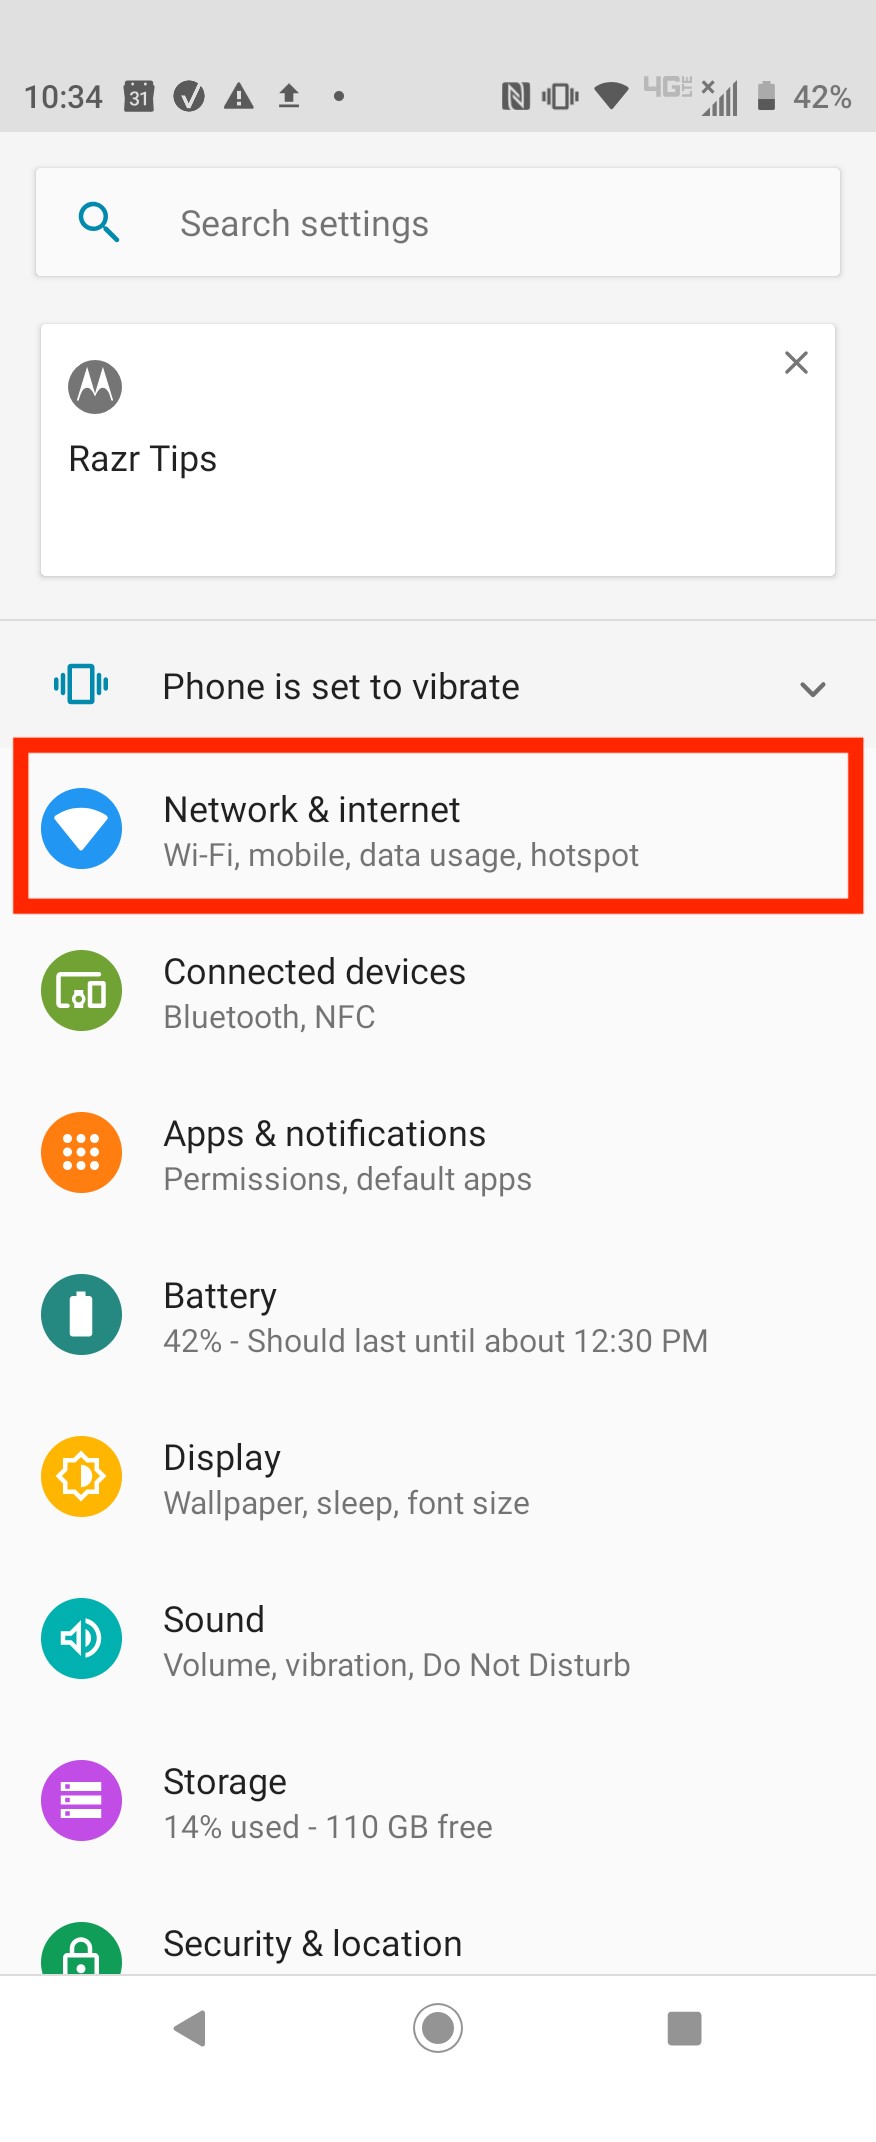
1. Go into Settings.
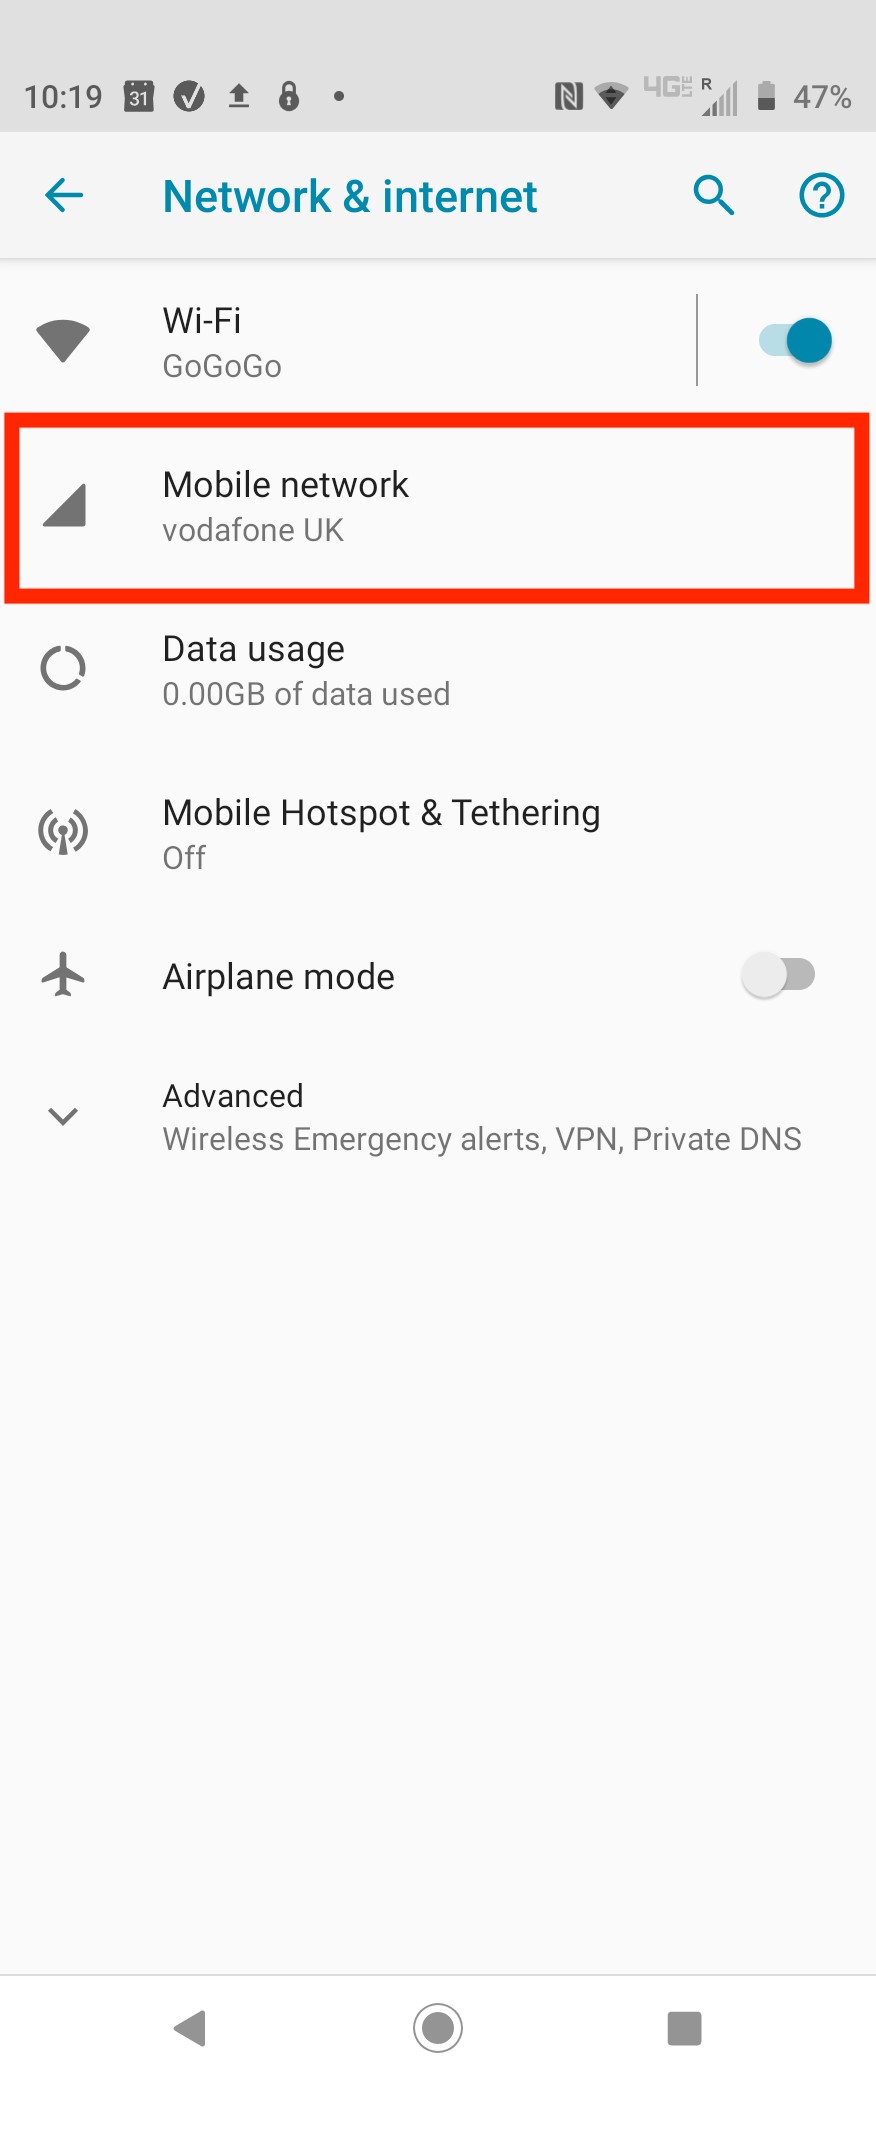
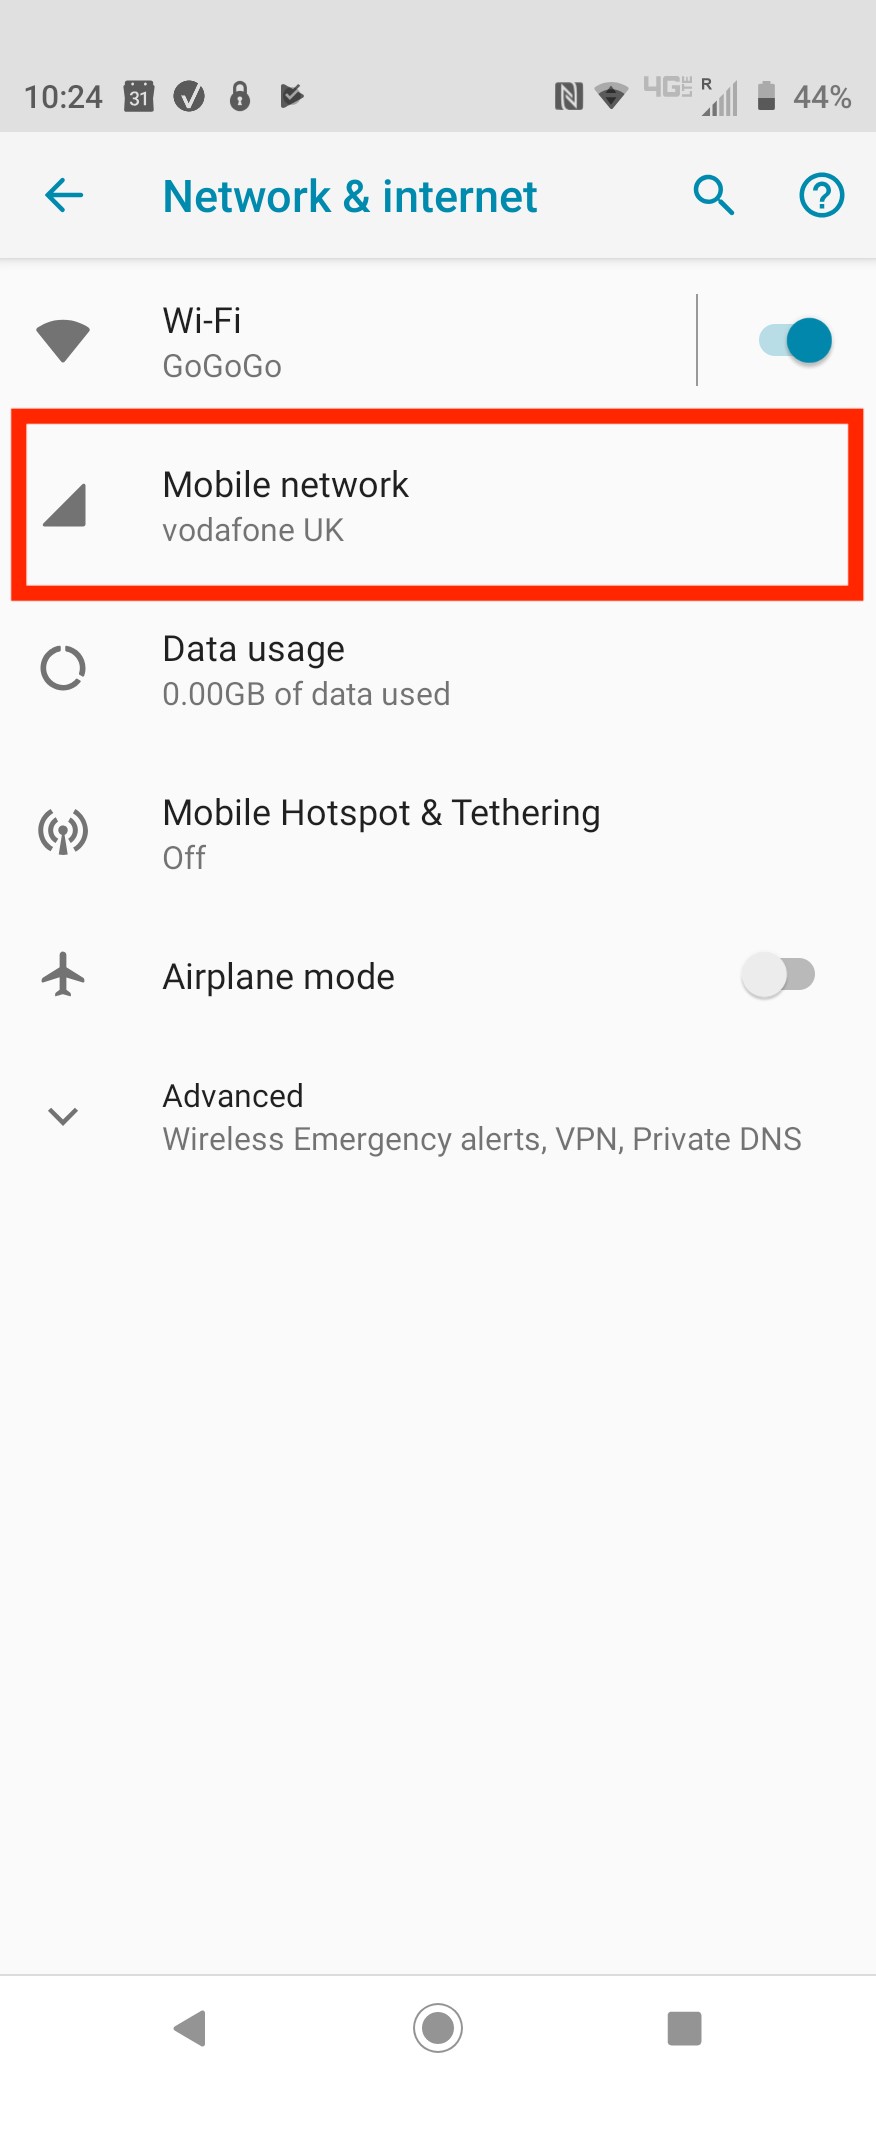
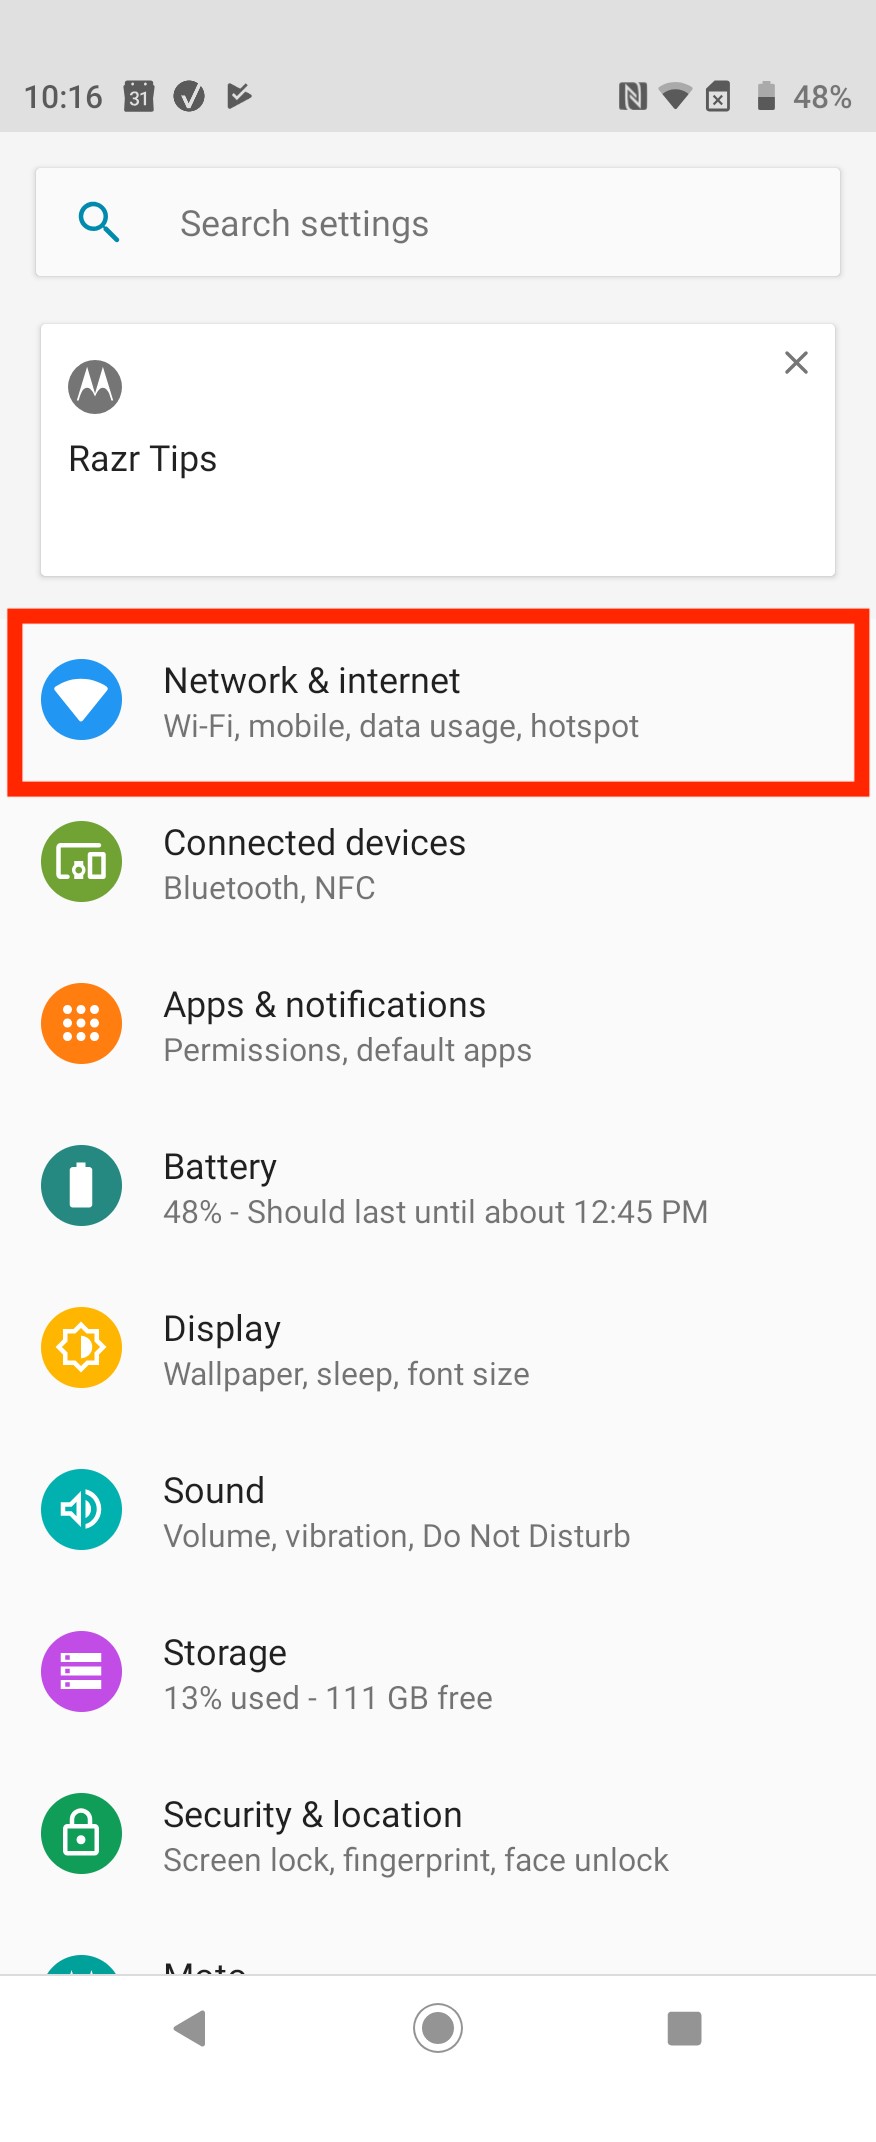
2. Click on "Network & Internet".
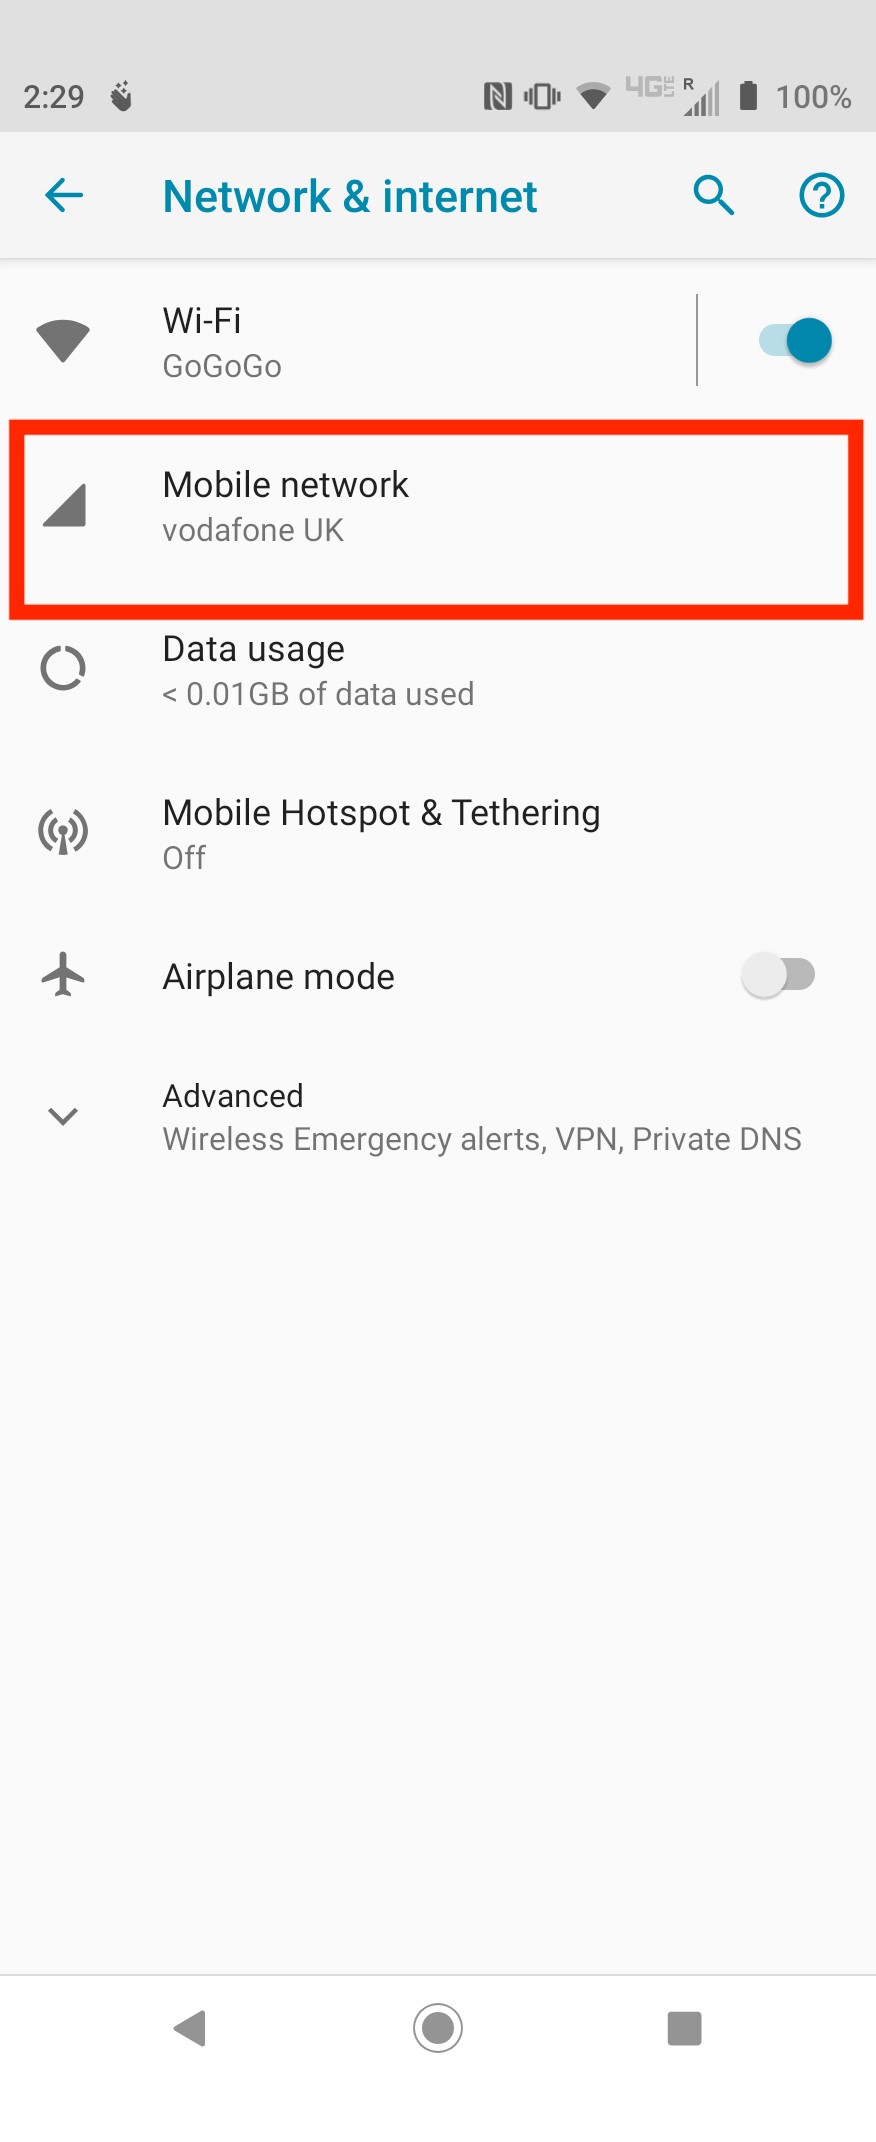
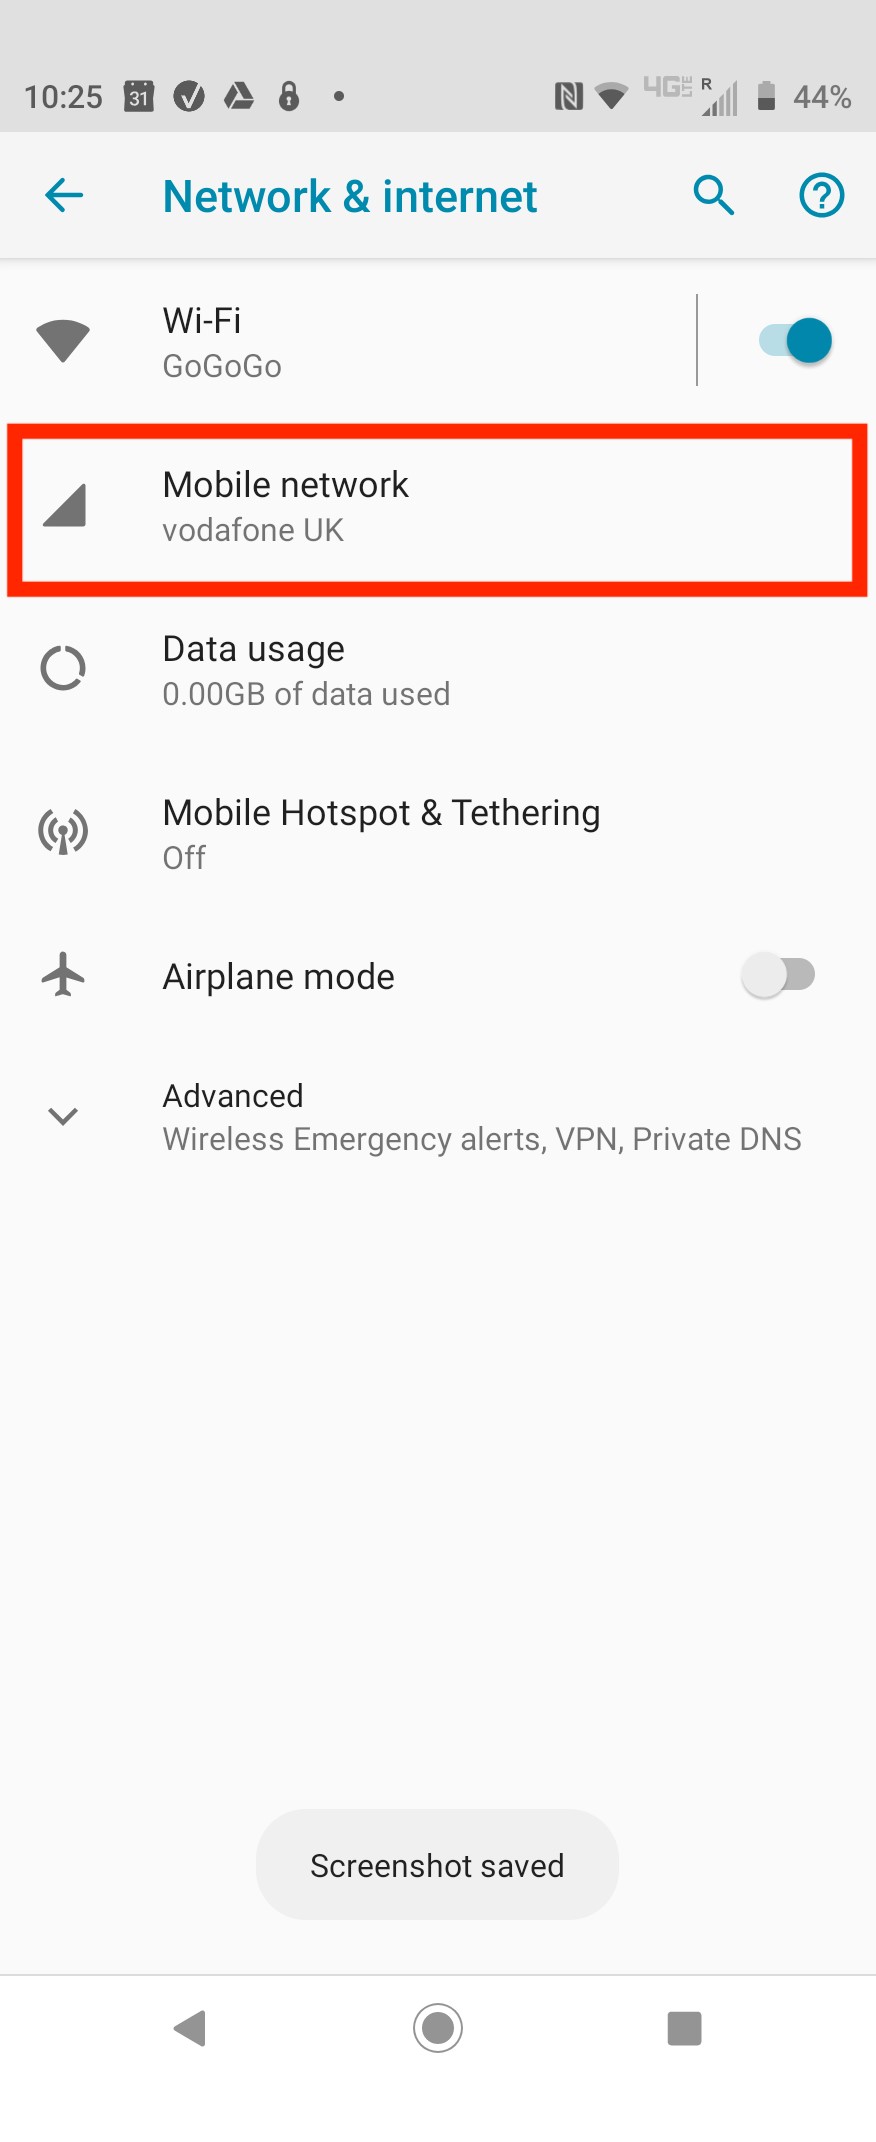
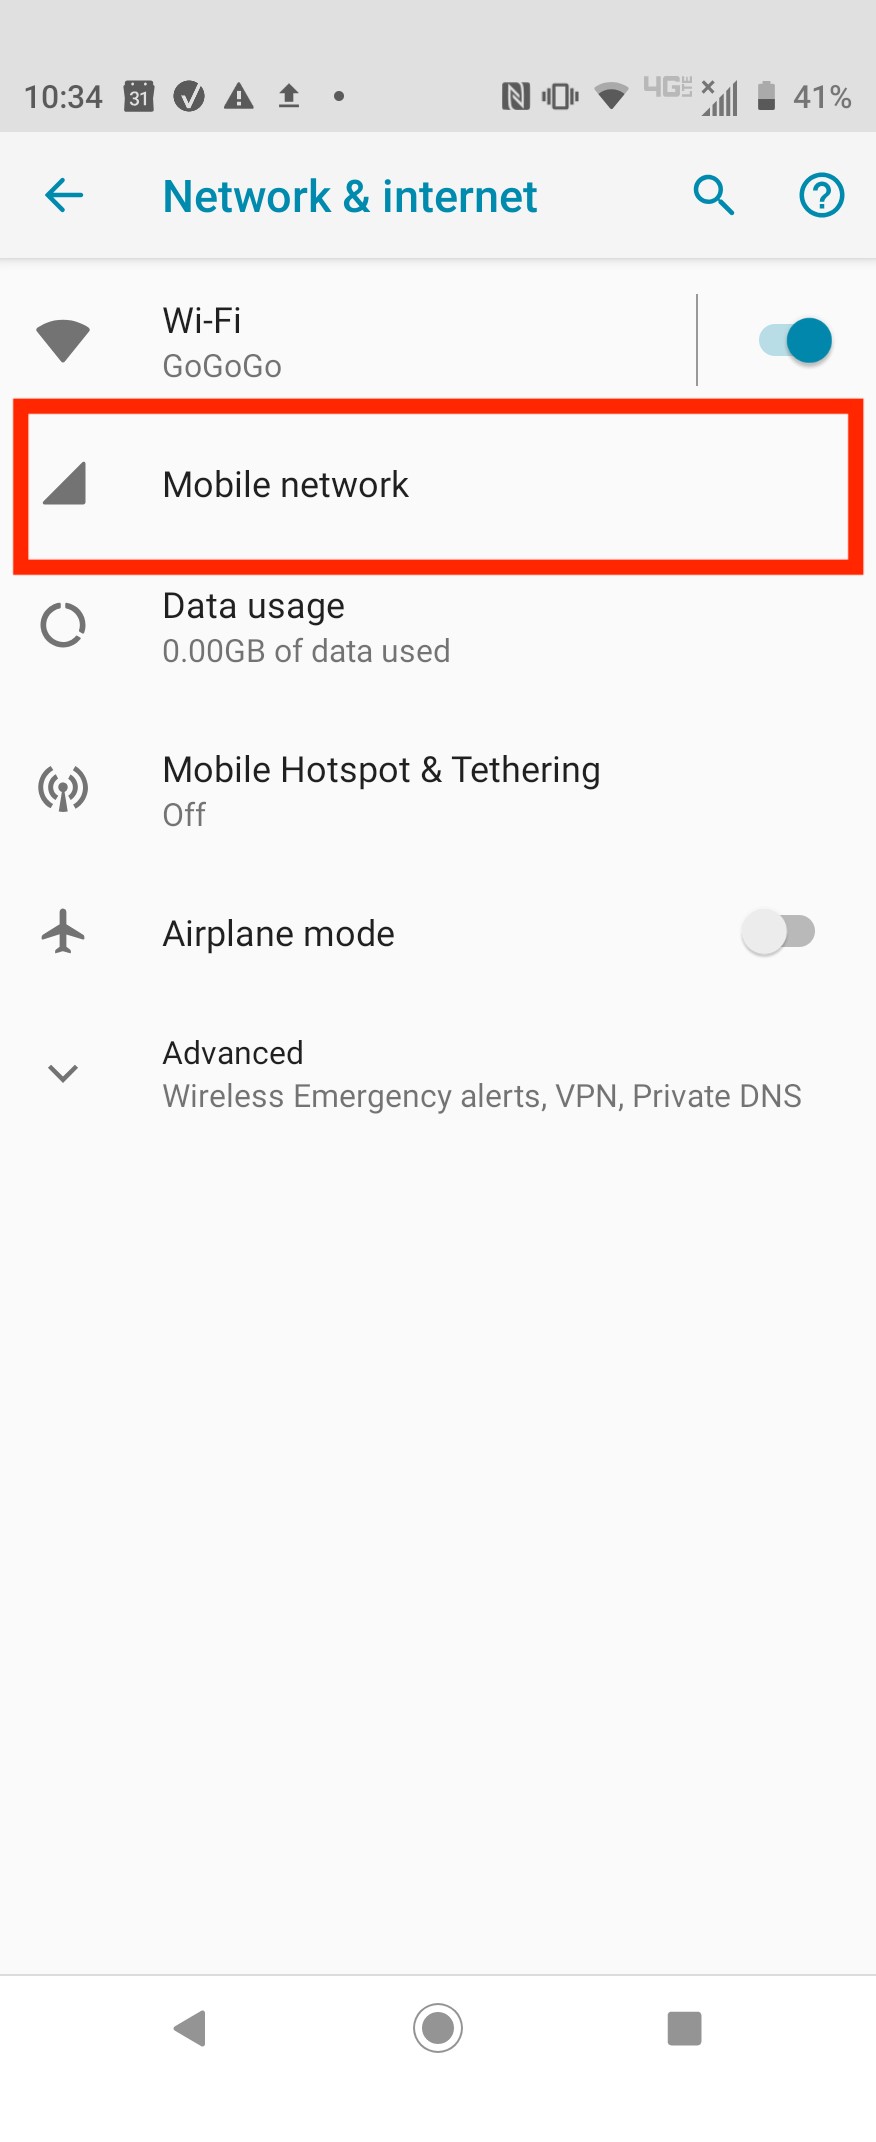
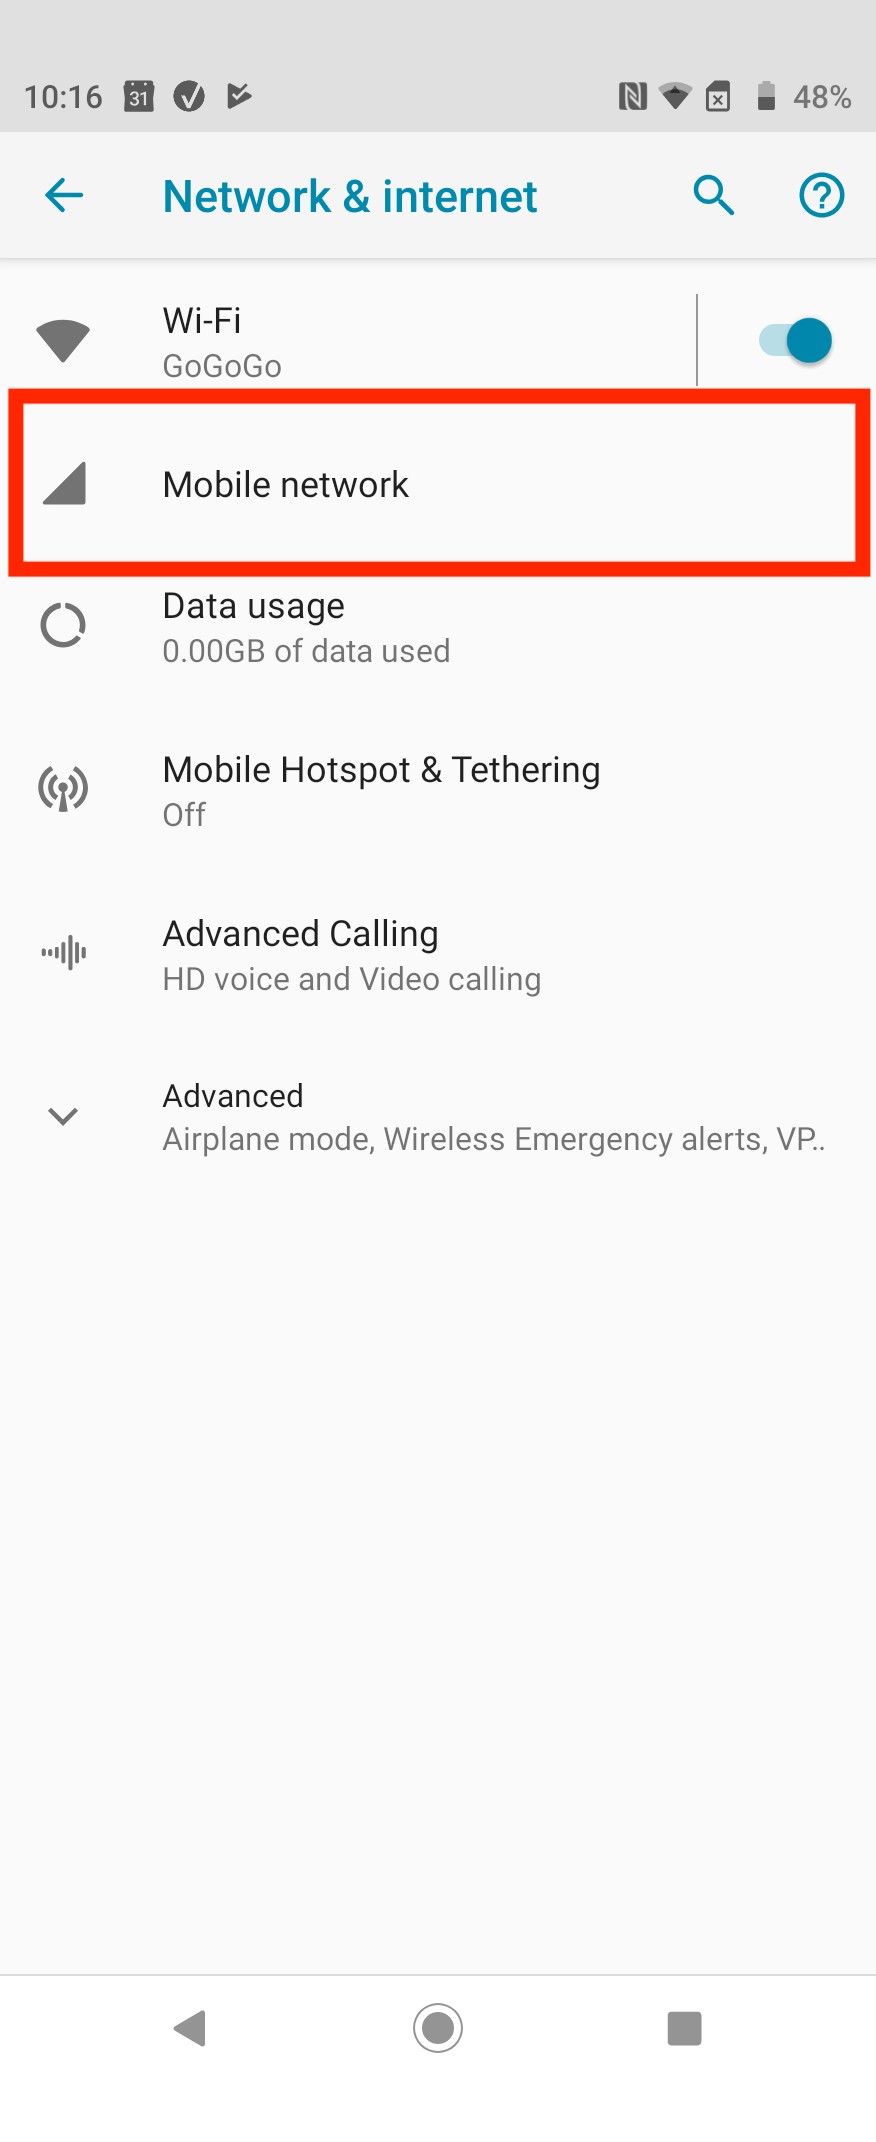
3. Click on "Mobile Network".
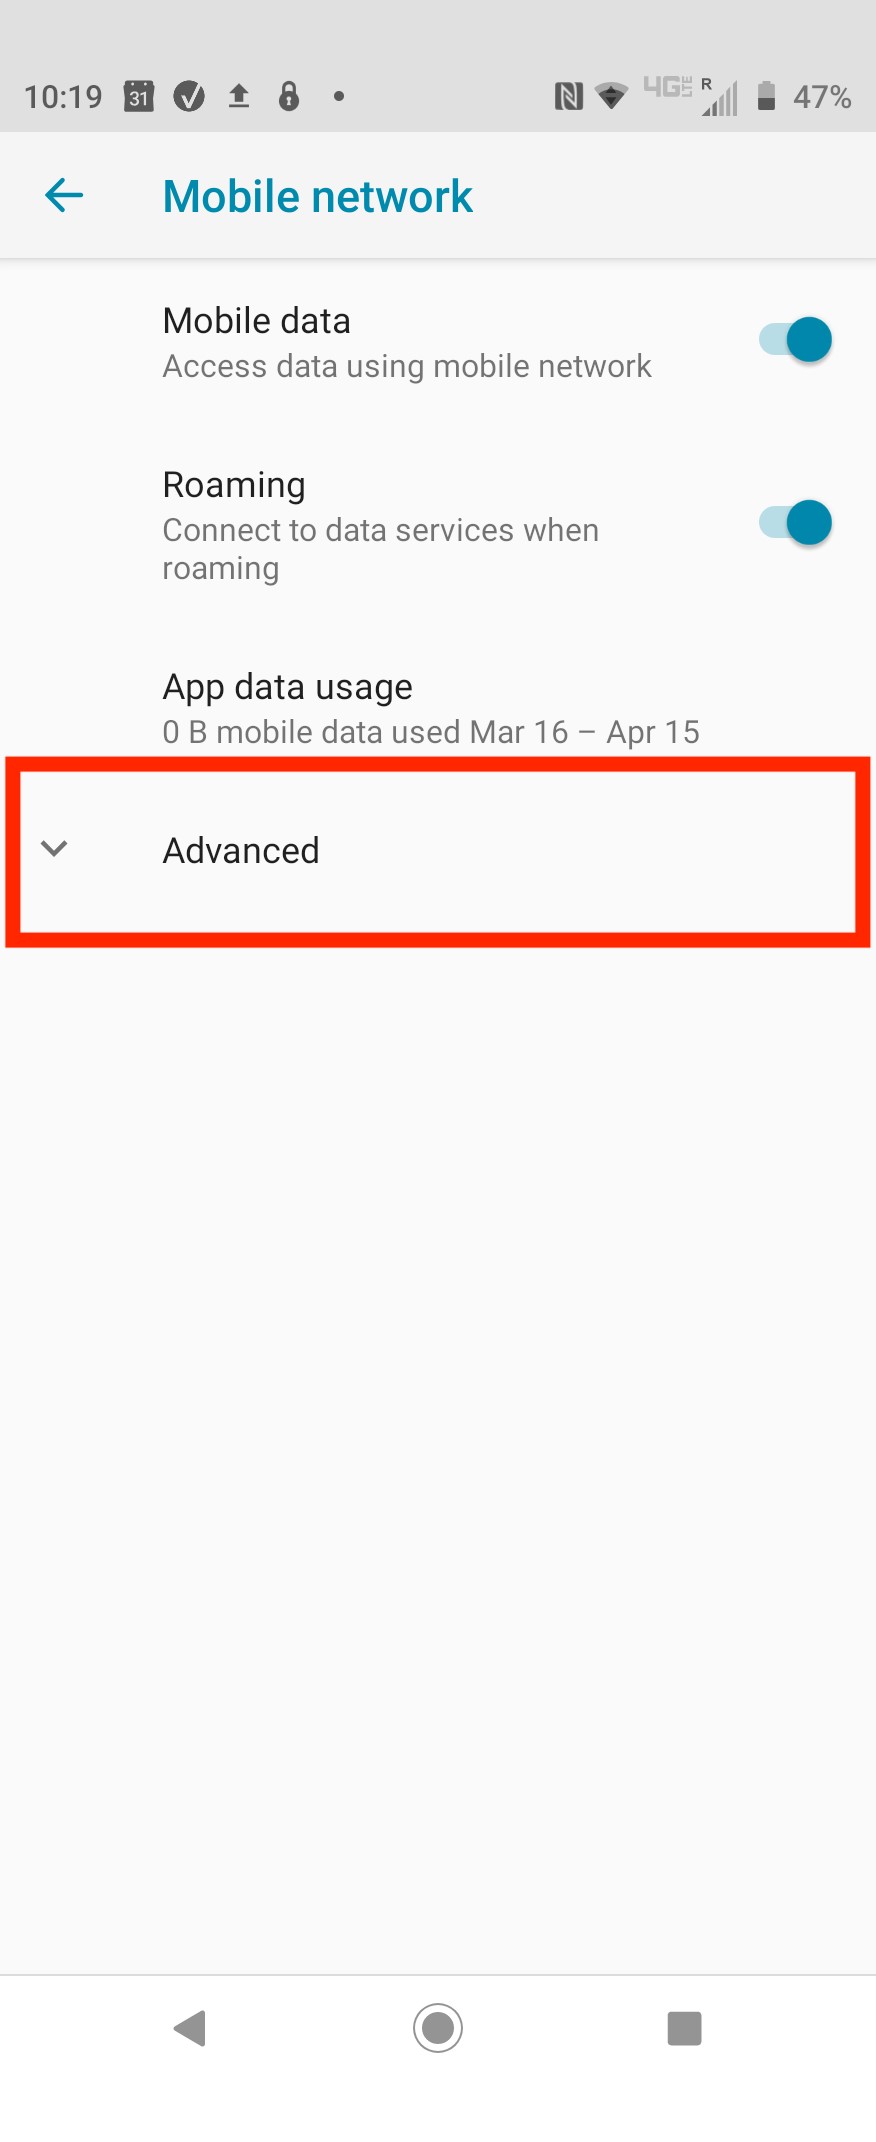
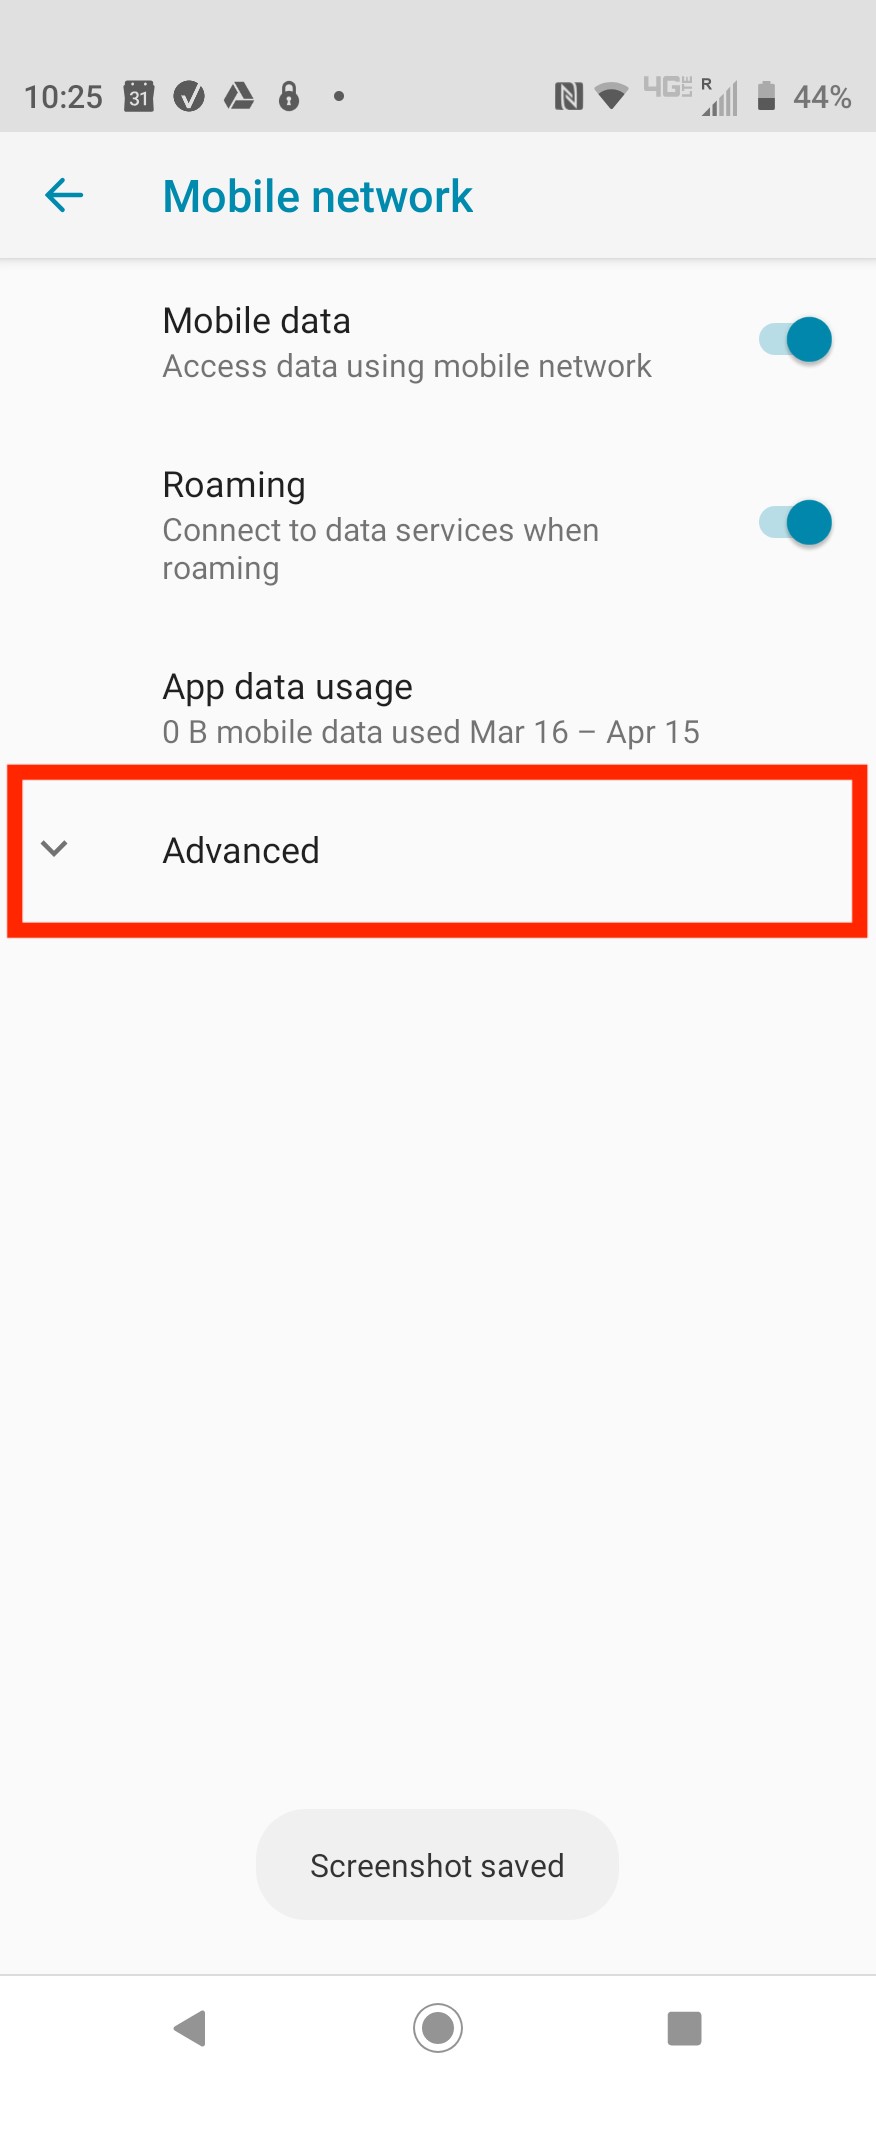
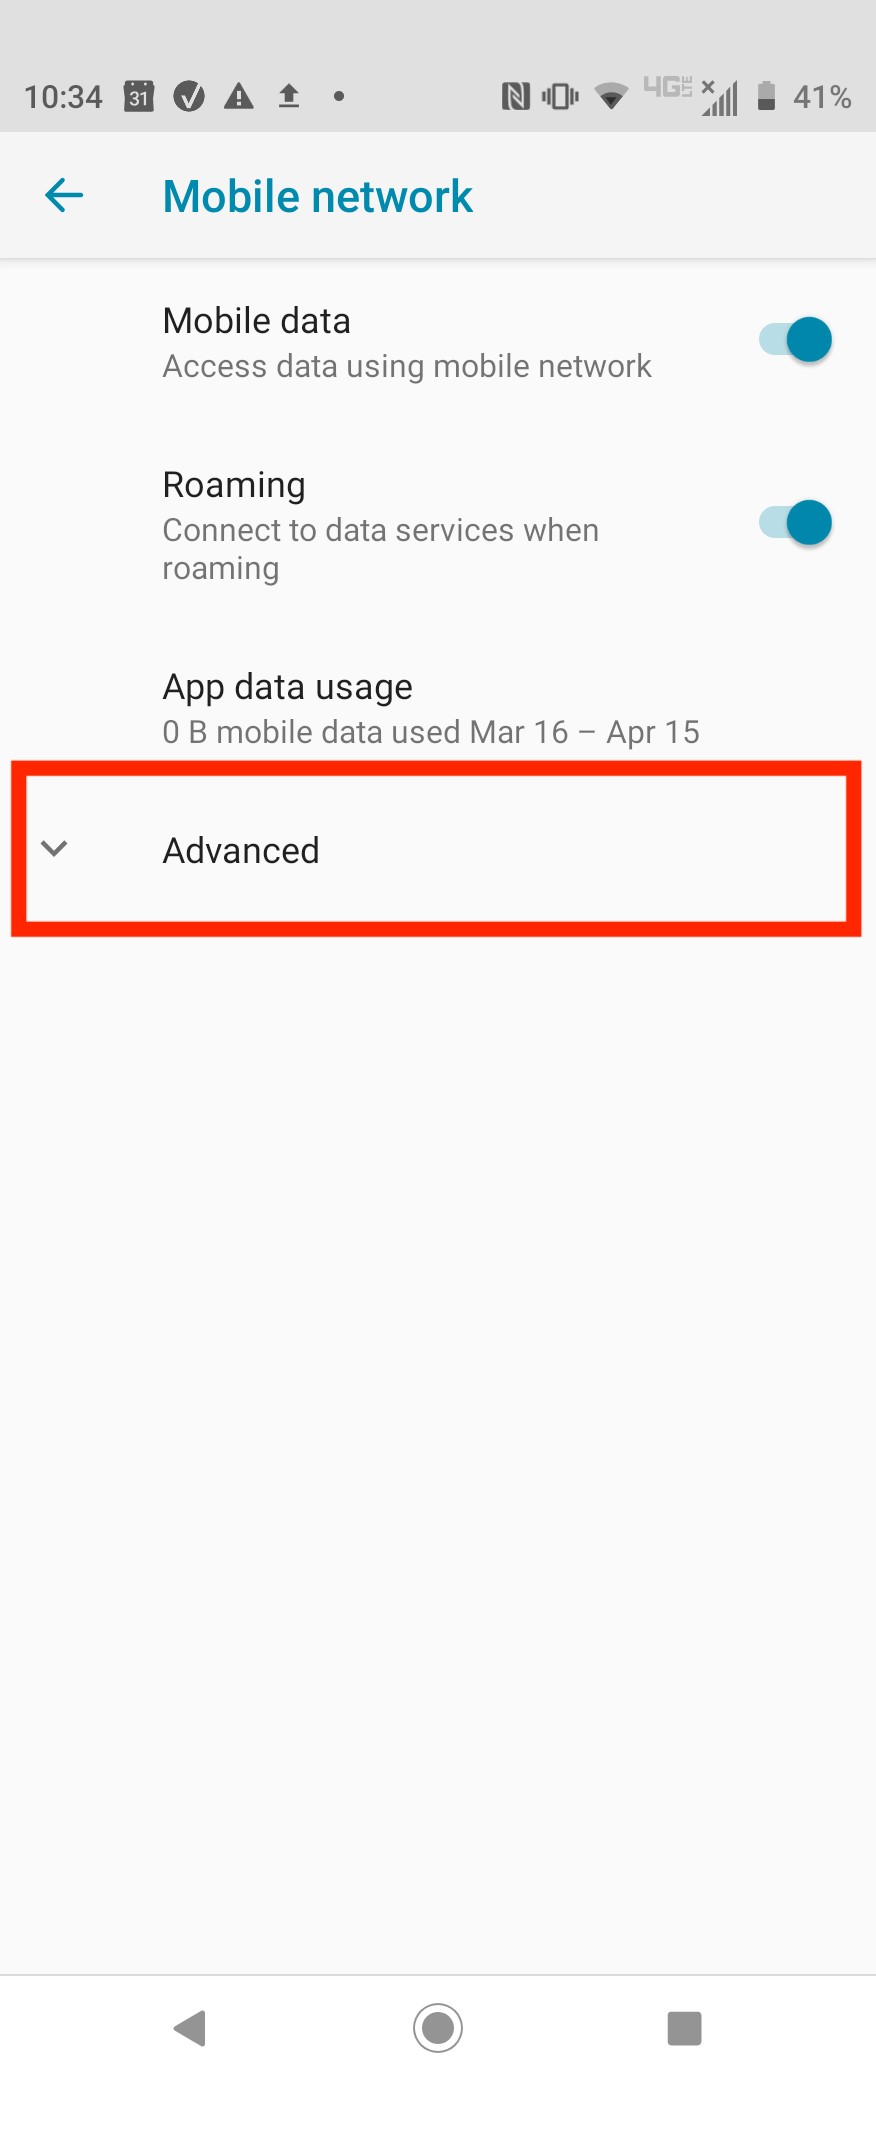
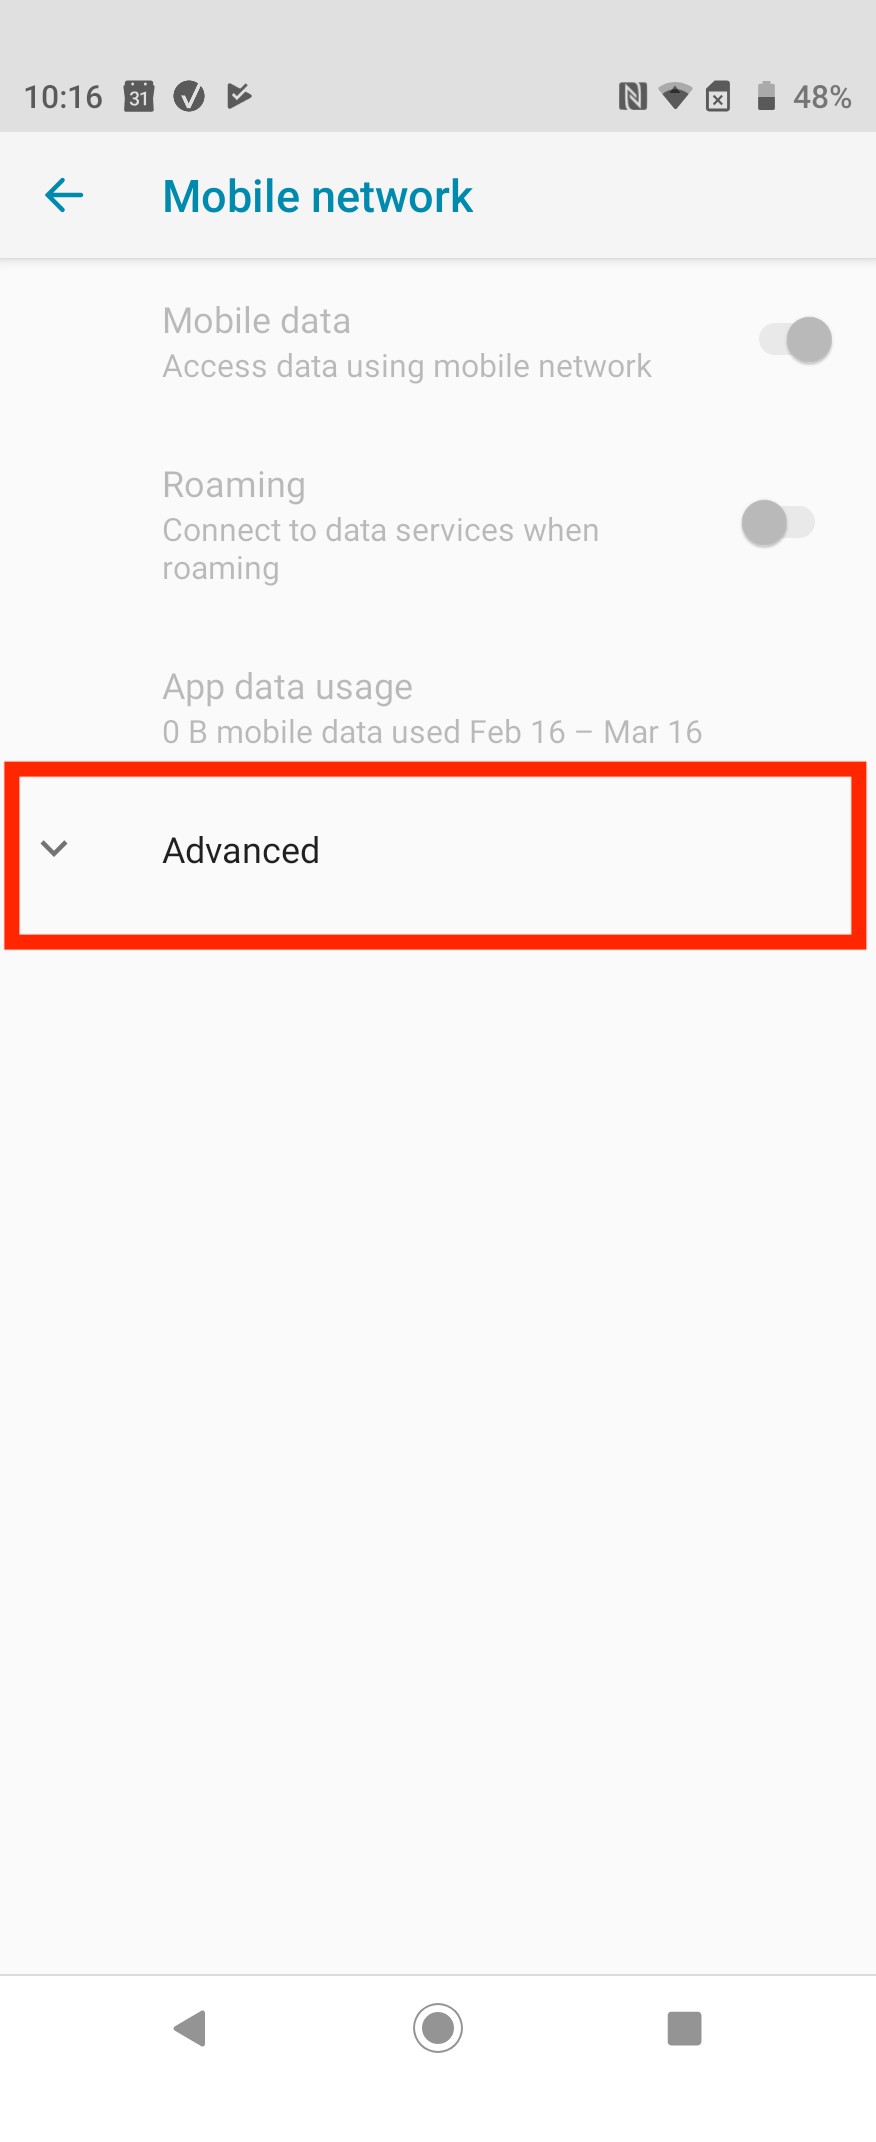
4. Click the drop-down menu named "Advanced".
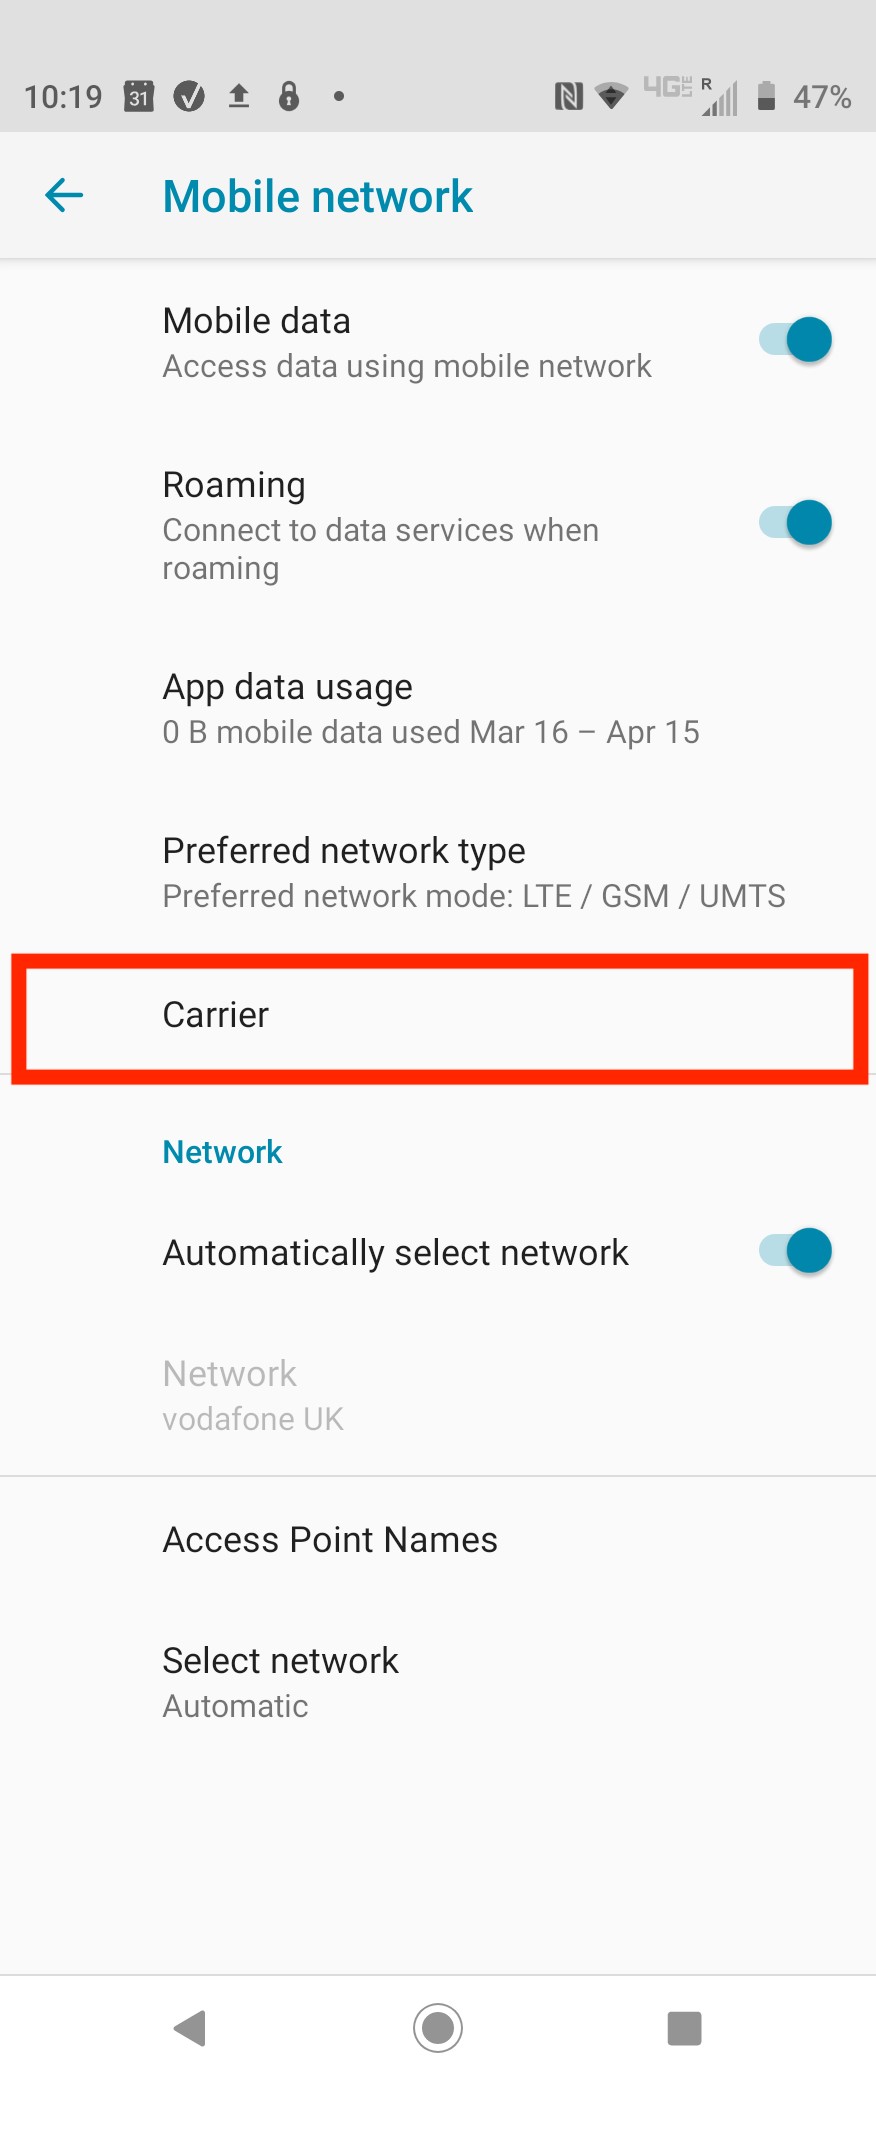
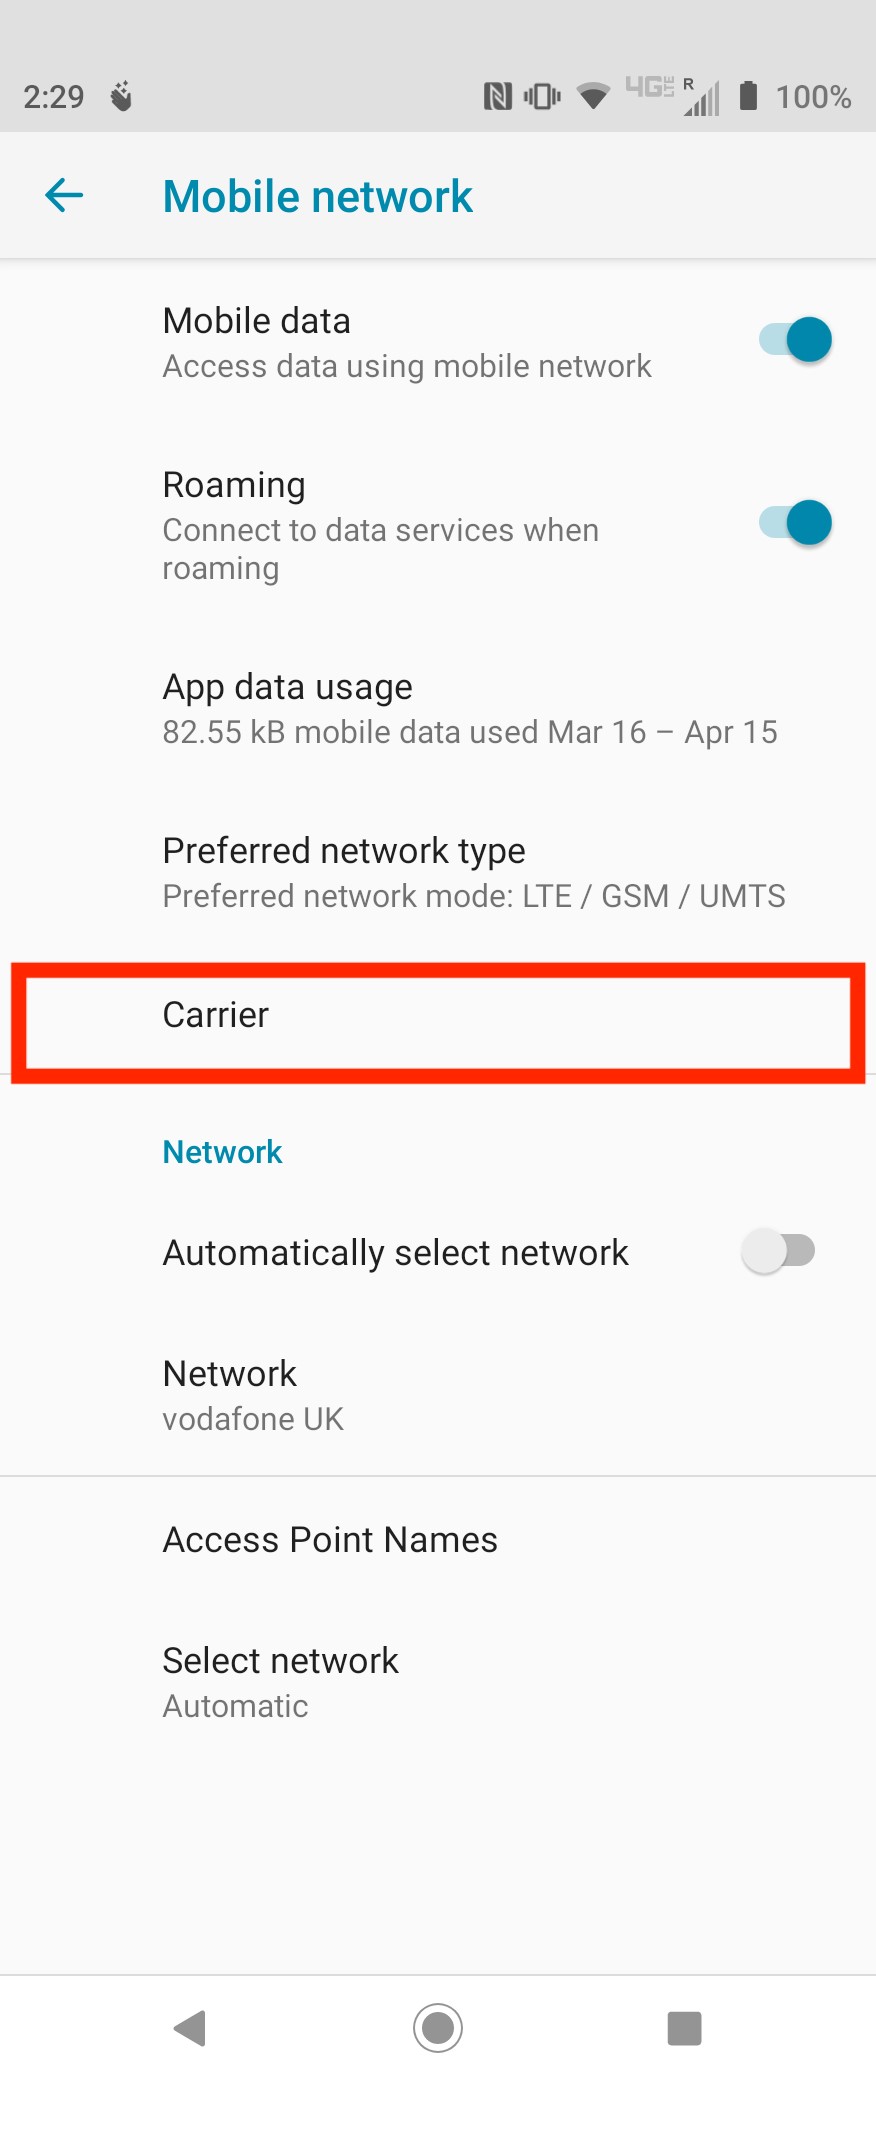
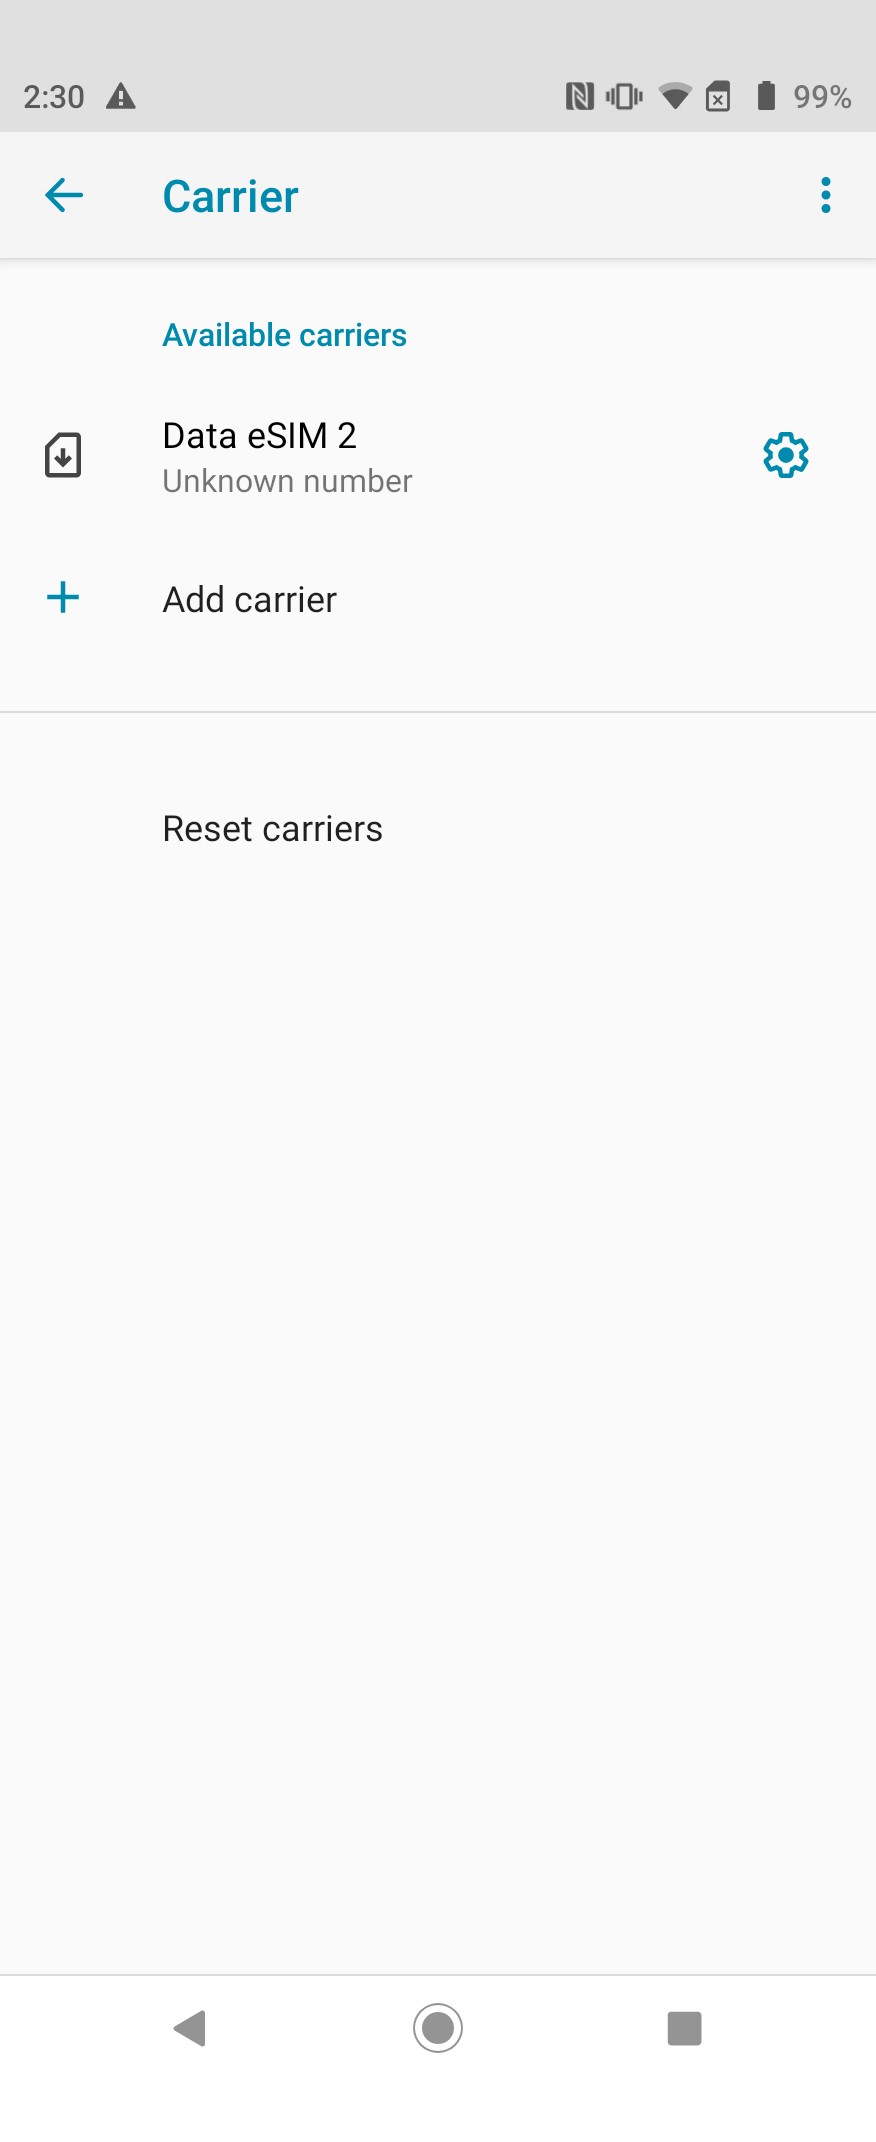
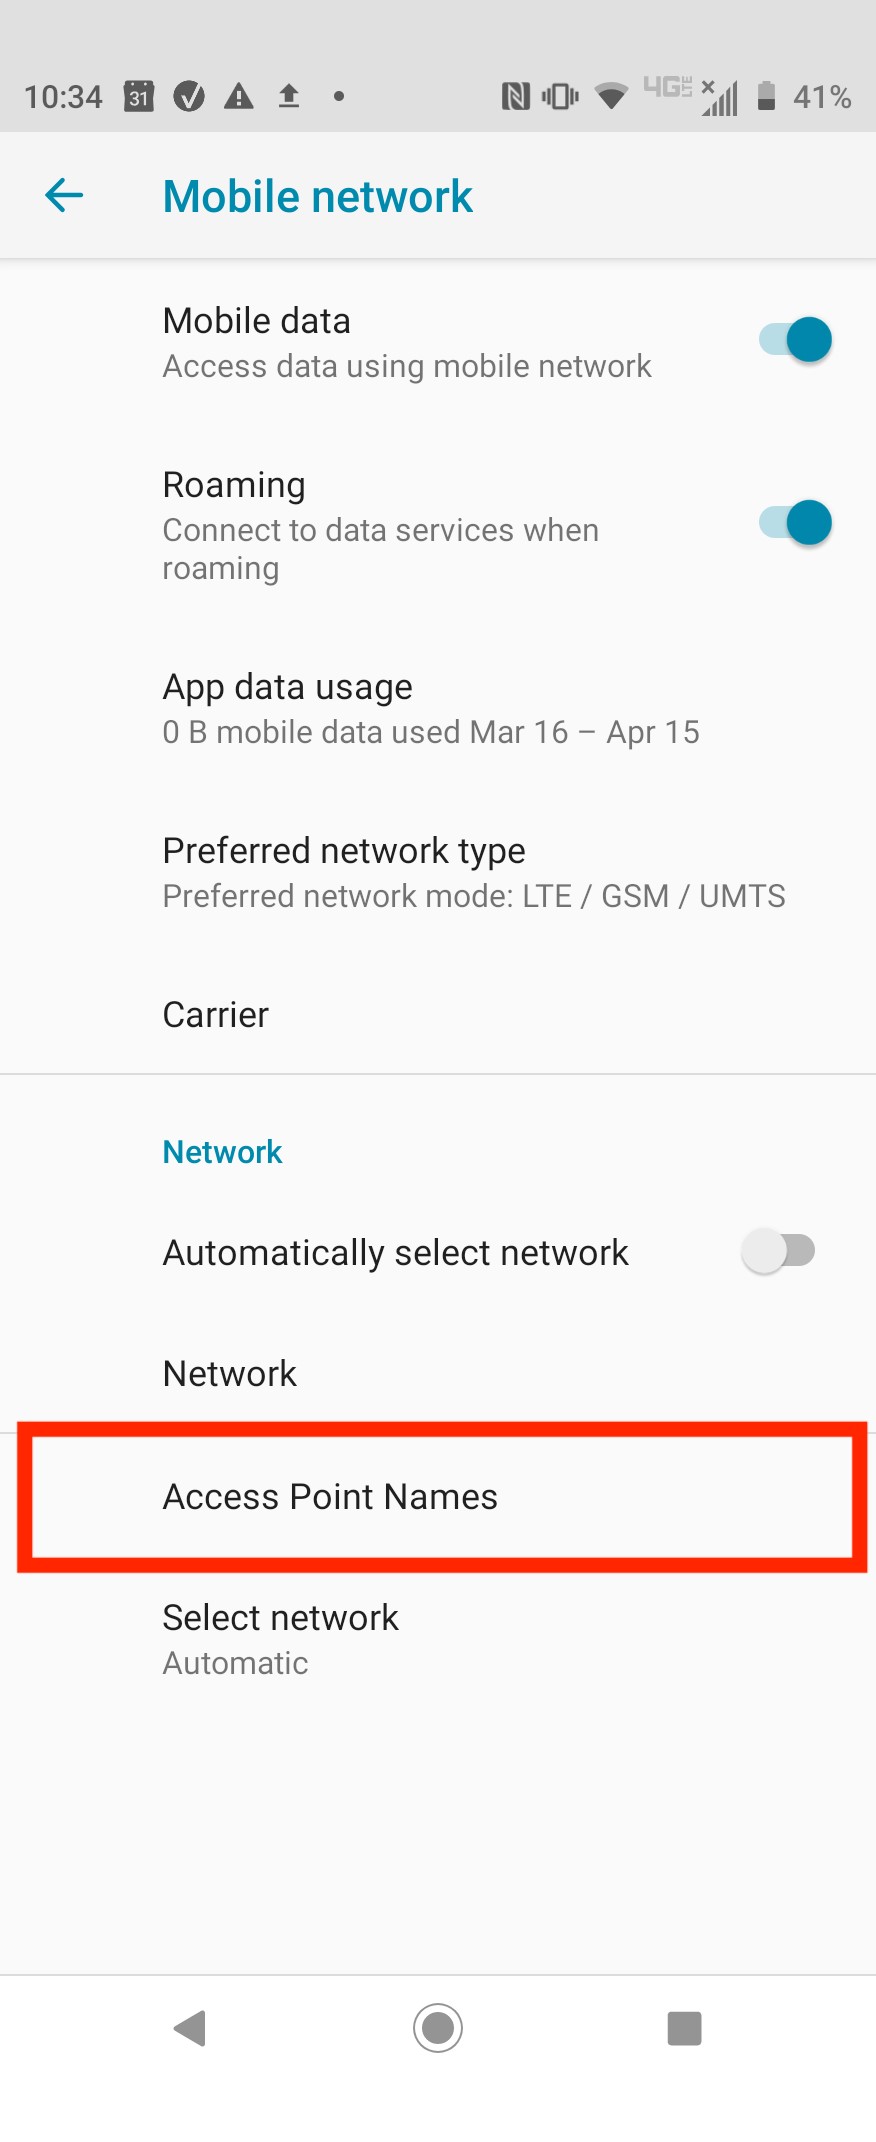
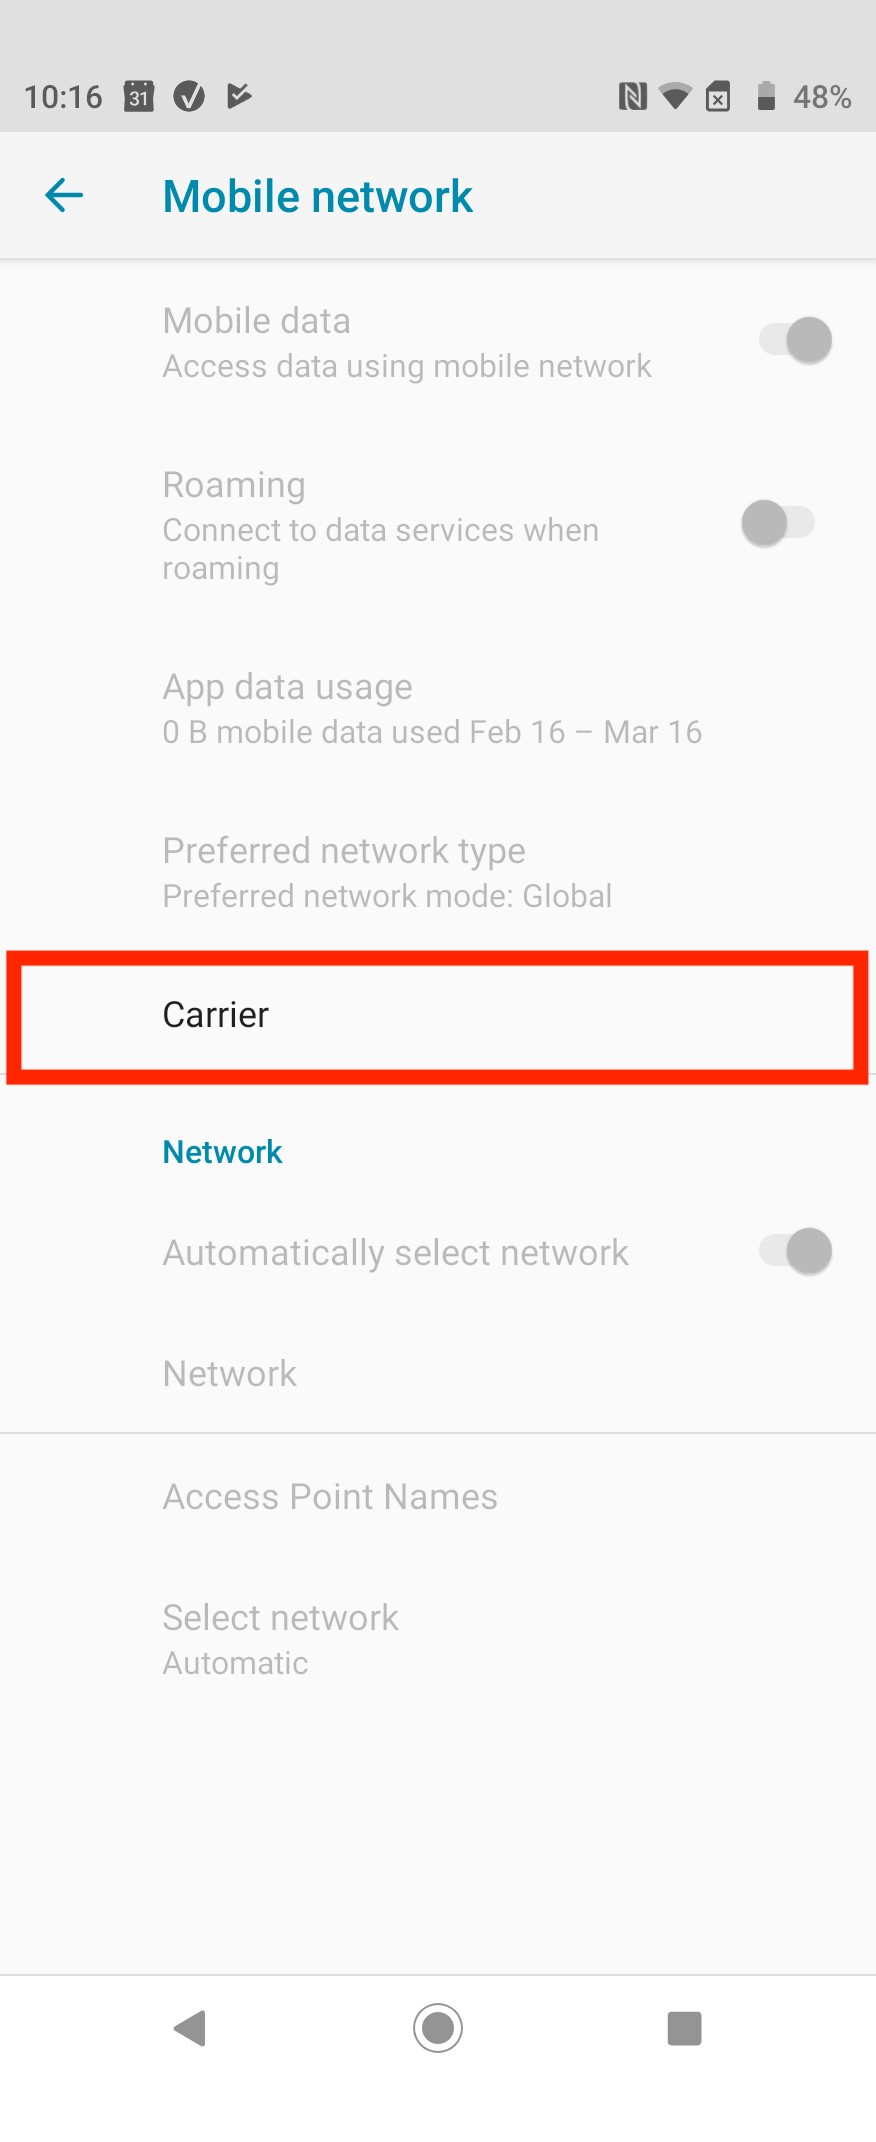
5. Click on "Carrier"
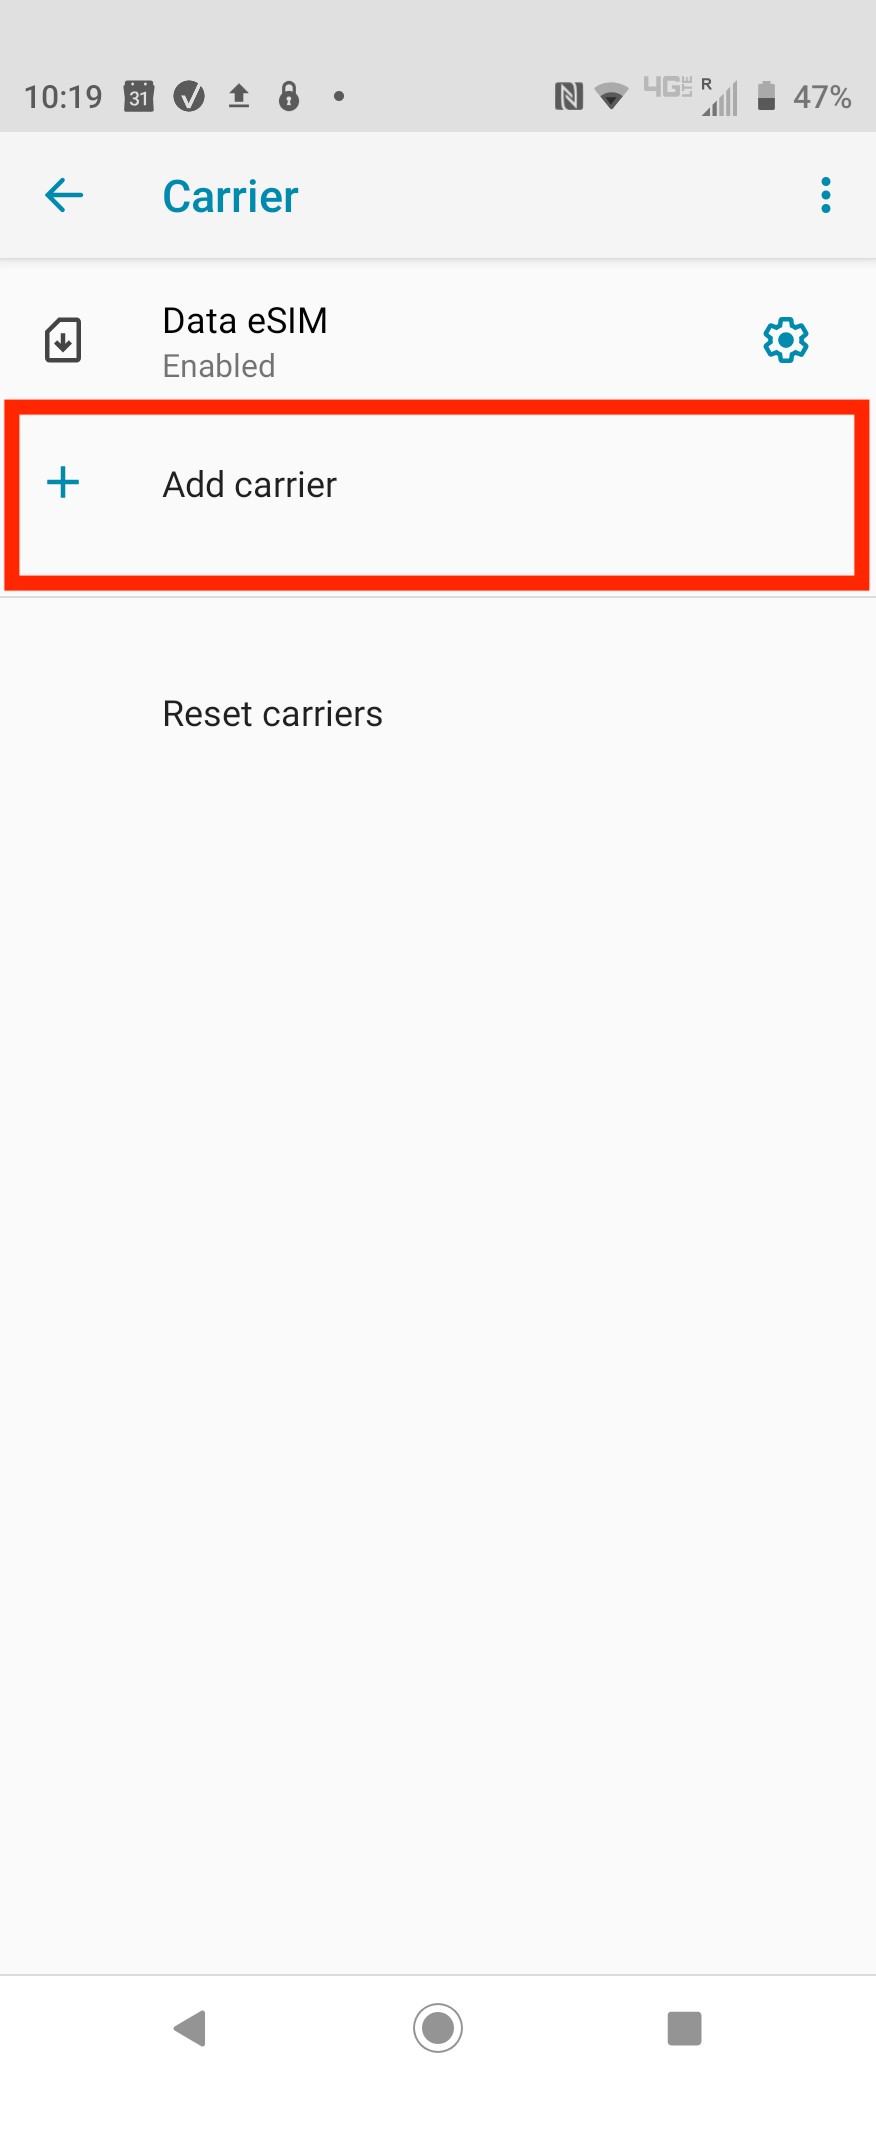
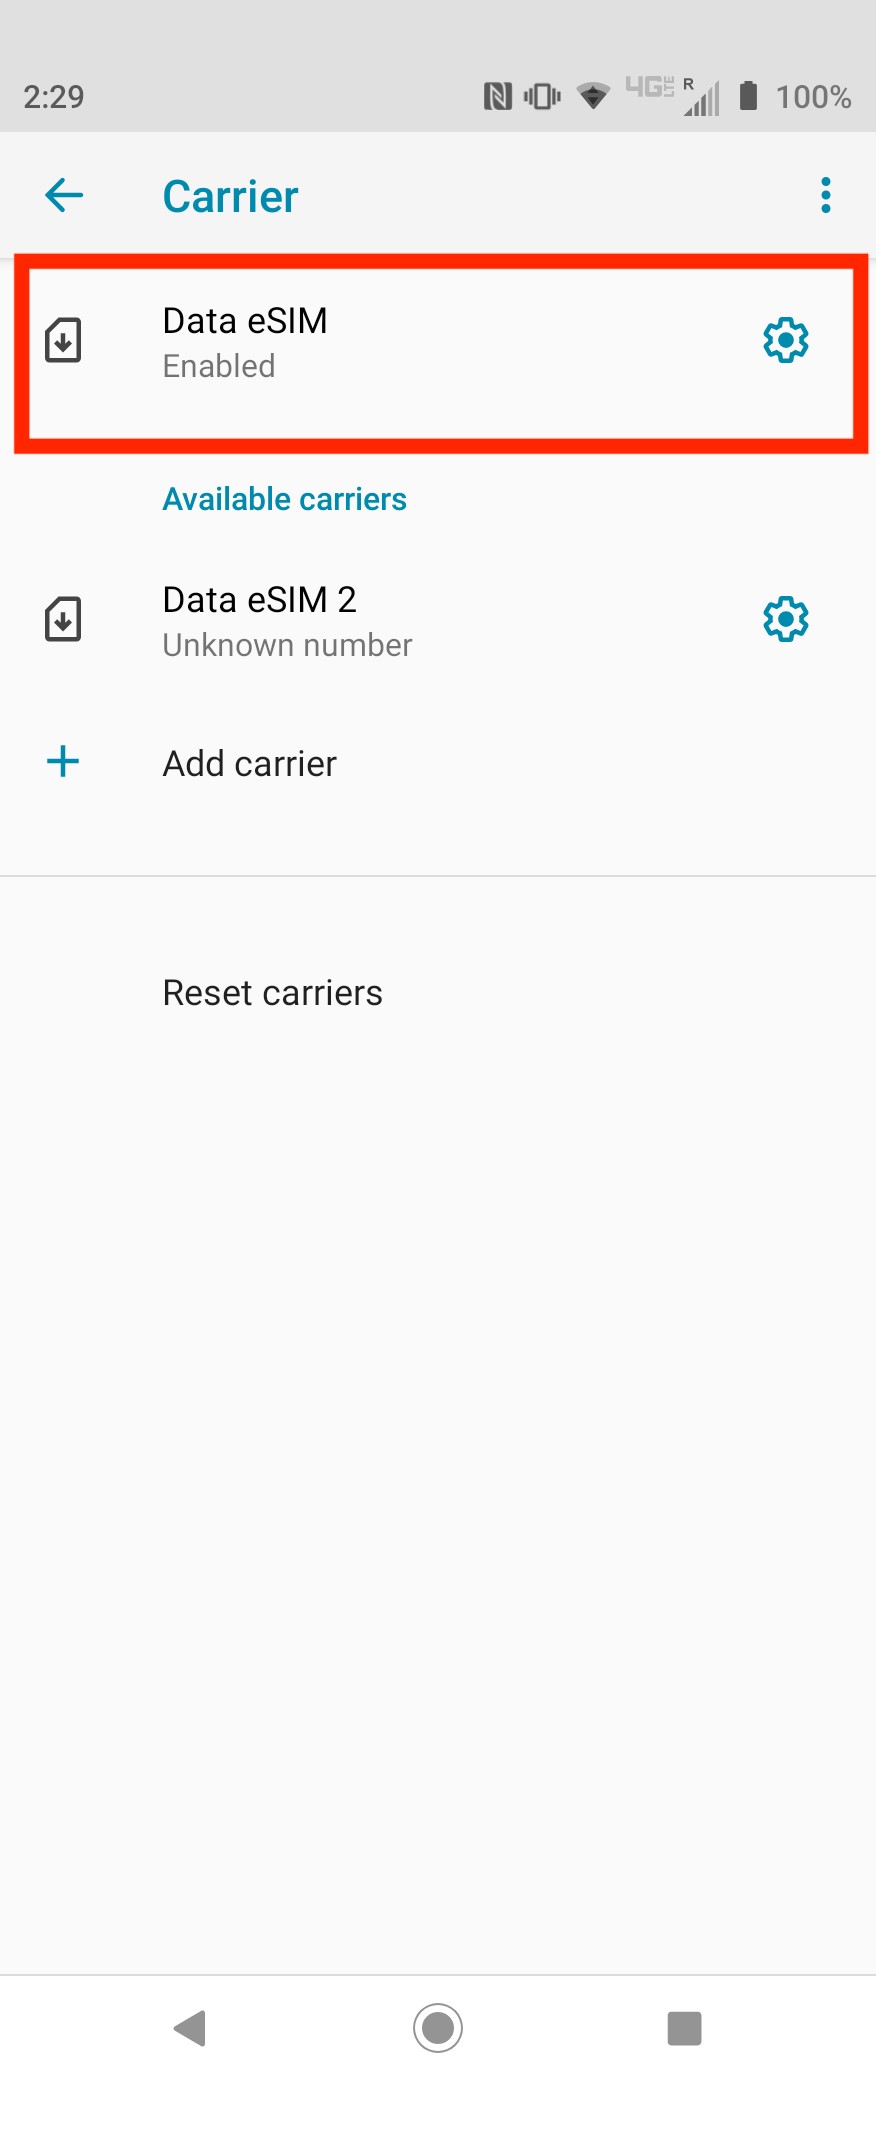
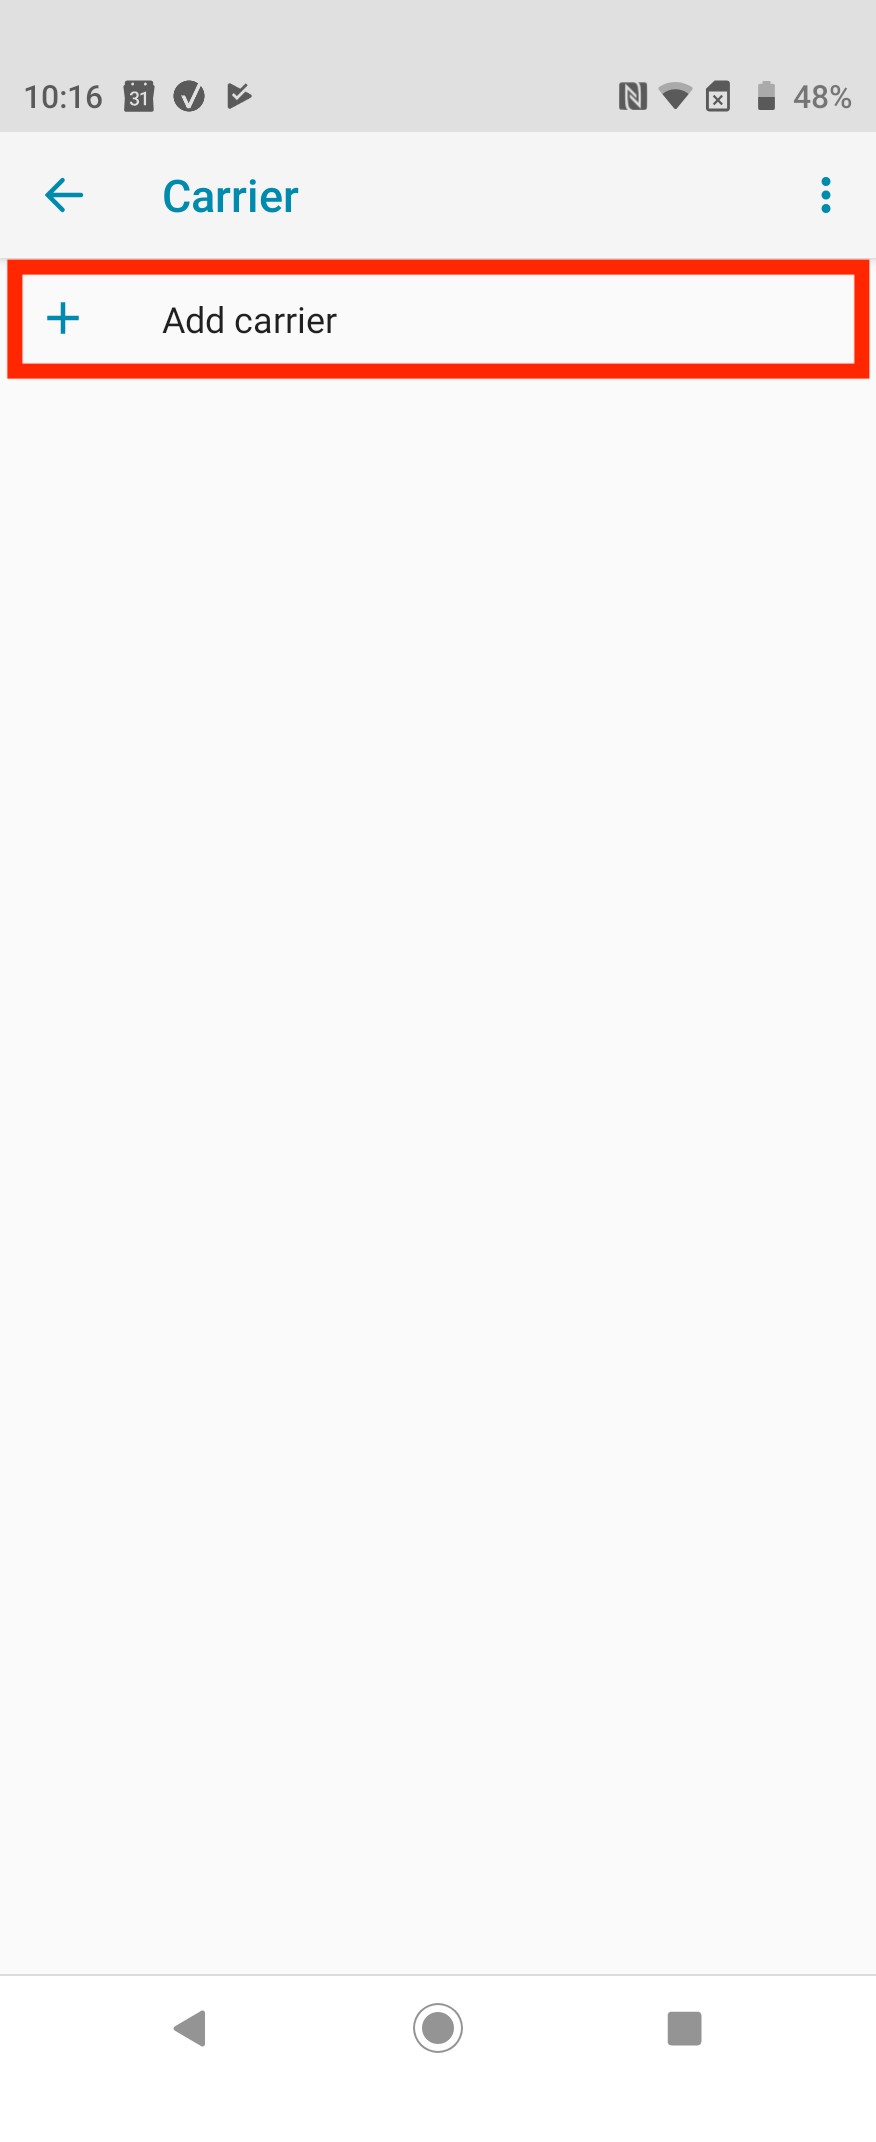
6. Tap "Add carrier"
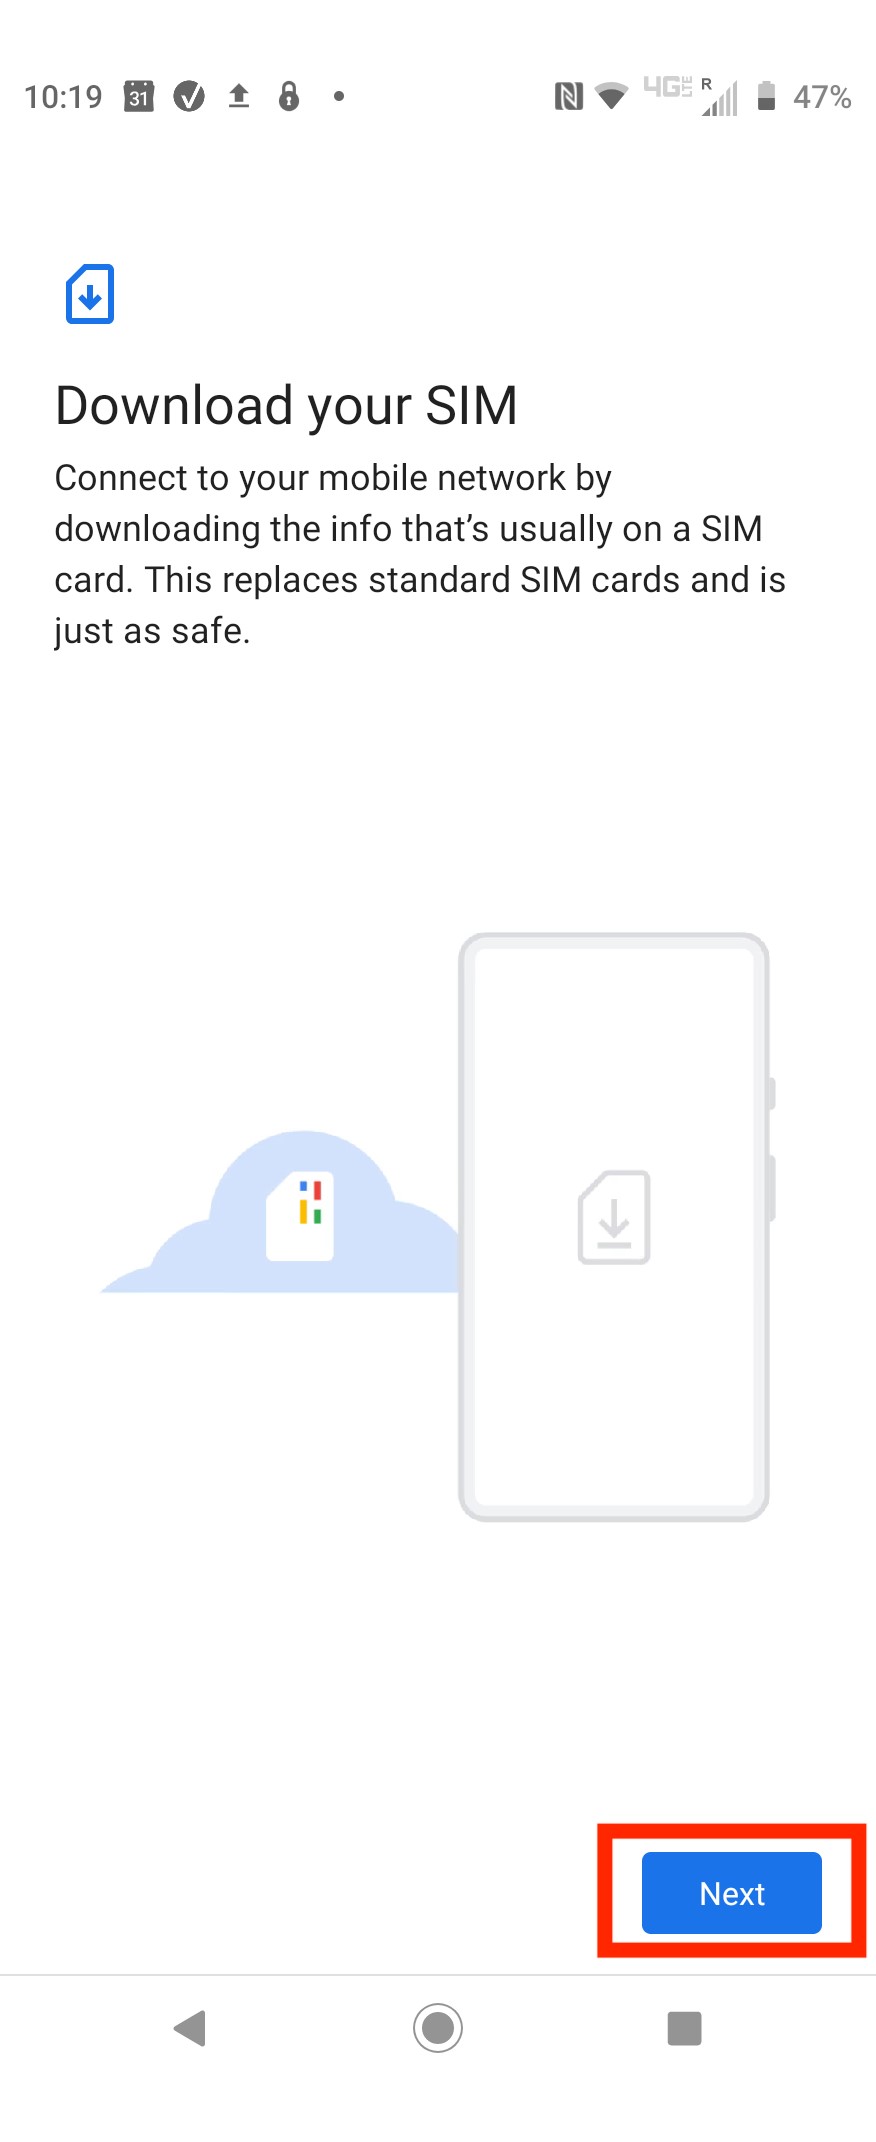
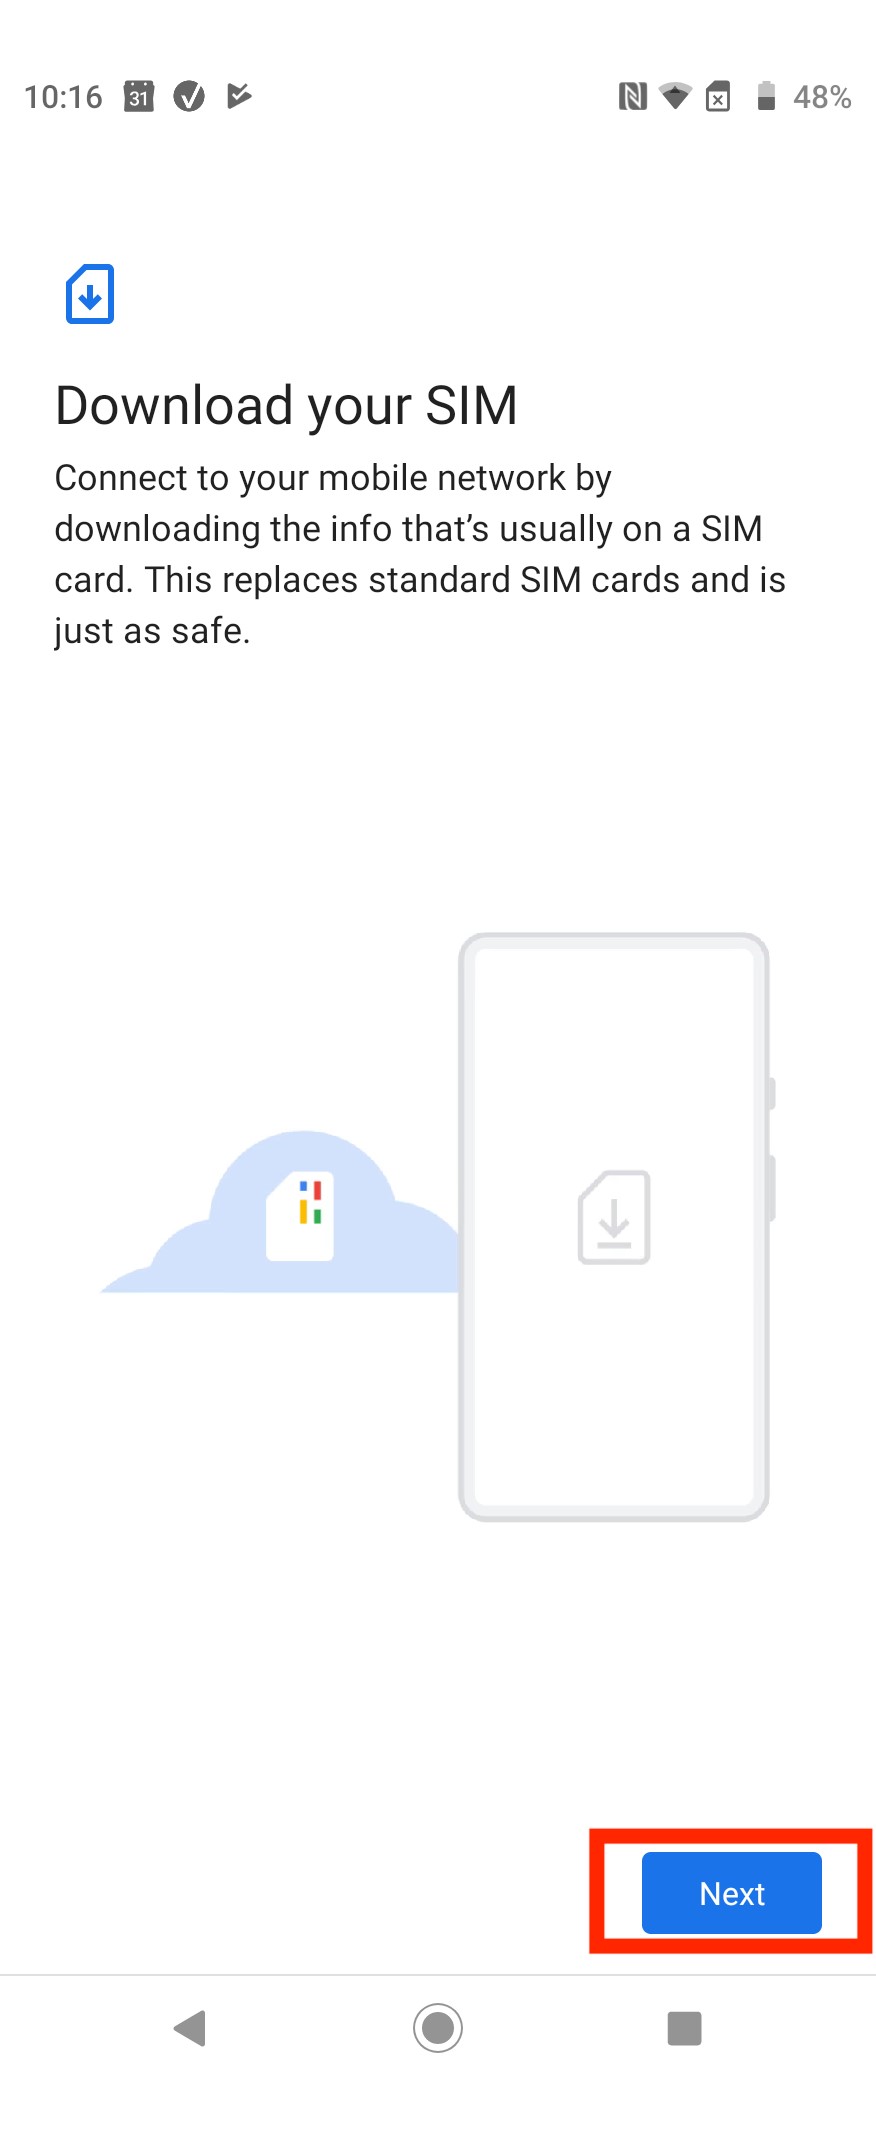
7. Click "Next"
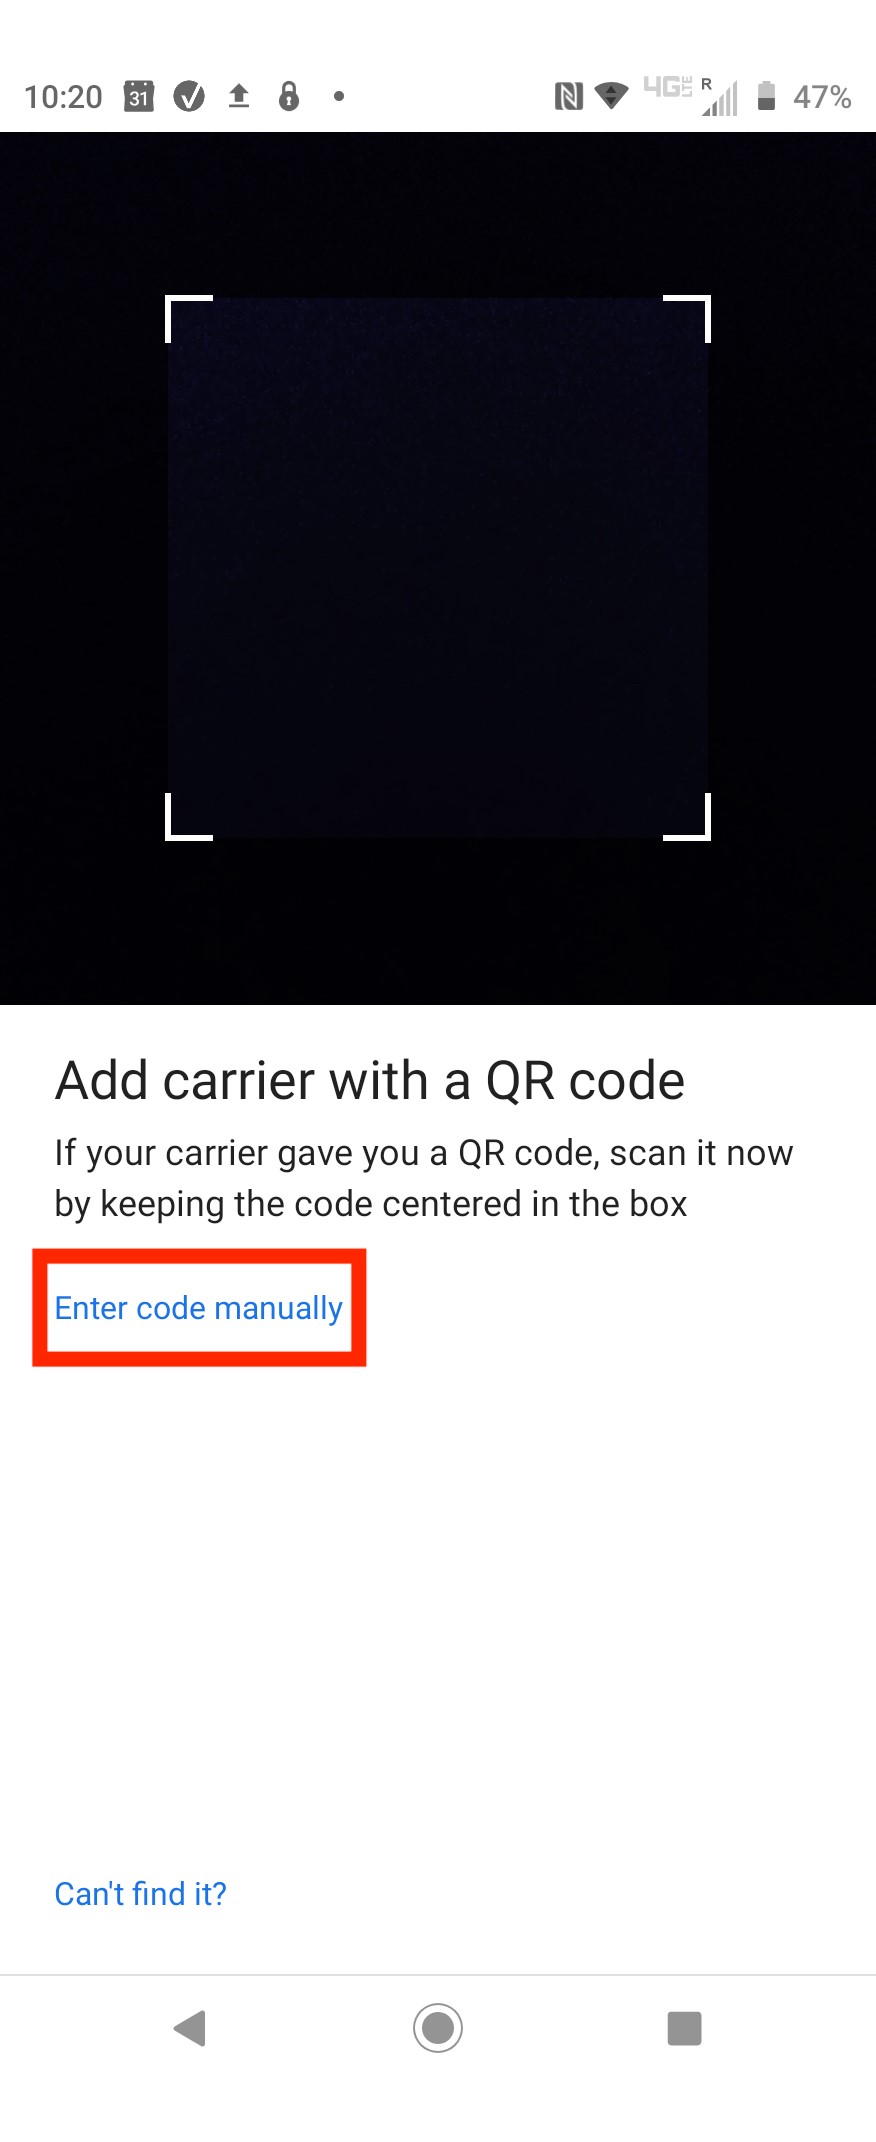
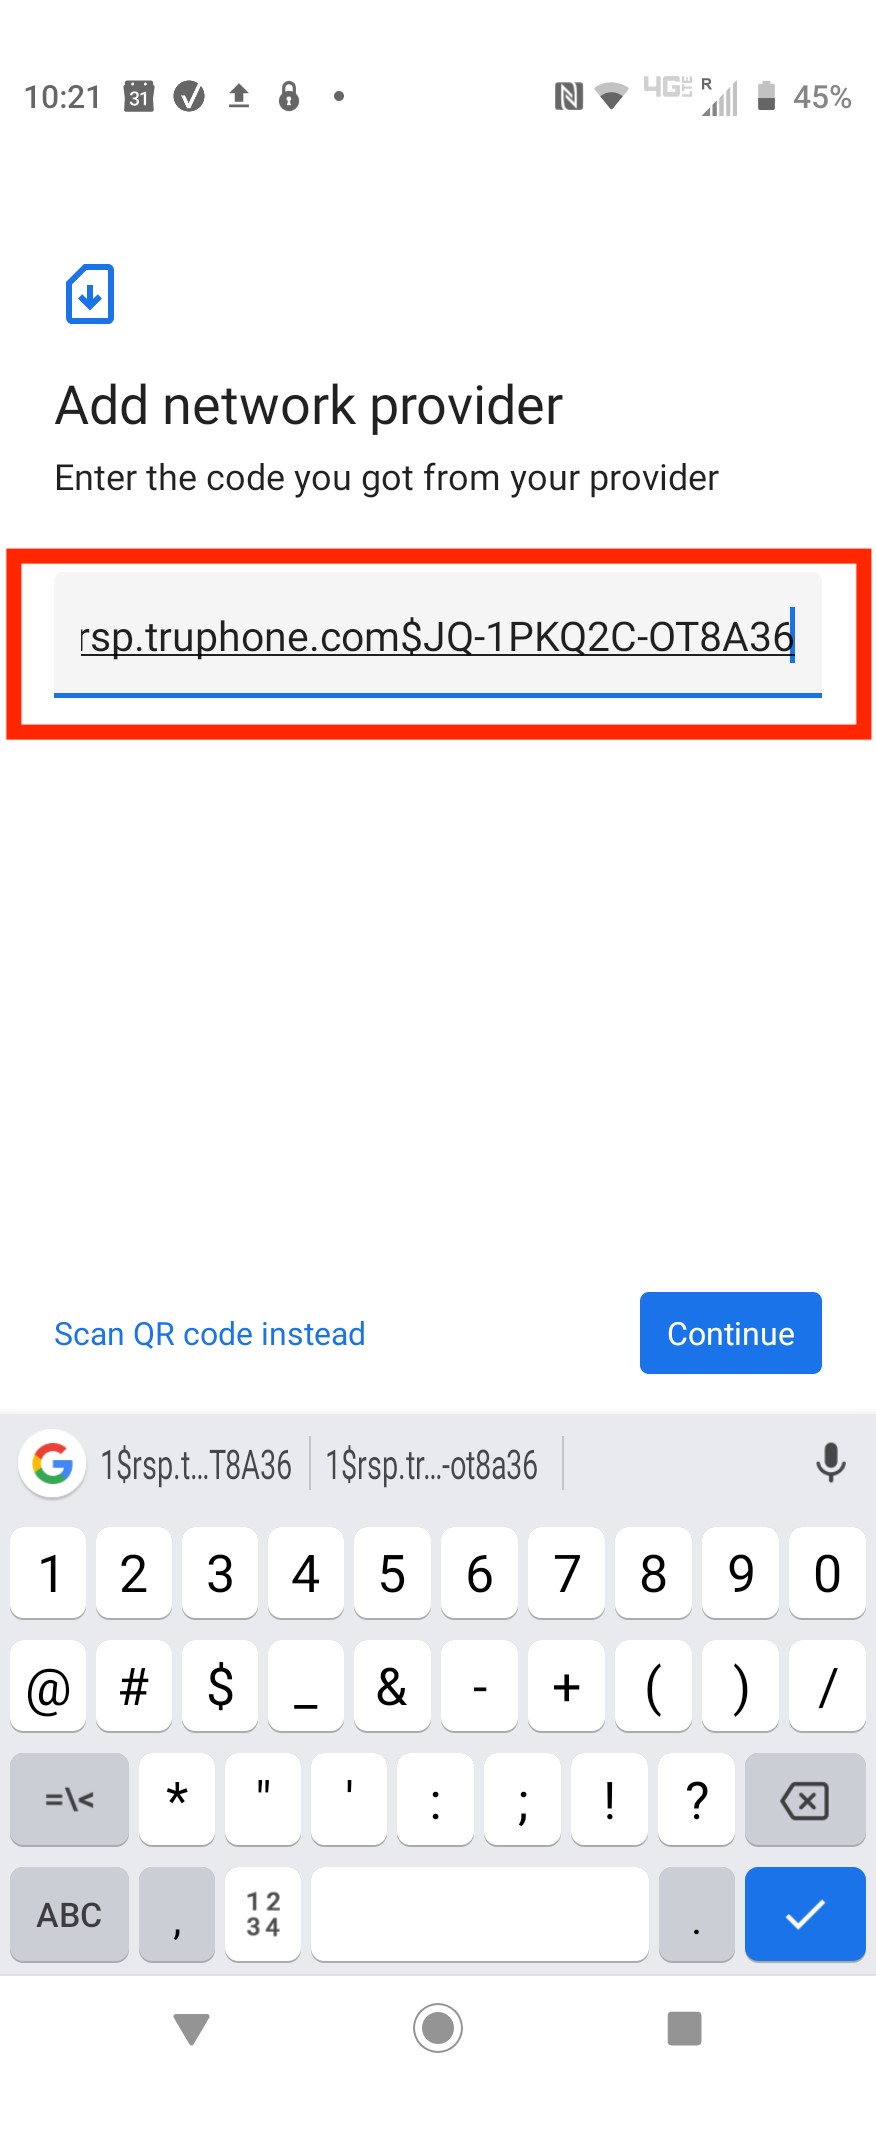
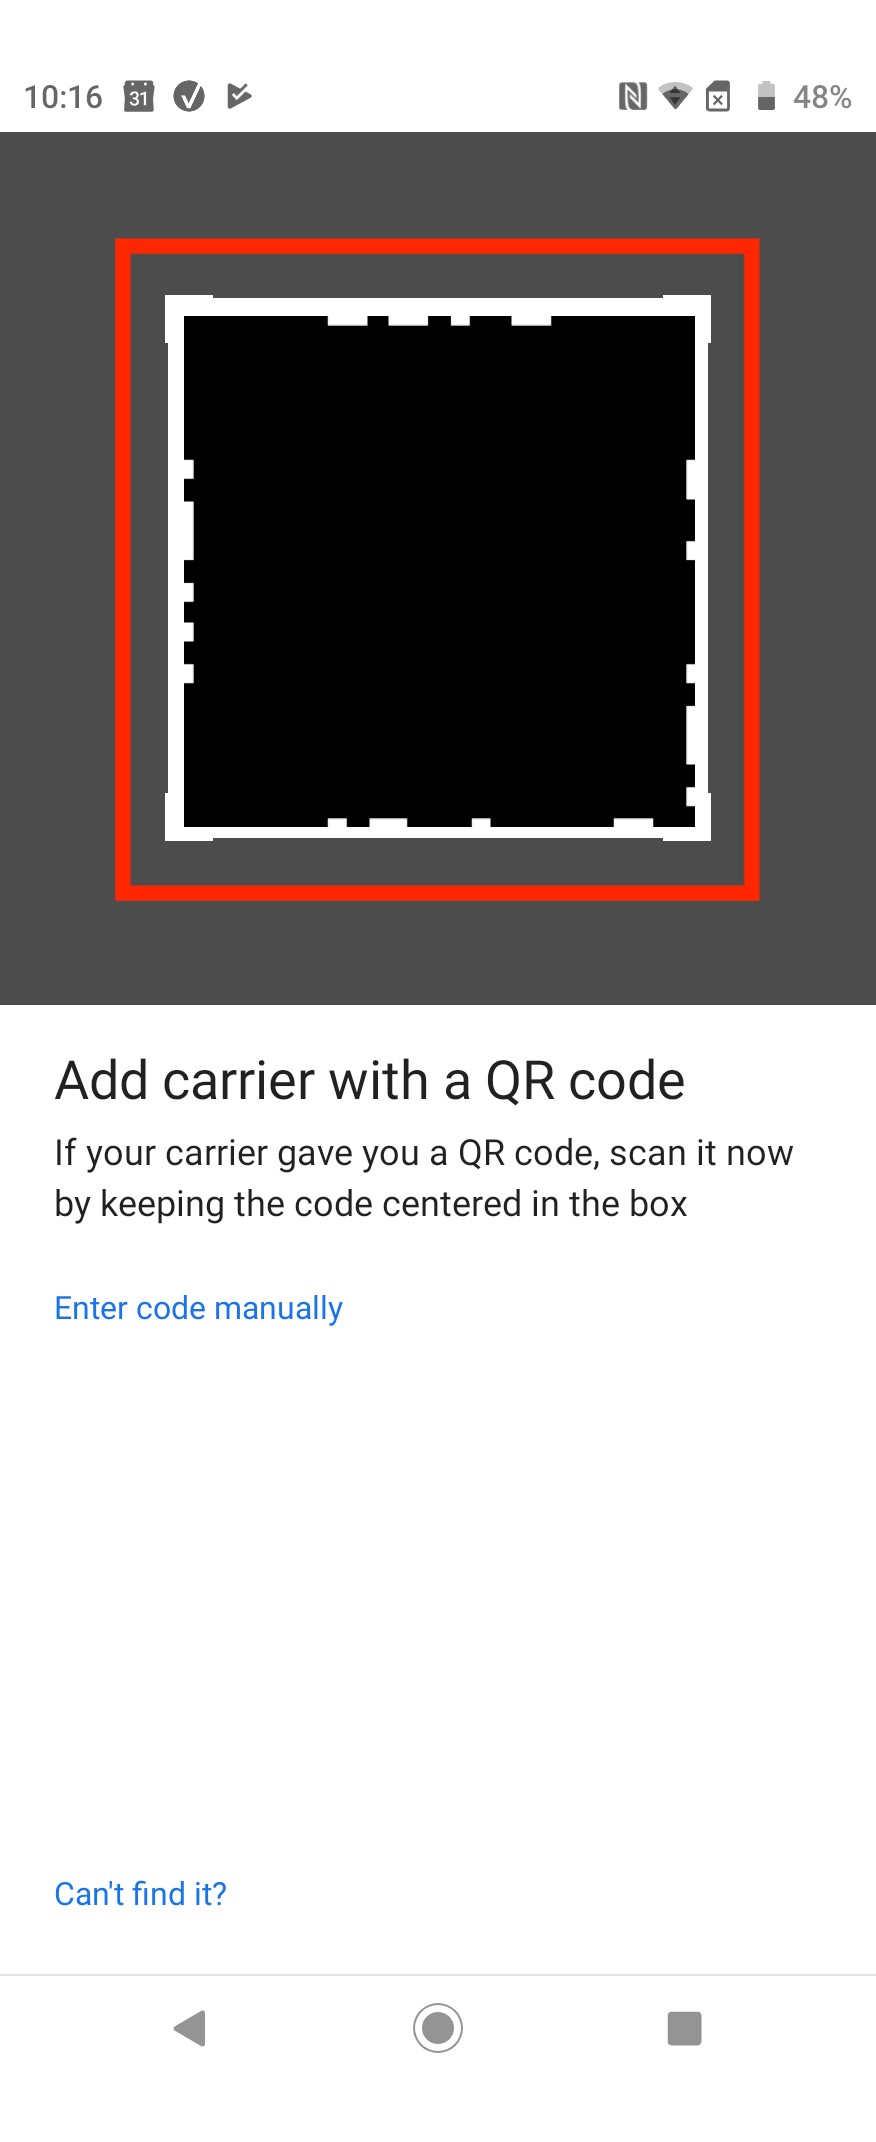
8. Scan the "QR Code" given through your eSIMs bundles account.
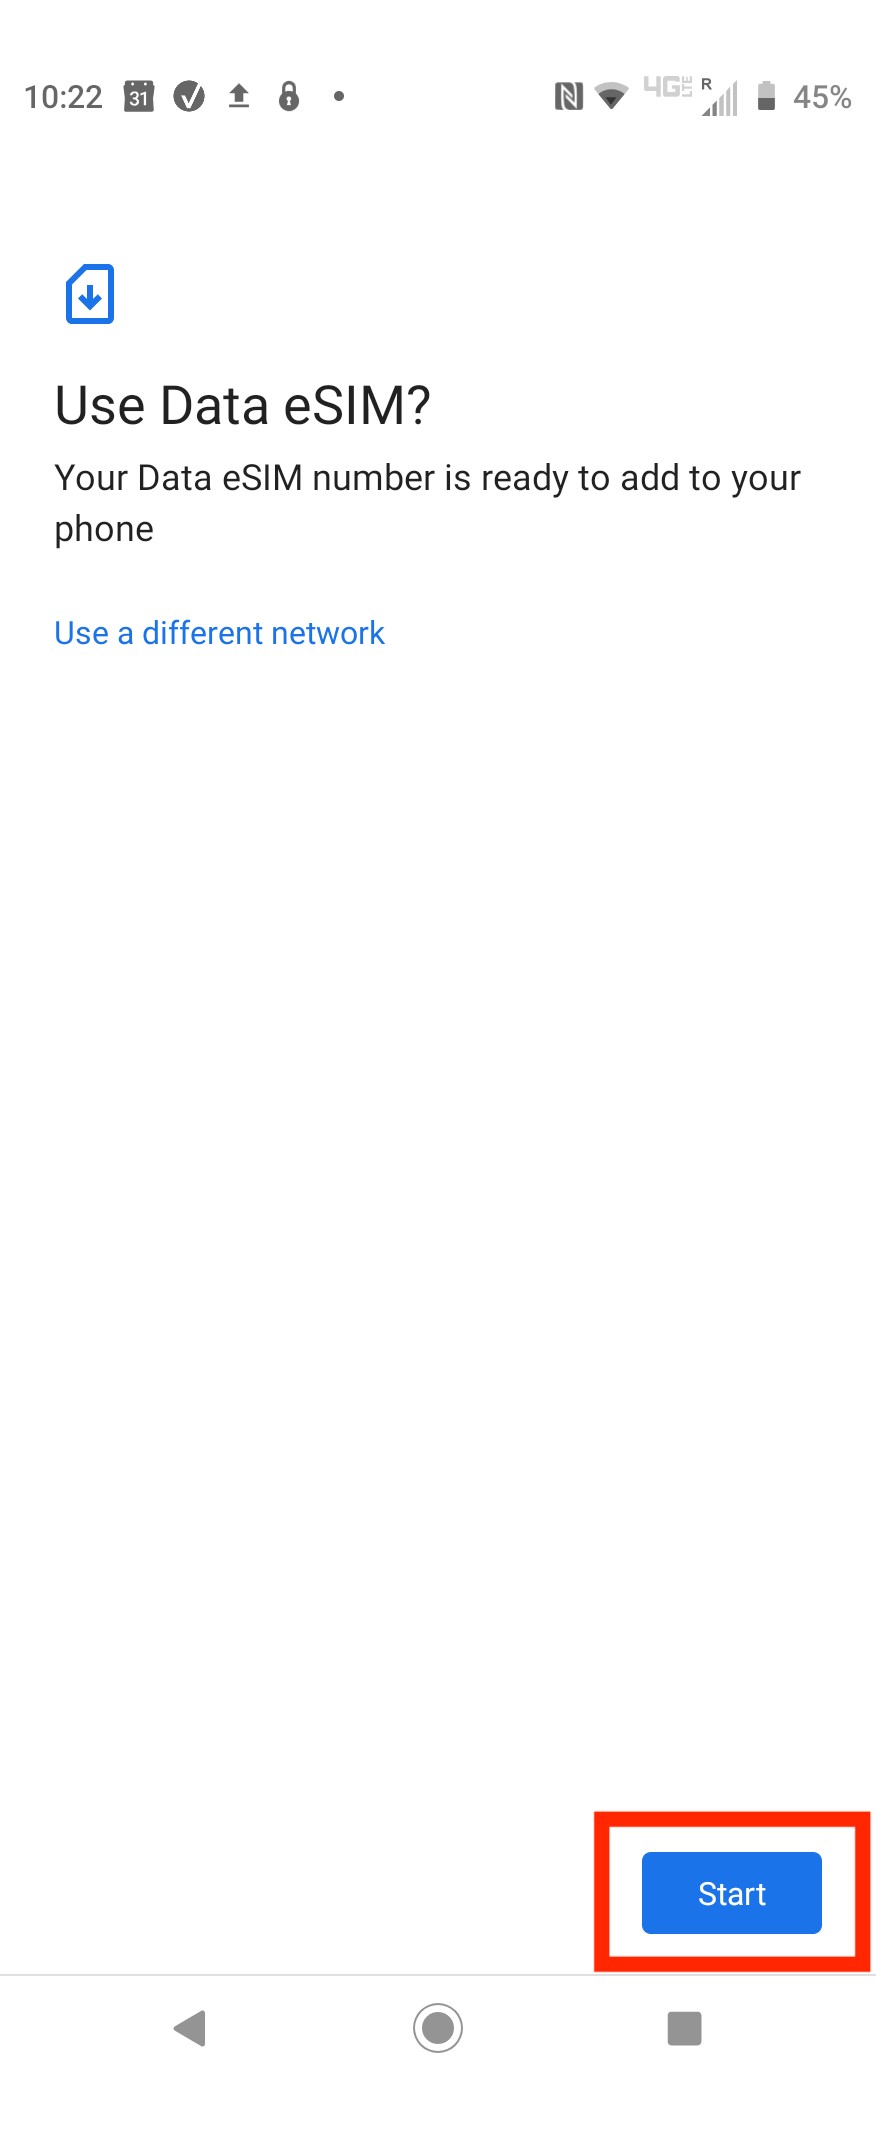
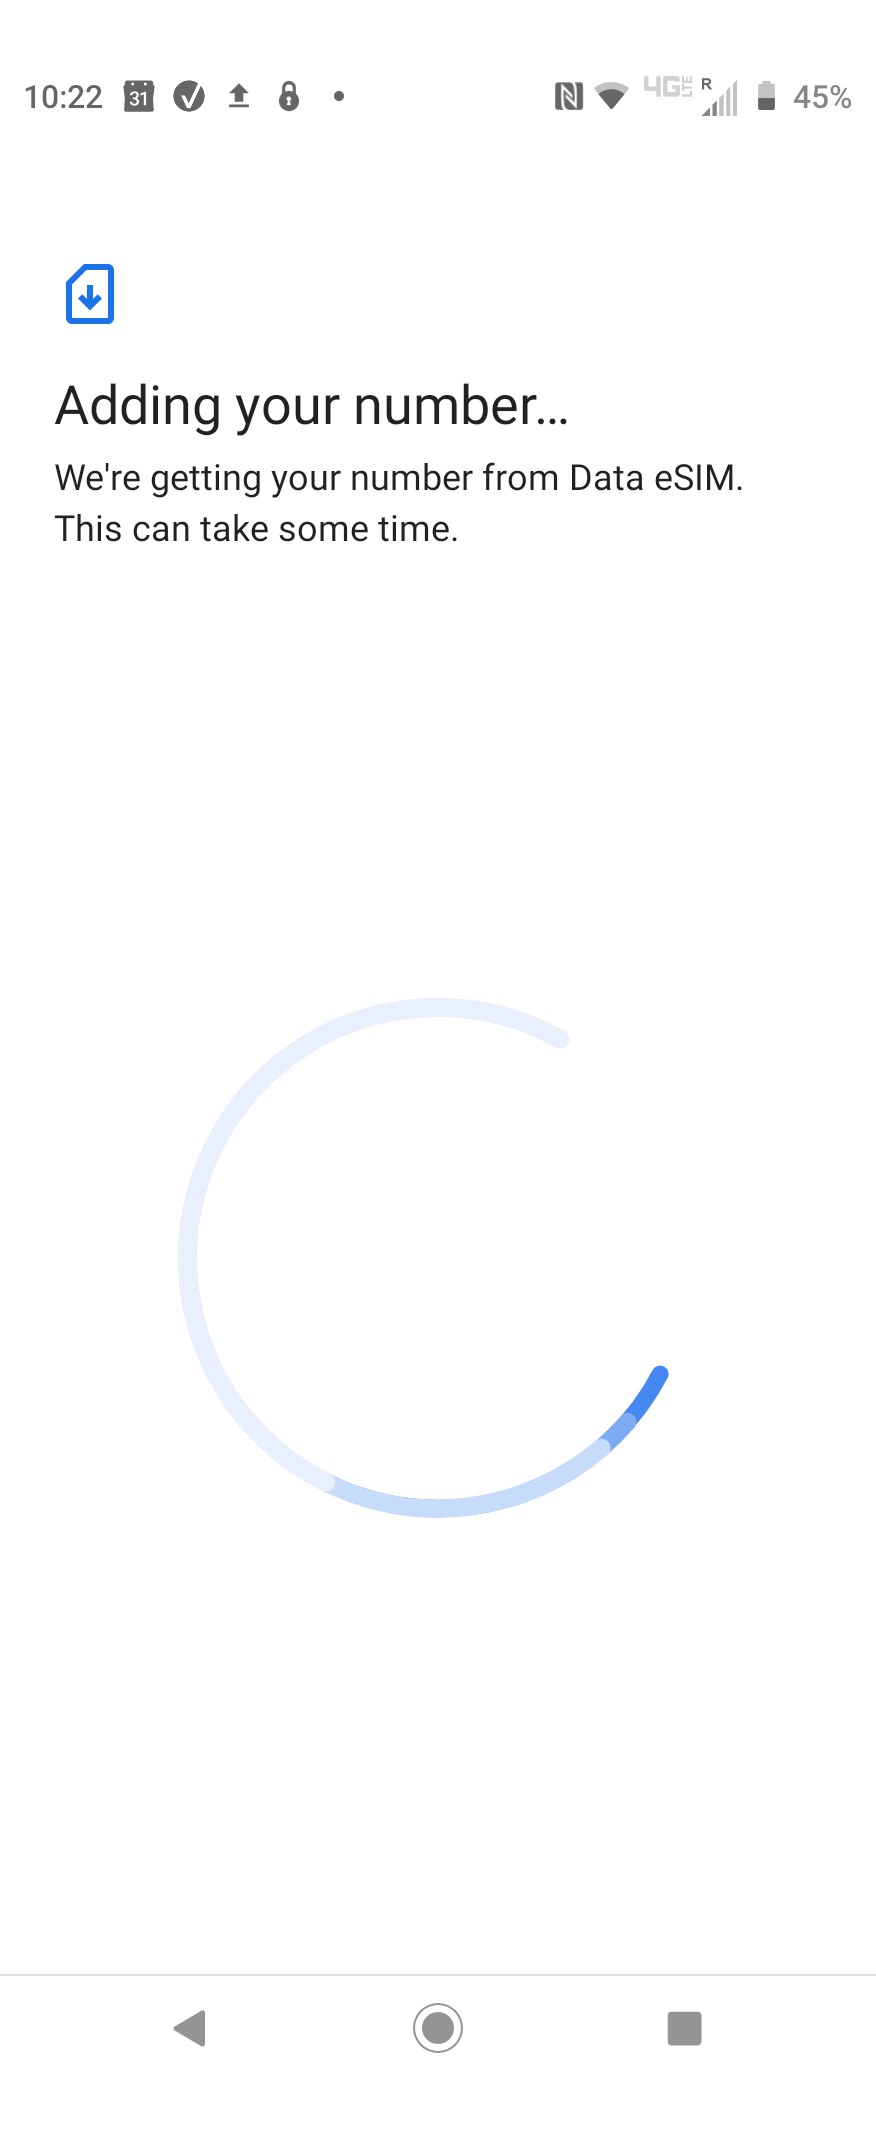
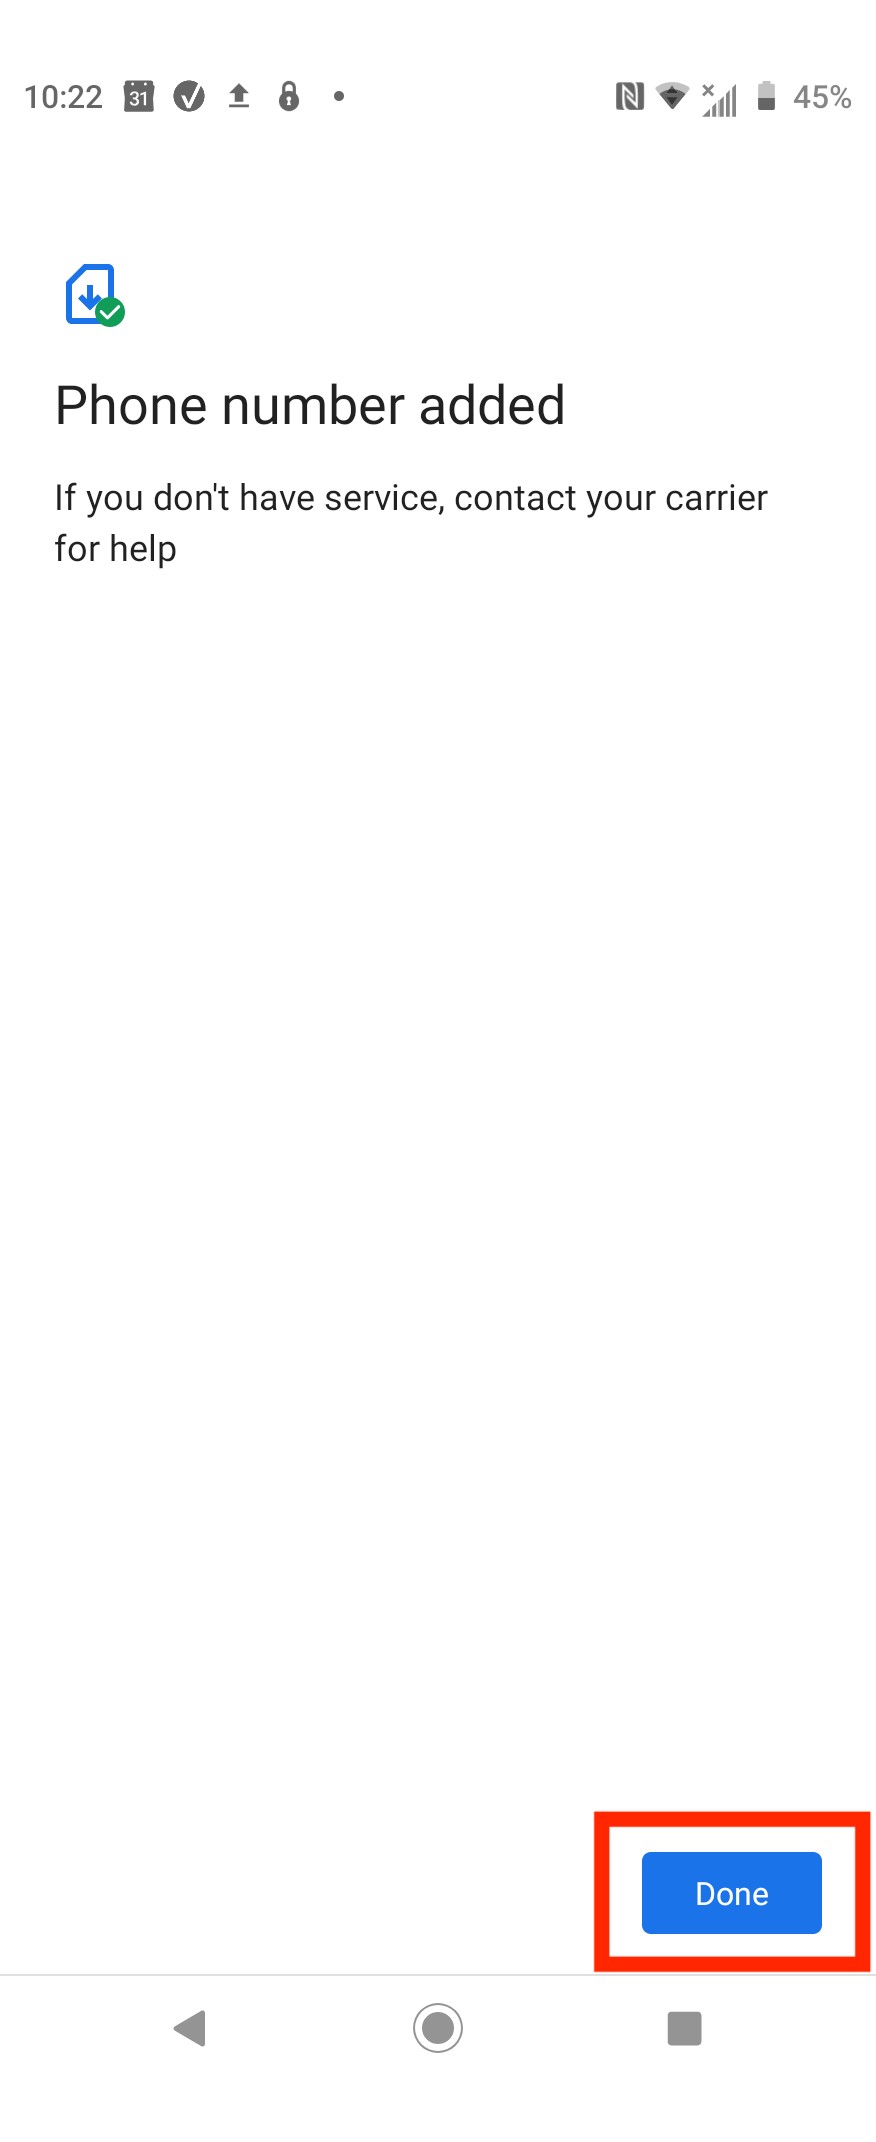
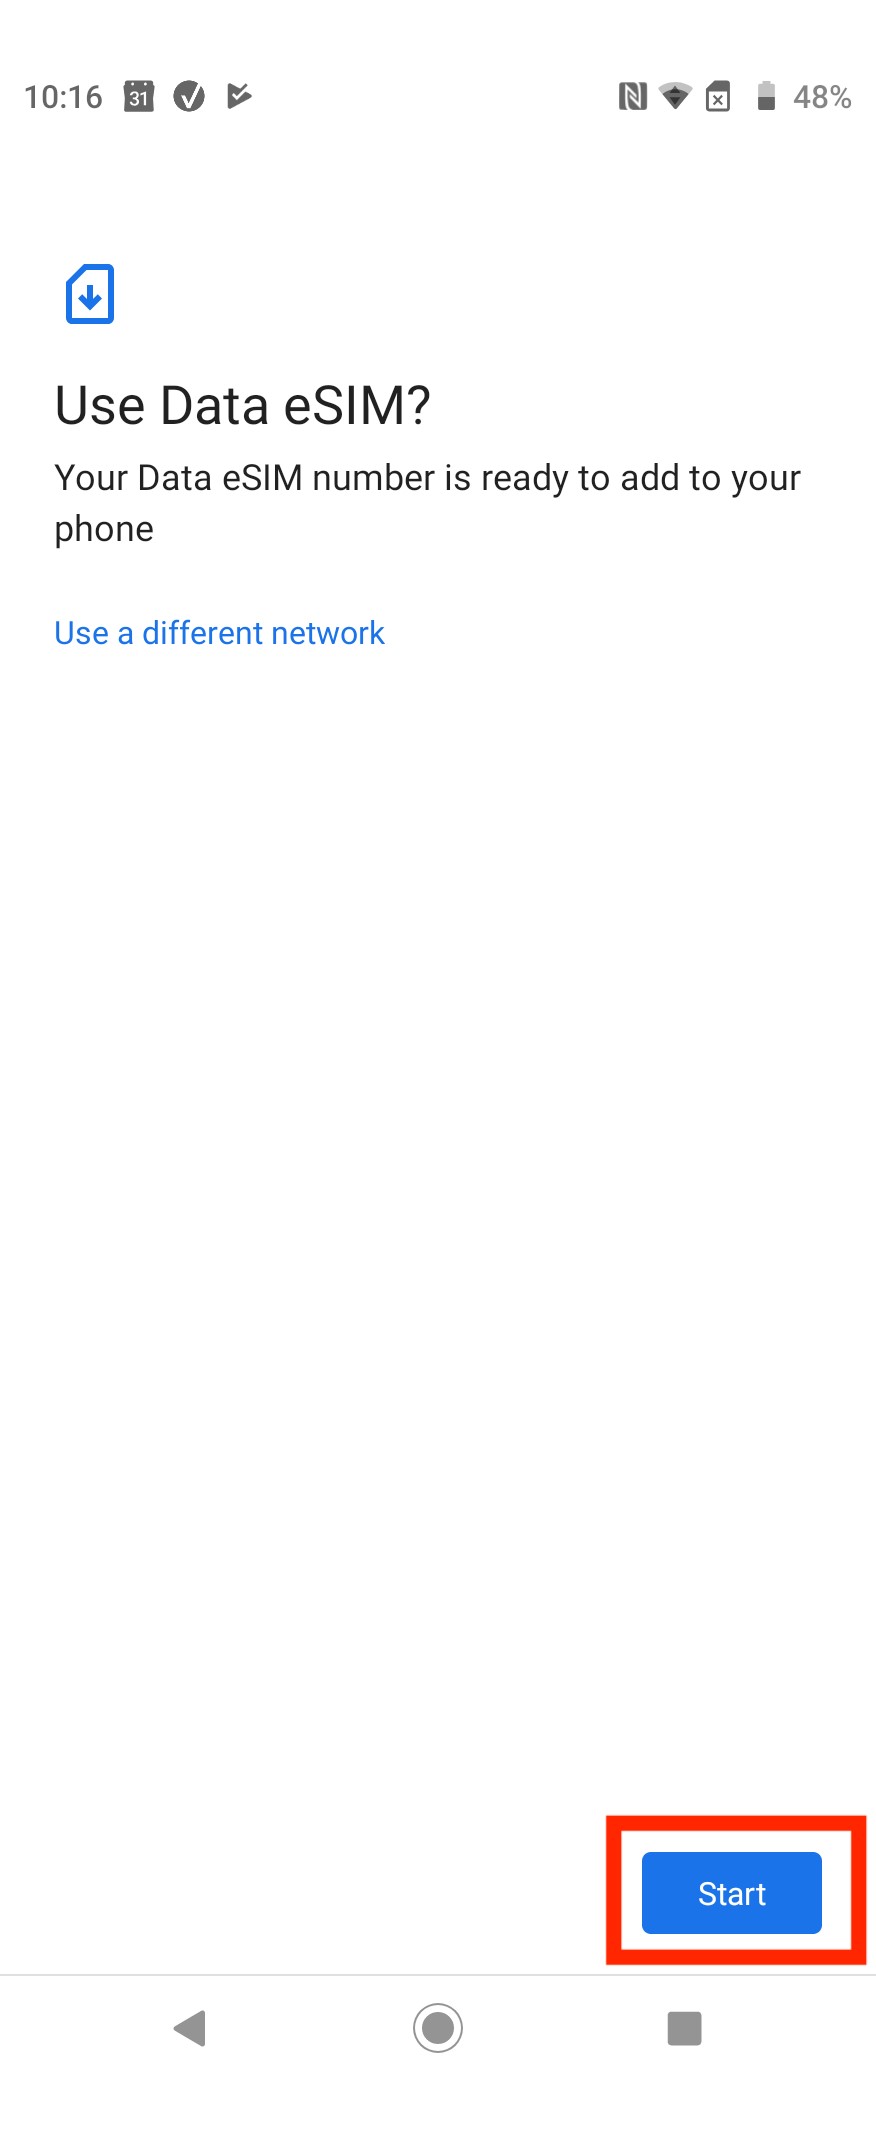
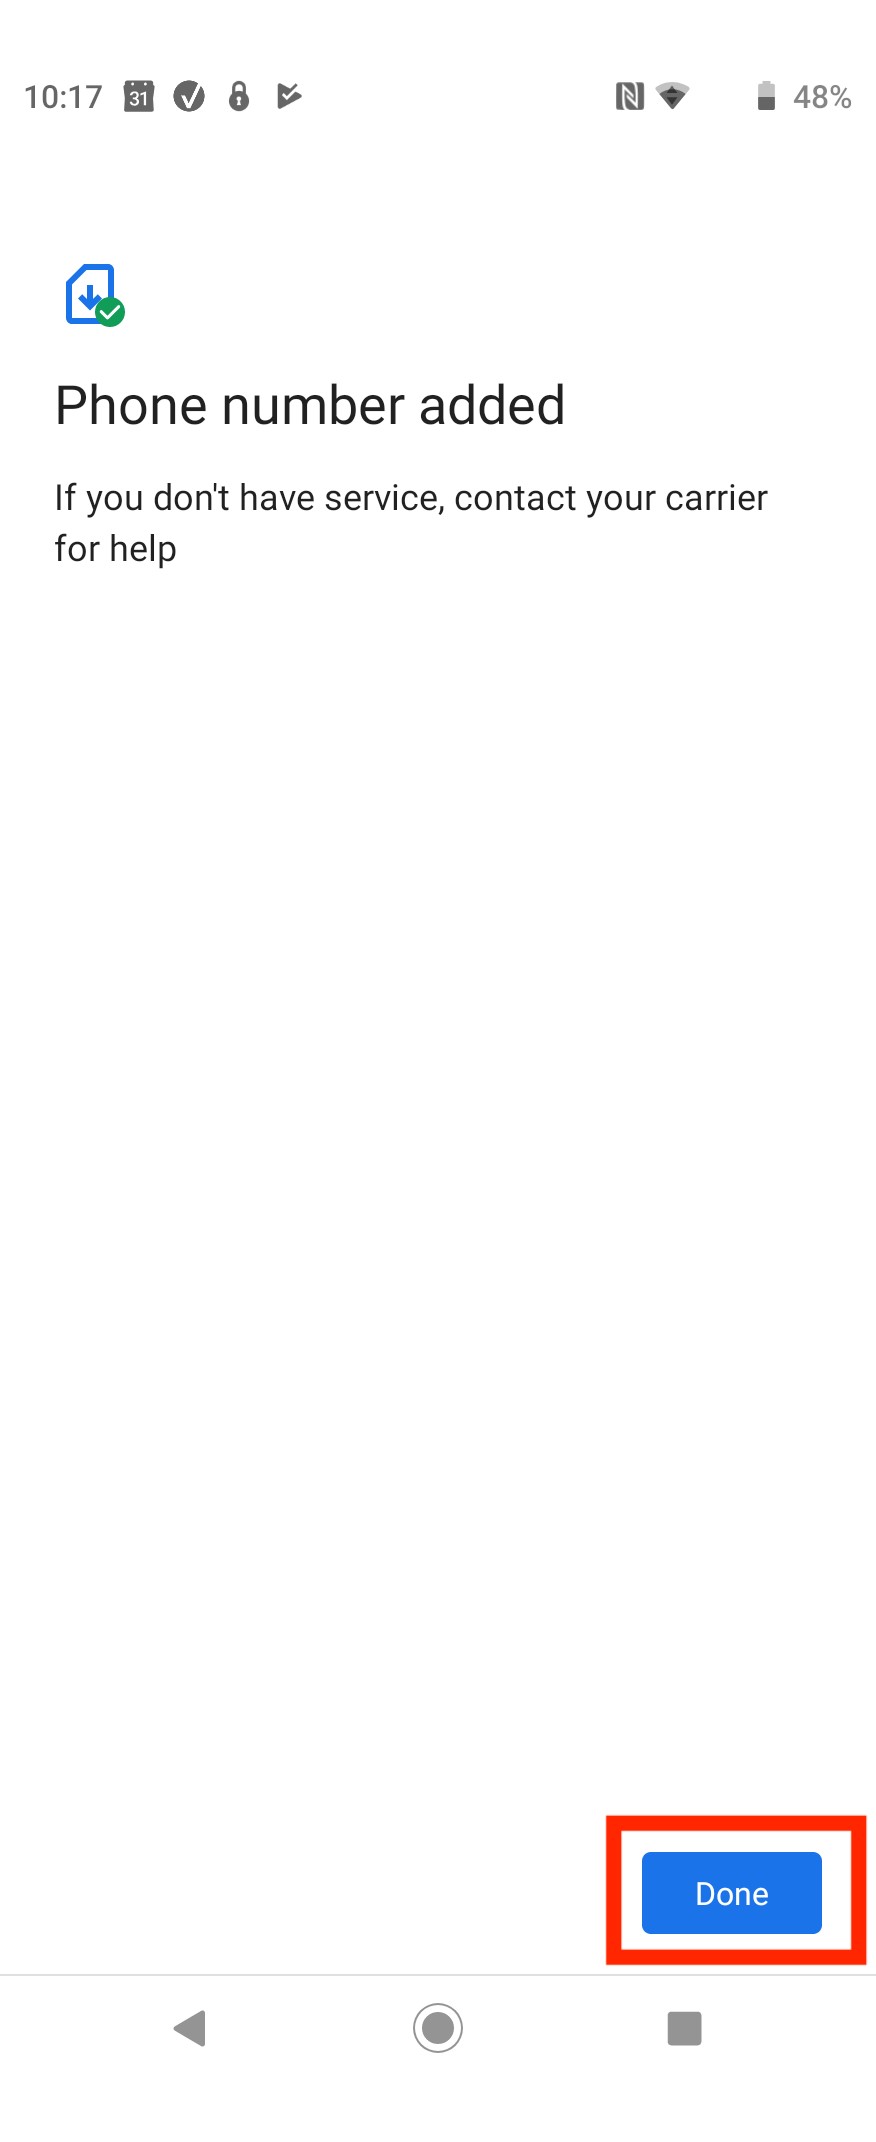
9. When prompted, tap "Add" > Allow up to 10 minutes for the eSIM to activate > Tap "Done"
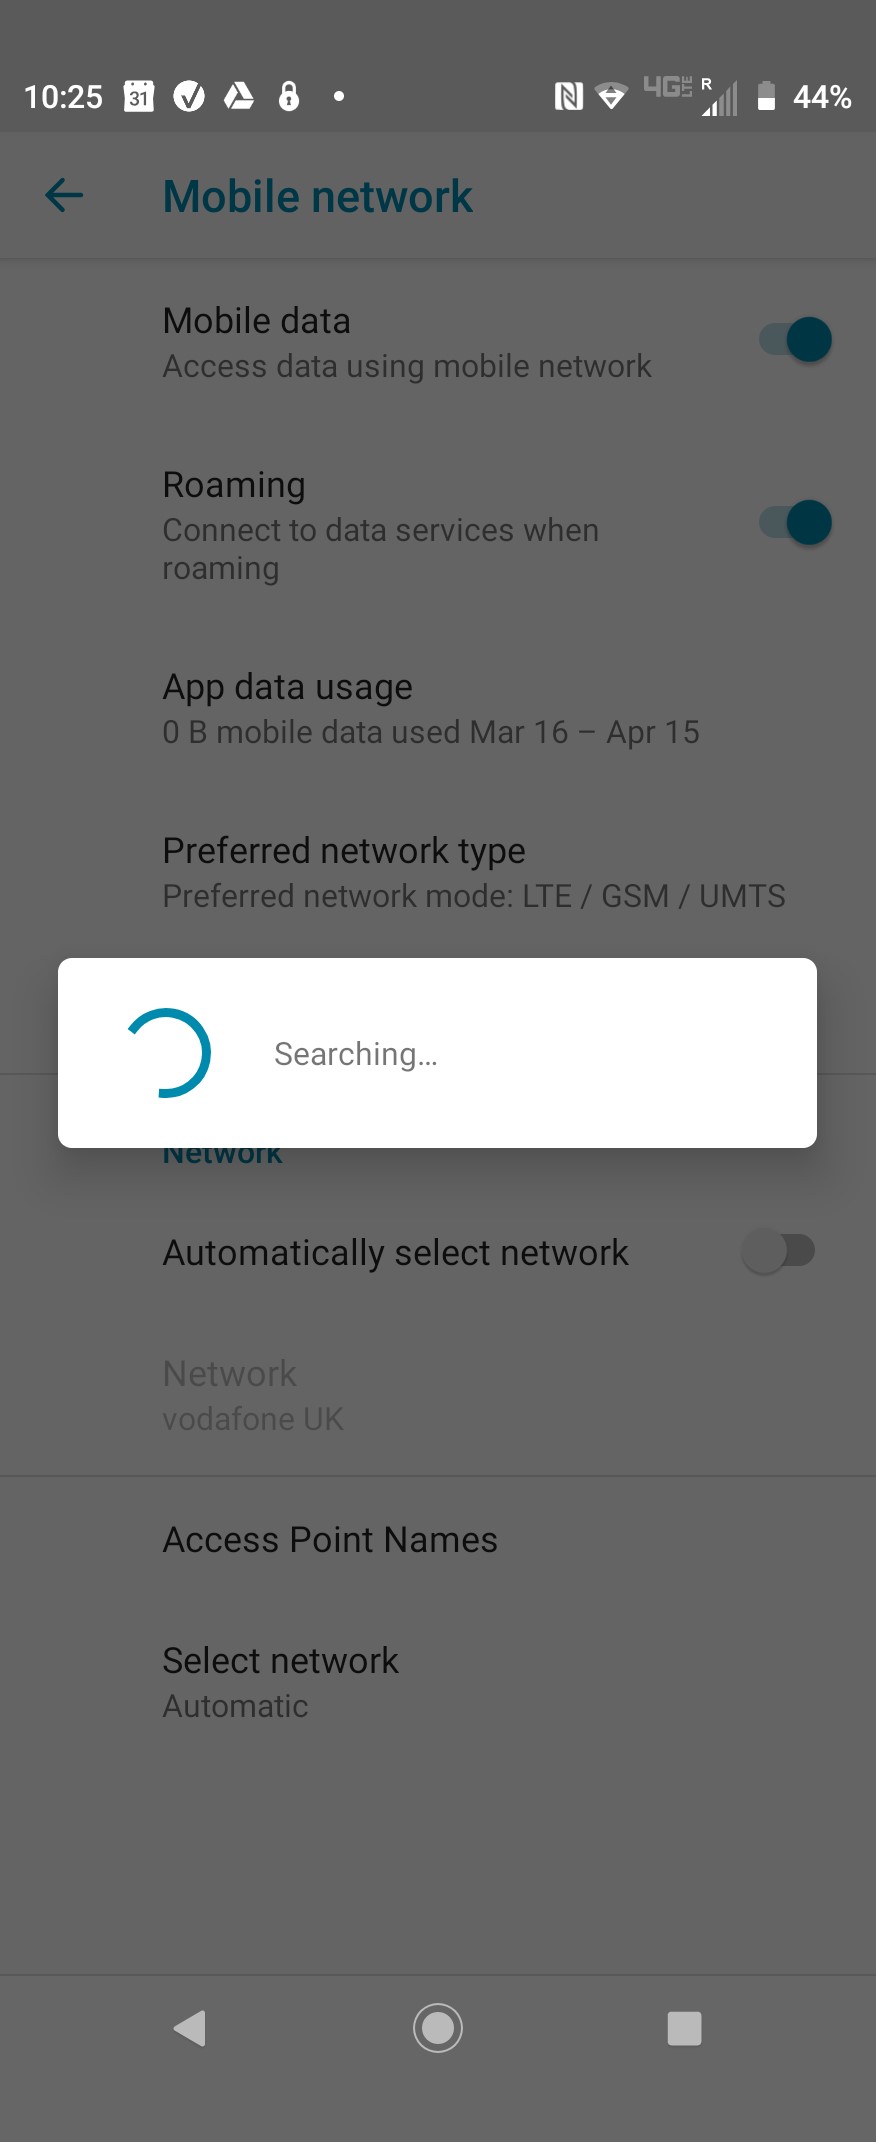
Note: This may take up to 10 minutes, please do NOT close this, or the installation will stop.
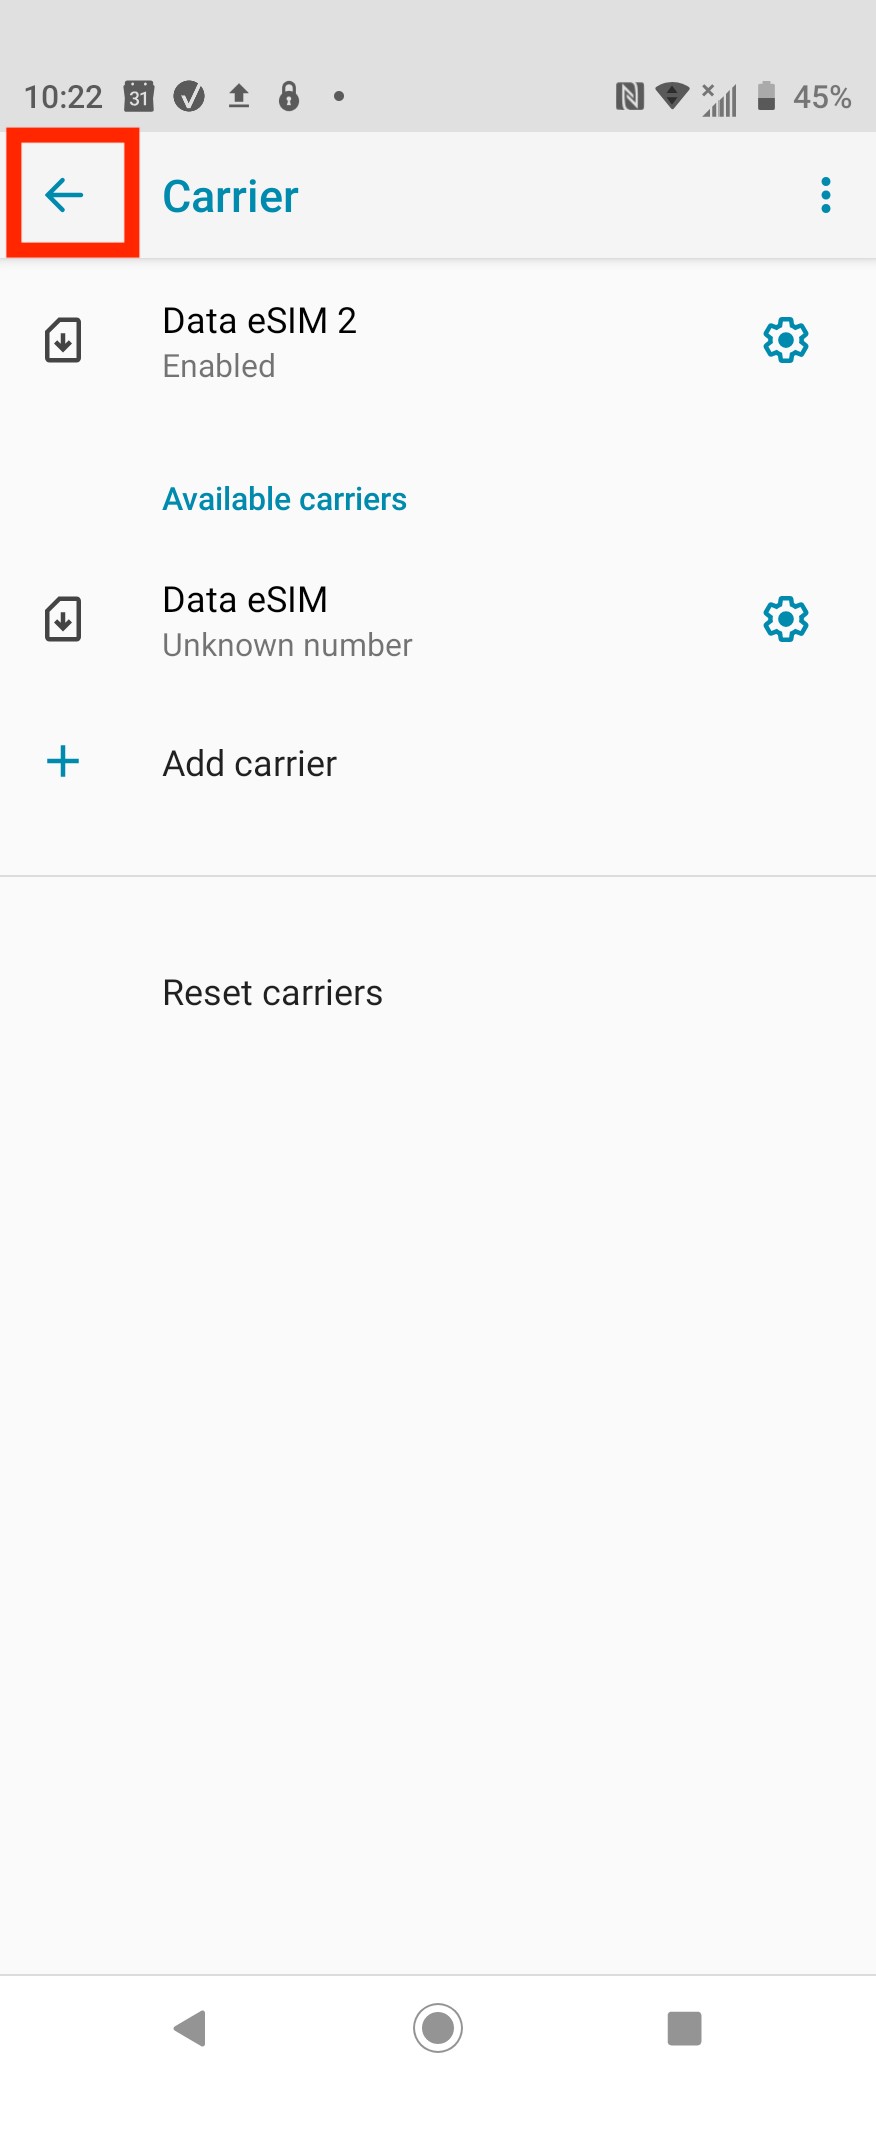
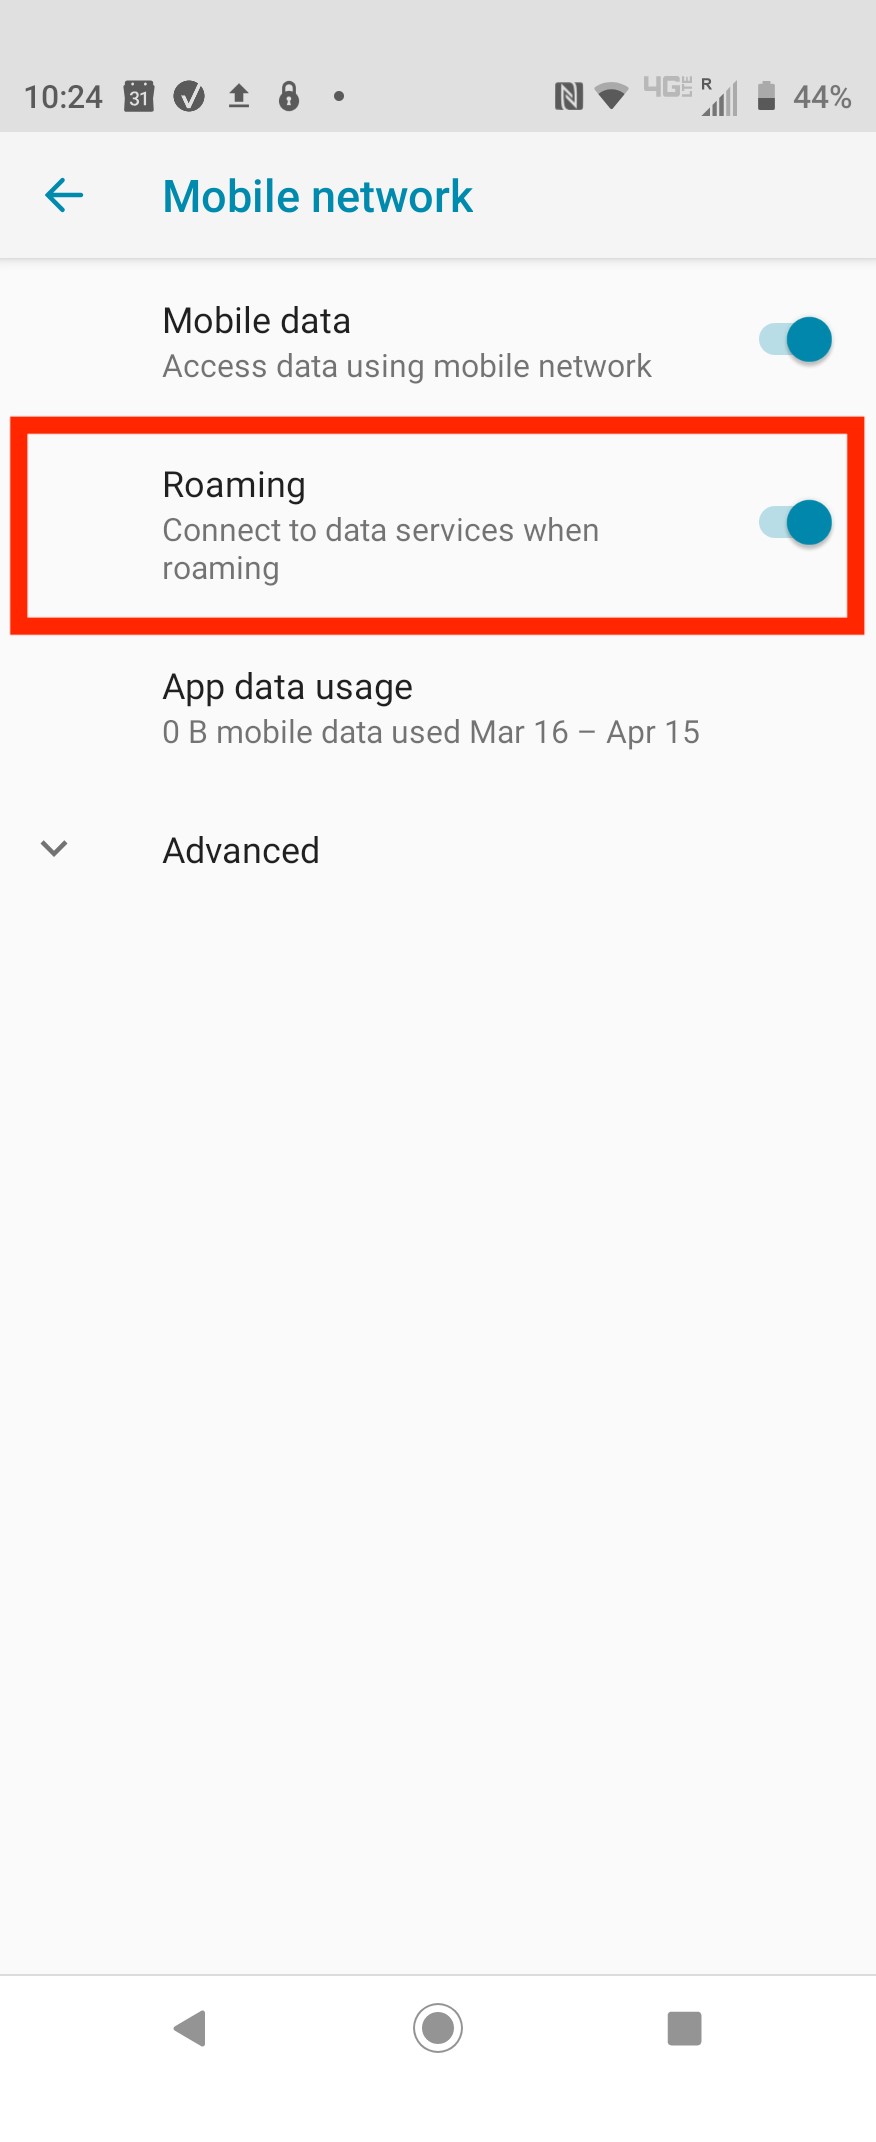
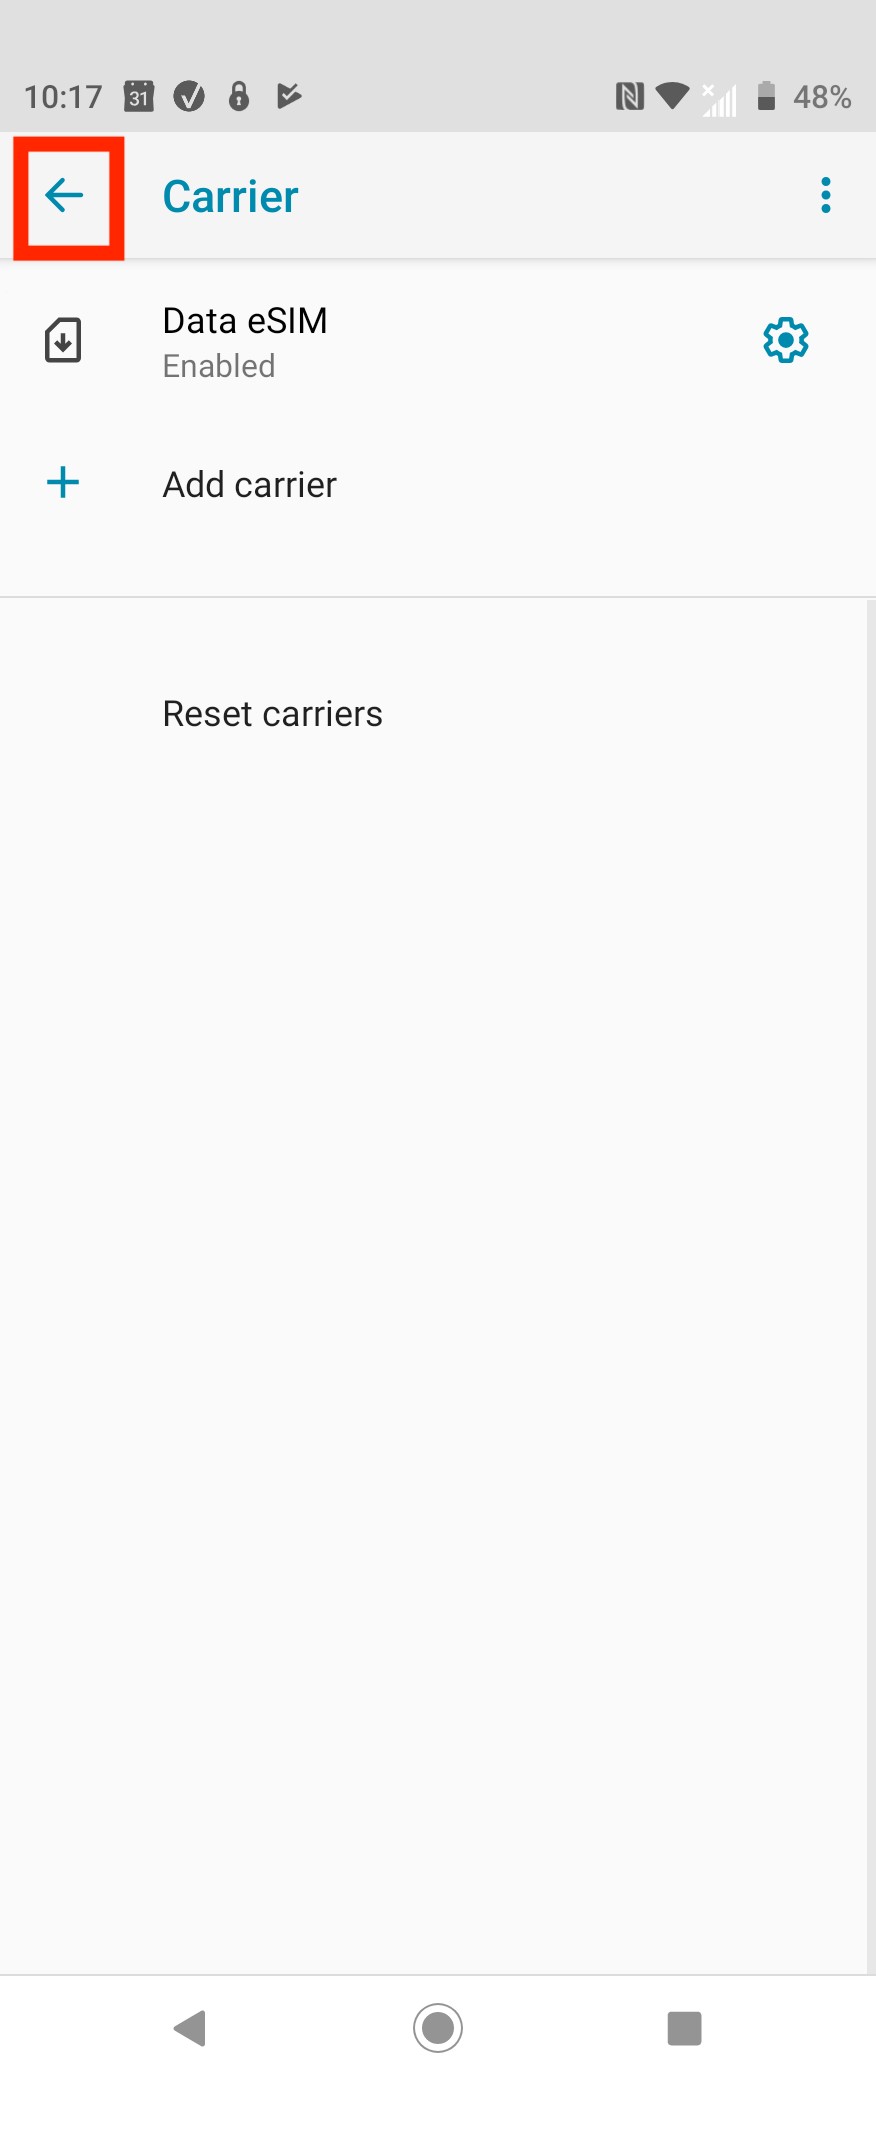
10. Once the eSIM has been installed, click the back "arrow" as shown in the photo below.
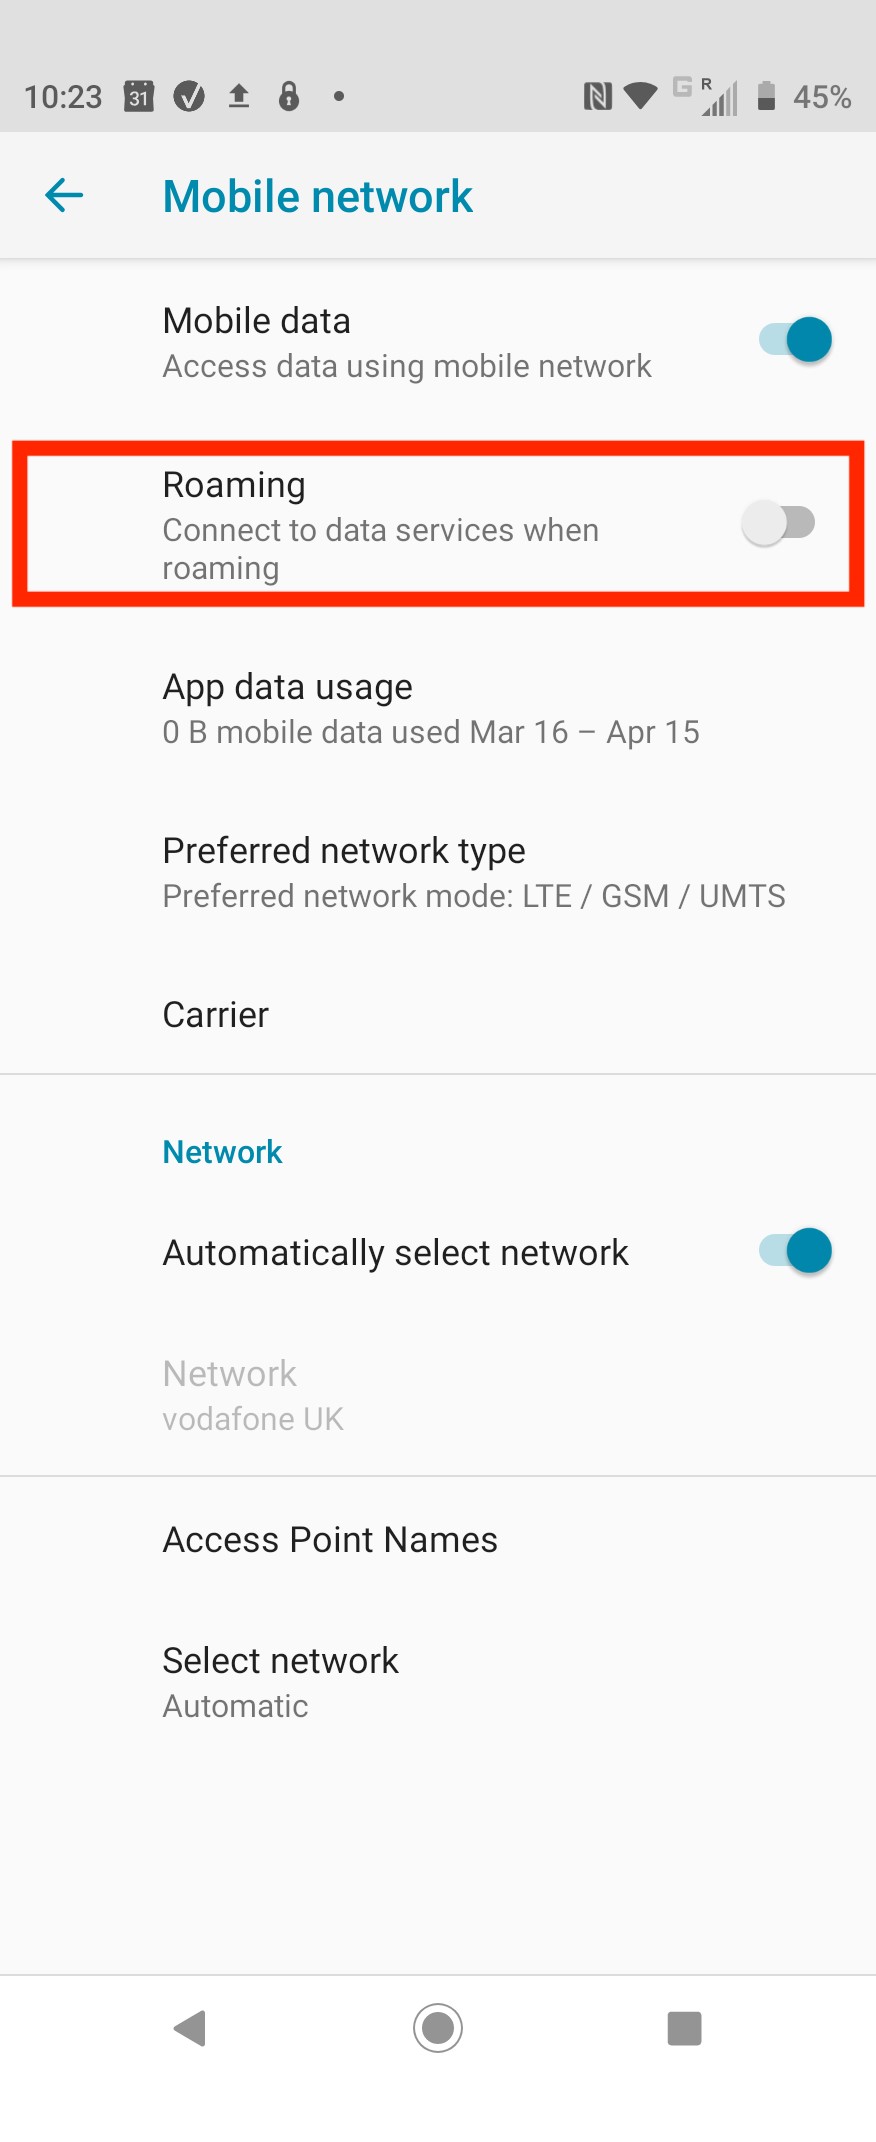
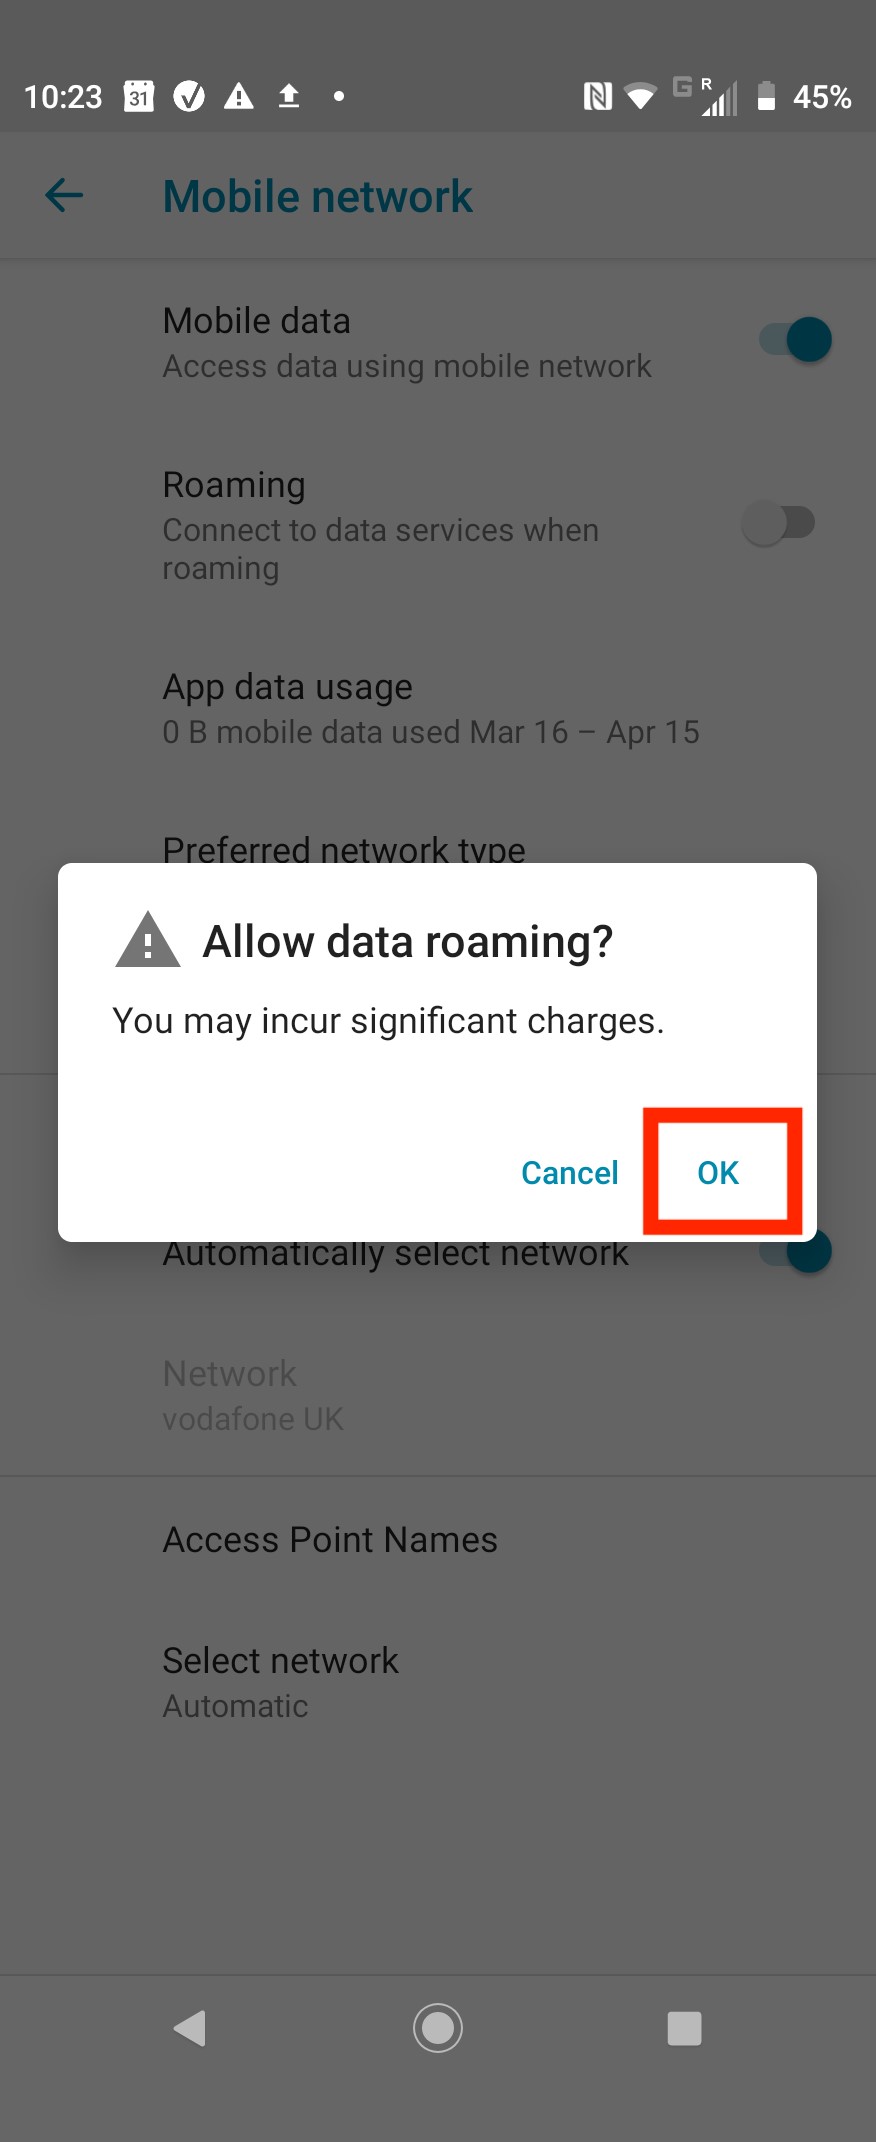
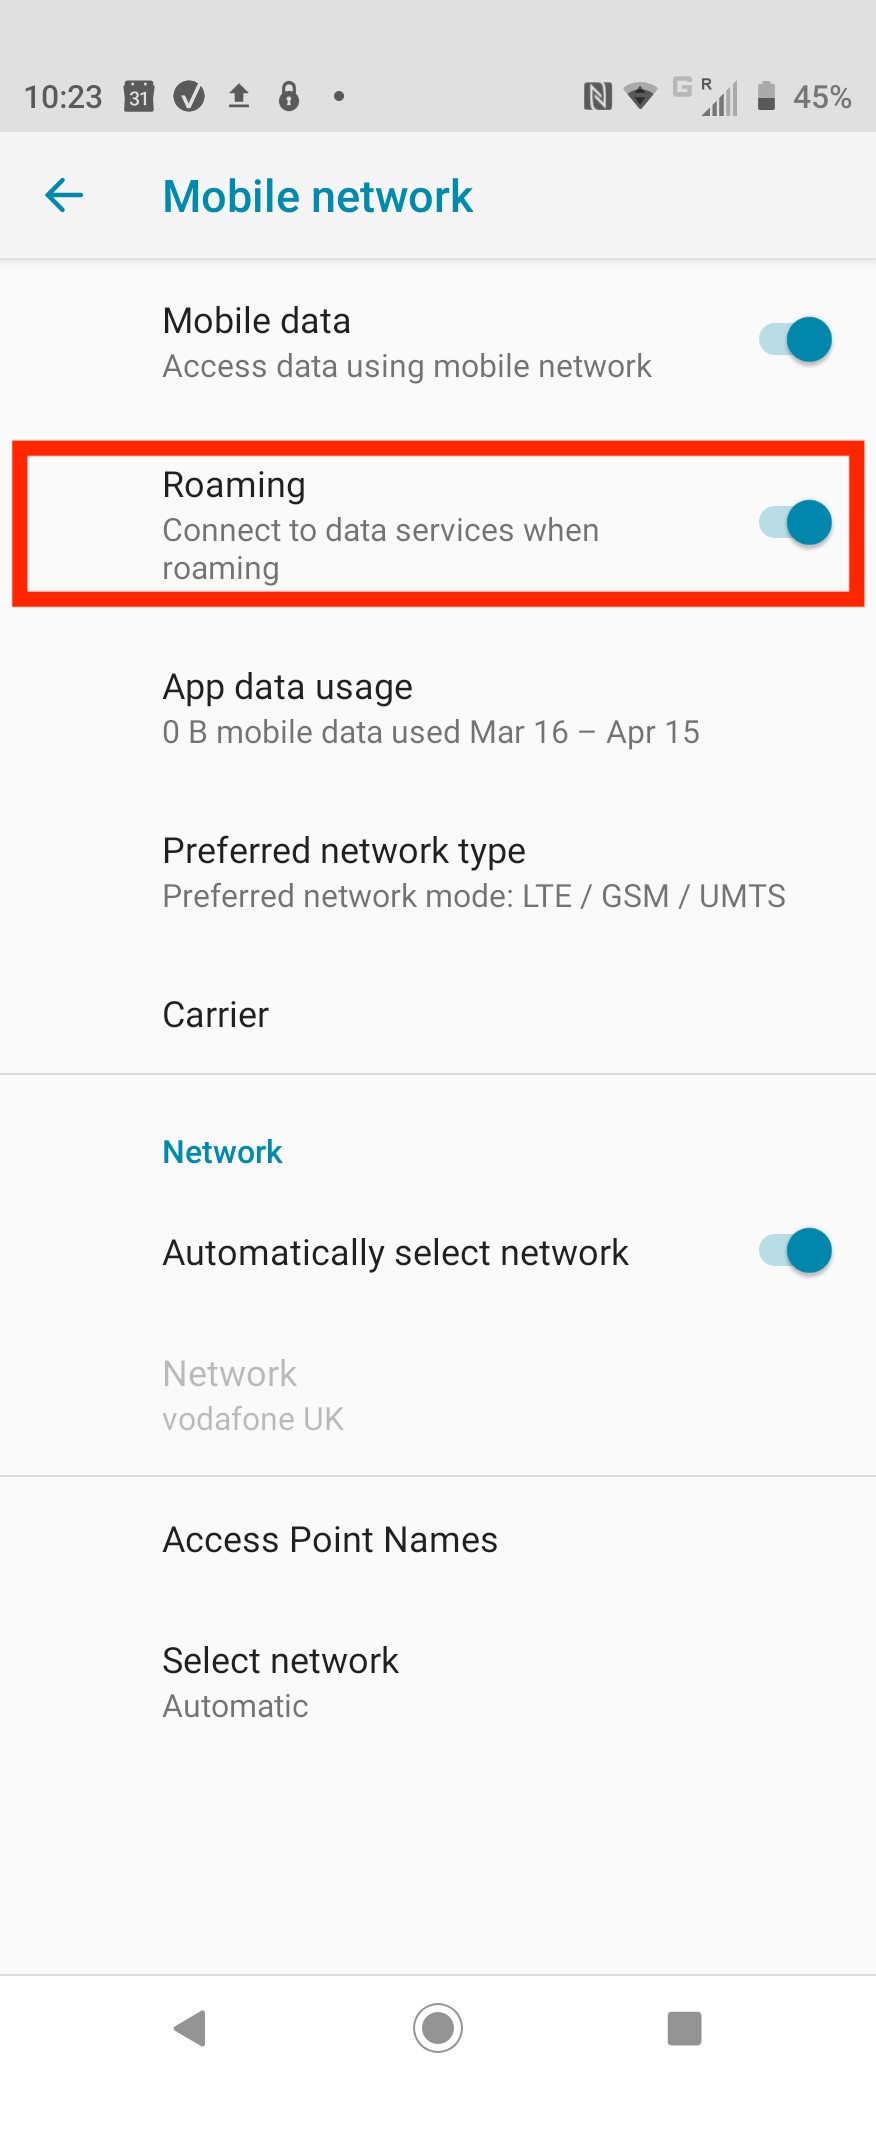
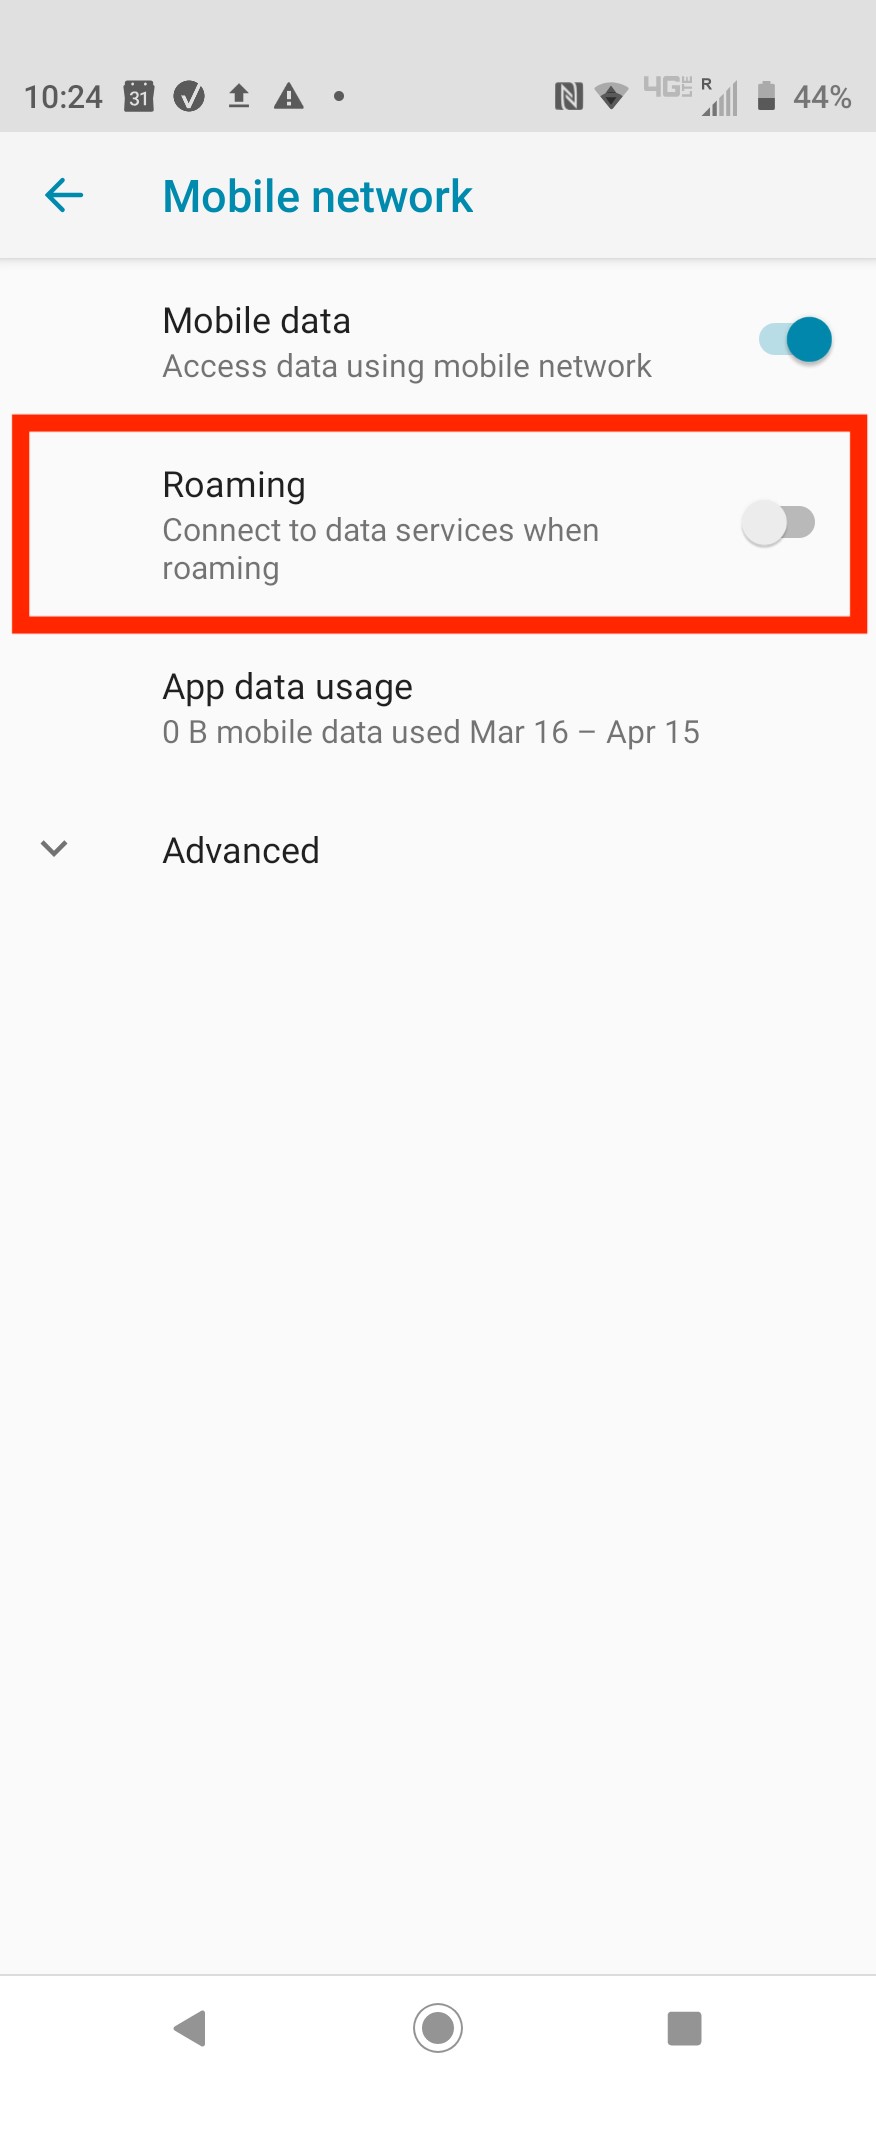
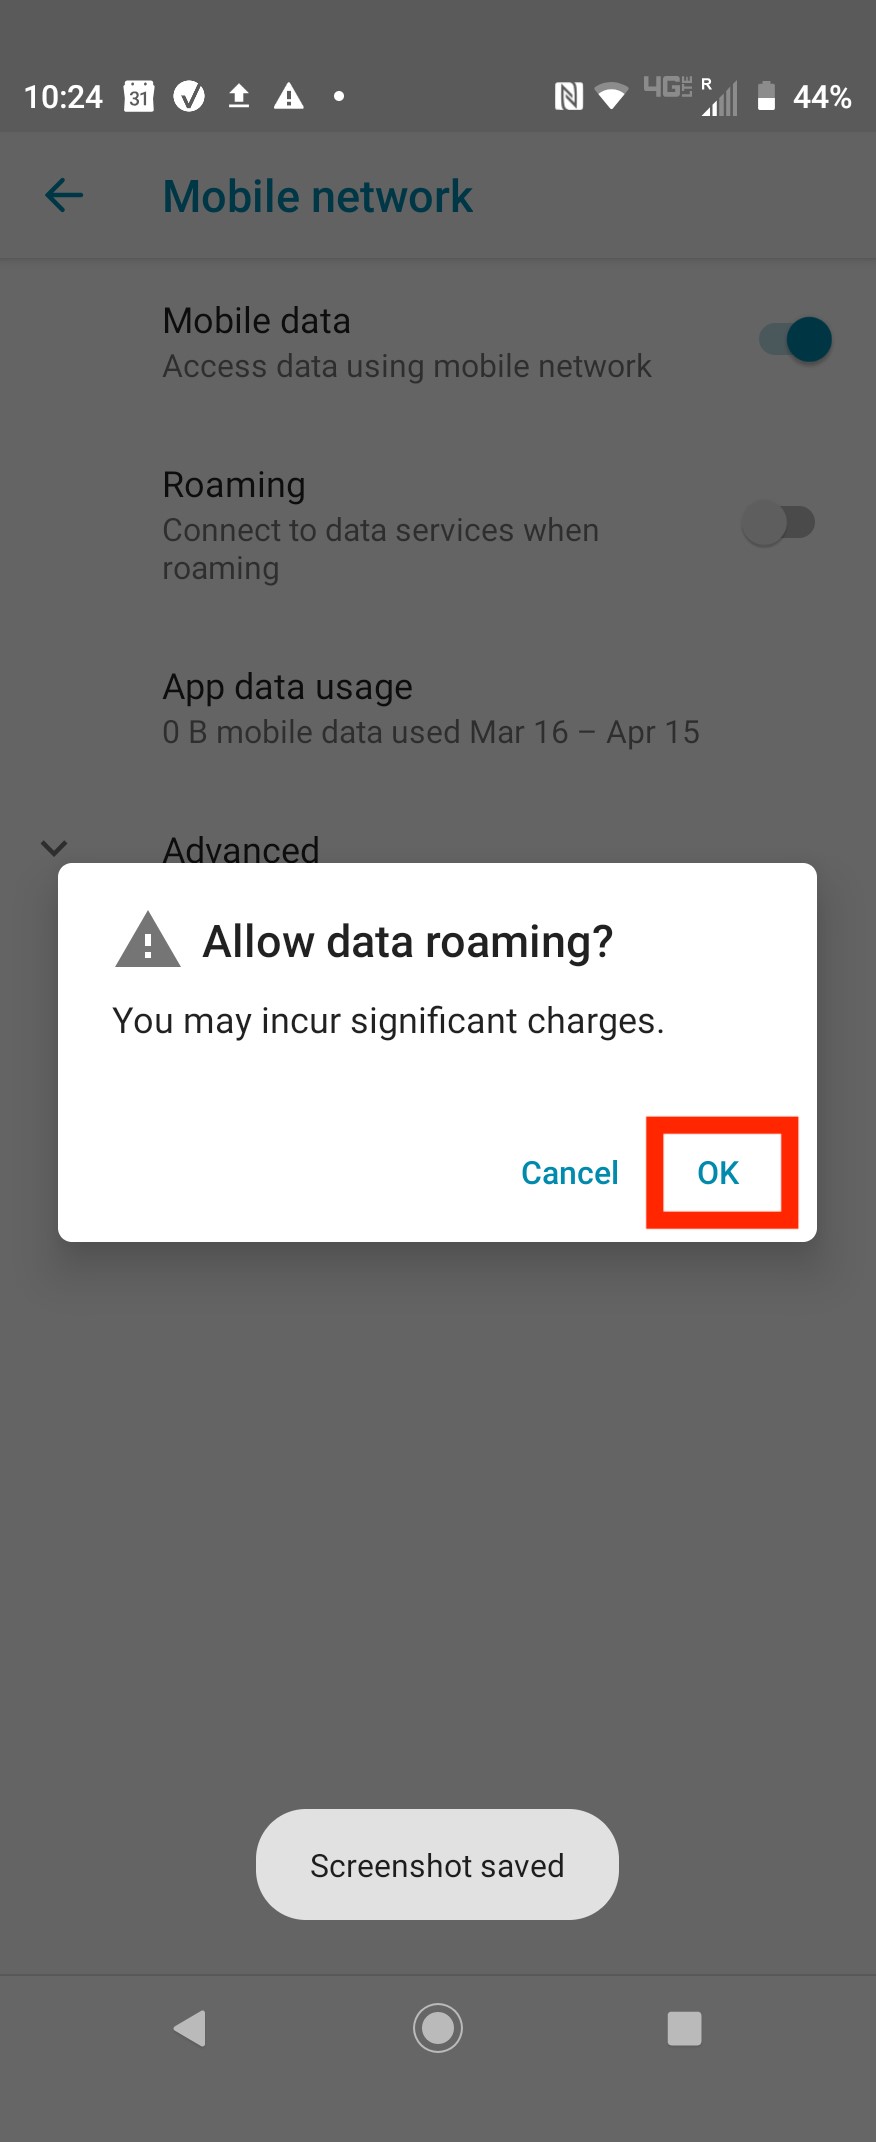
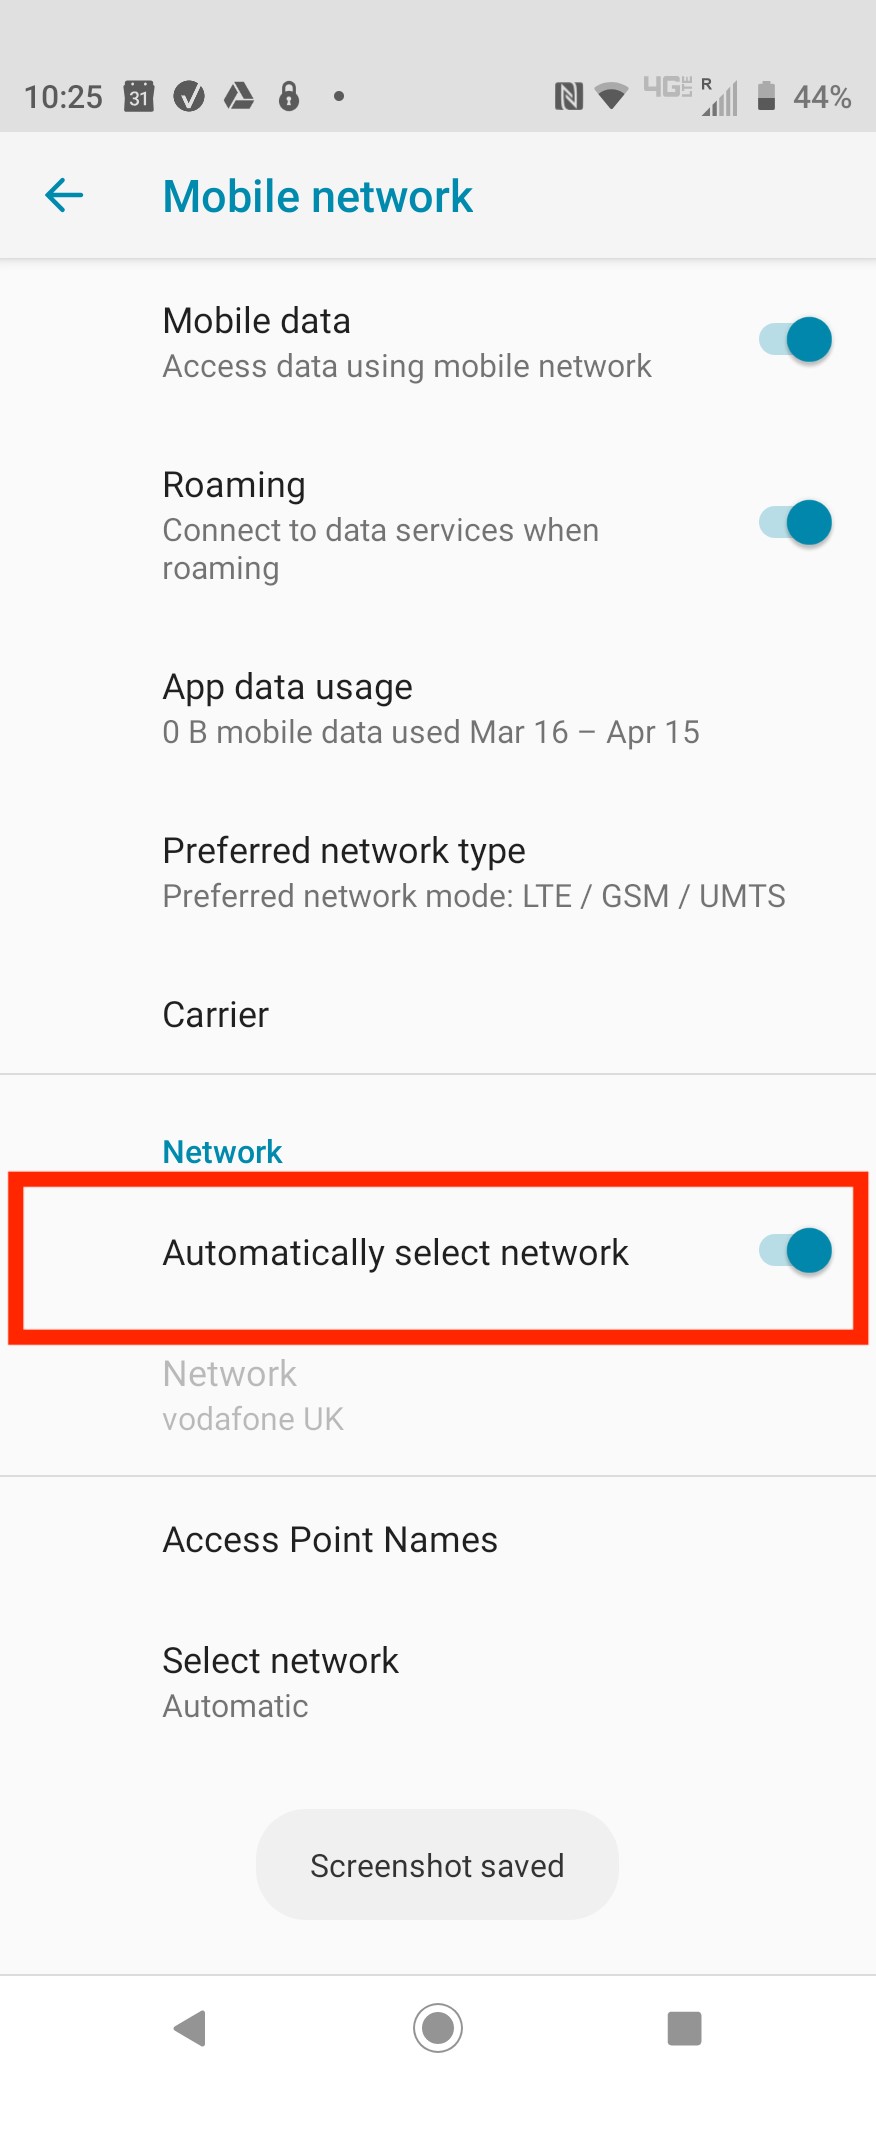
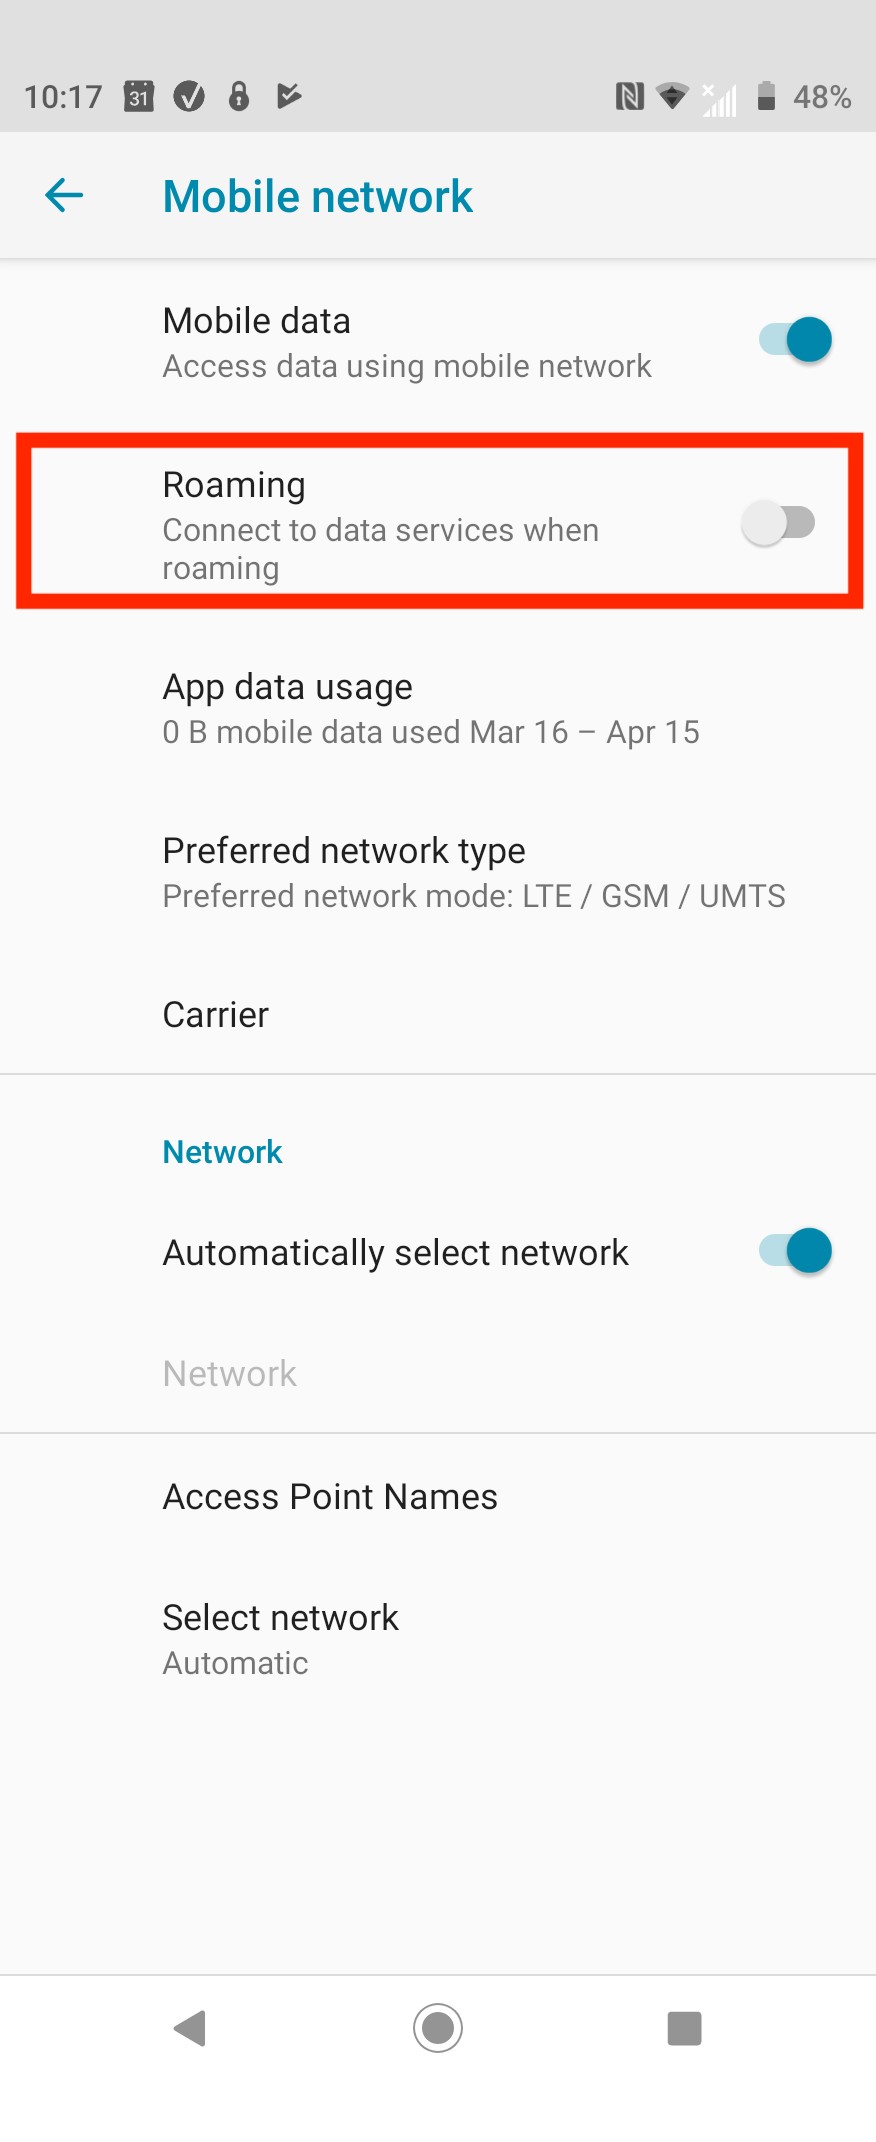
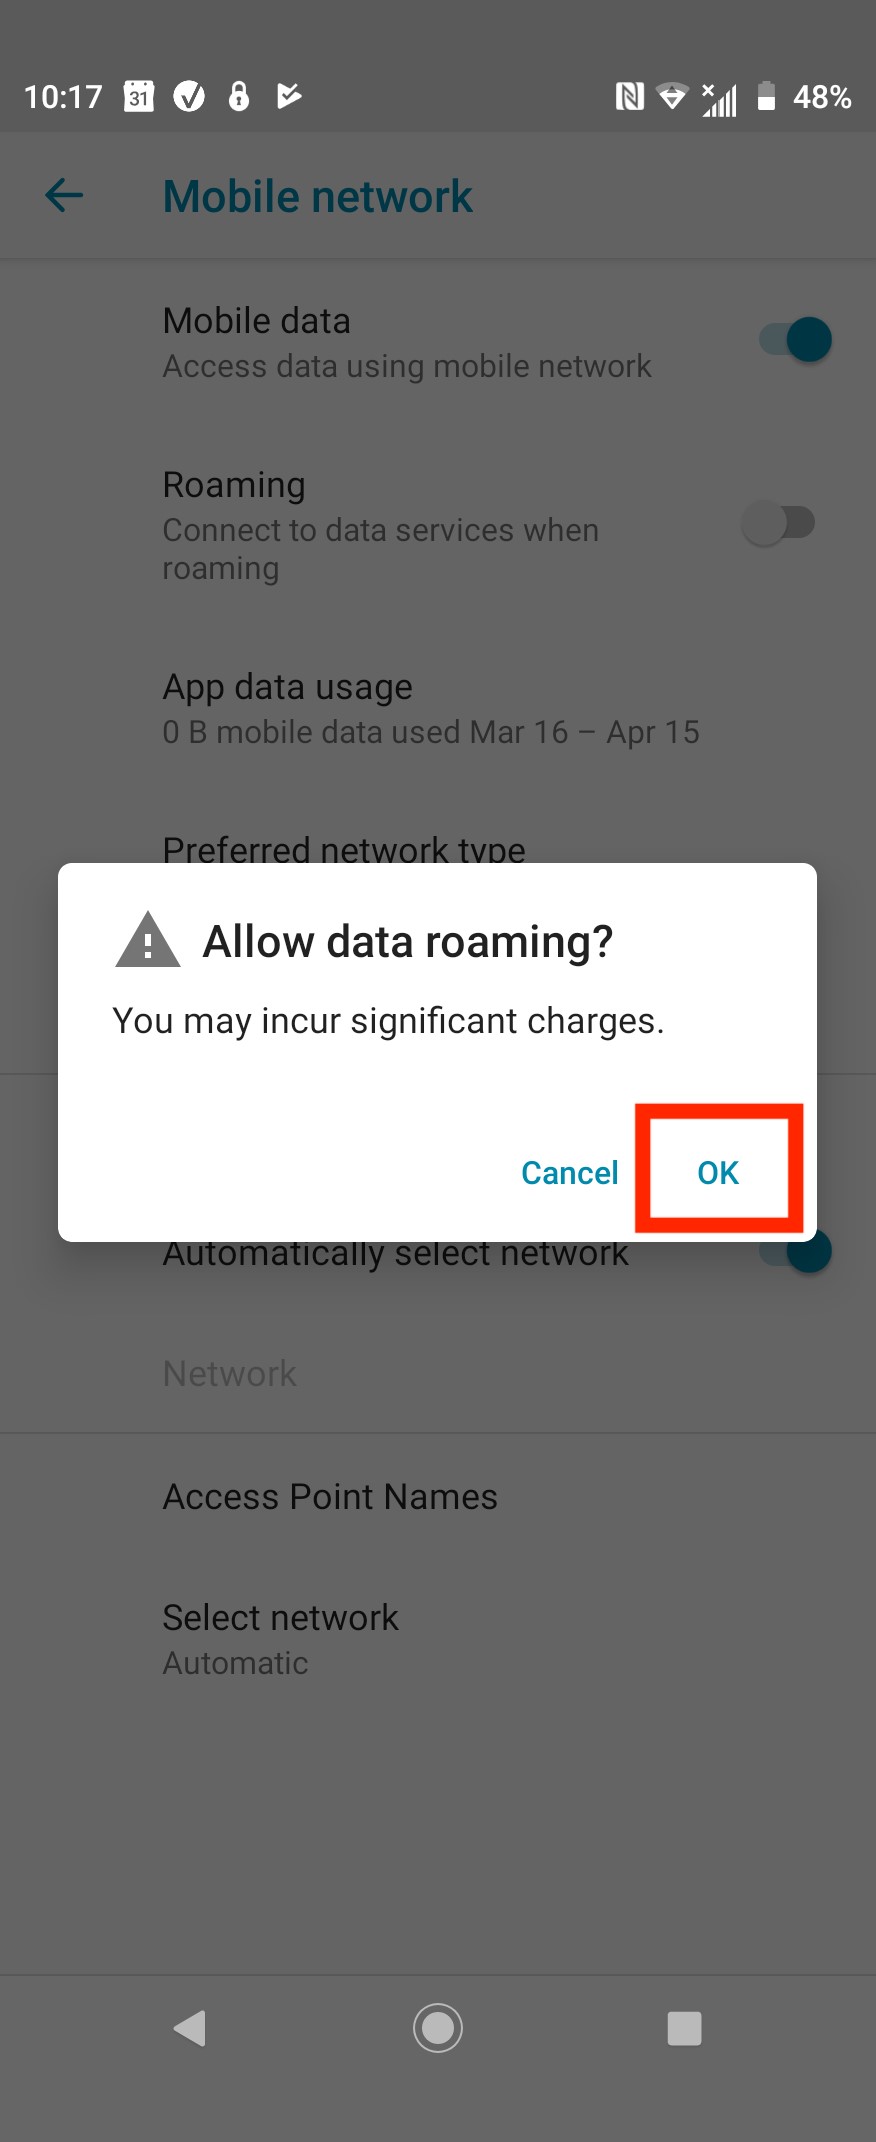
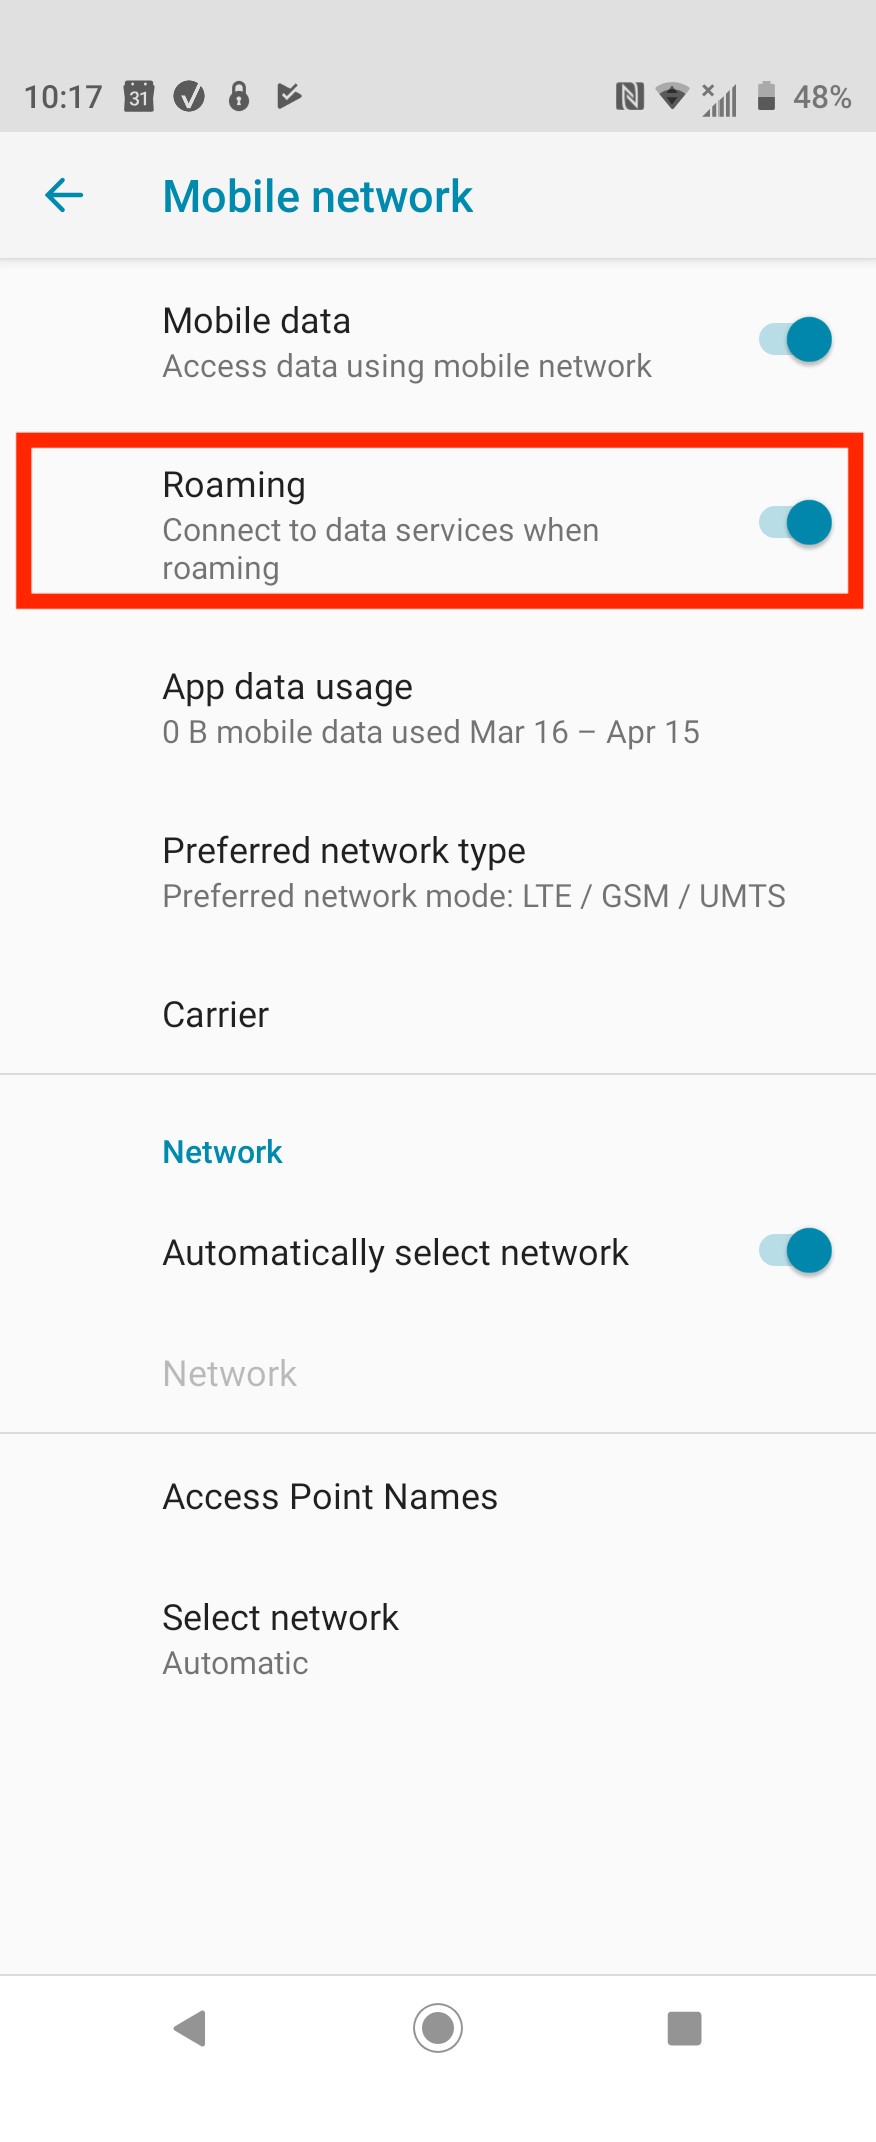
11. Make sure "Roaming" is turned on.
Note: If you do not have Data Roaming enabled, the eSIM will not work.
If you experience any issues when trying to install your eSIM, have a look at our article here: