We use four of the biggest mobile network providers in the United Kingdom for our eSIMs. These are as follows:
- O2
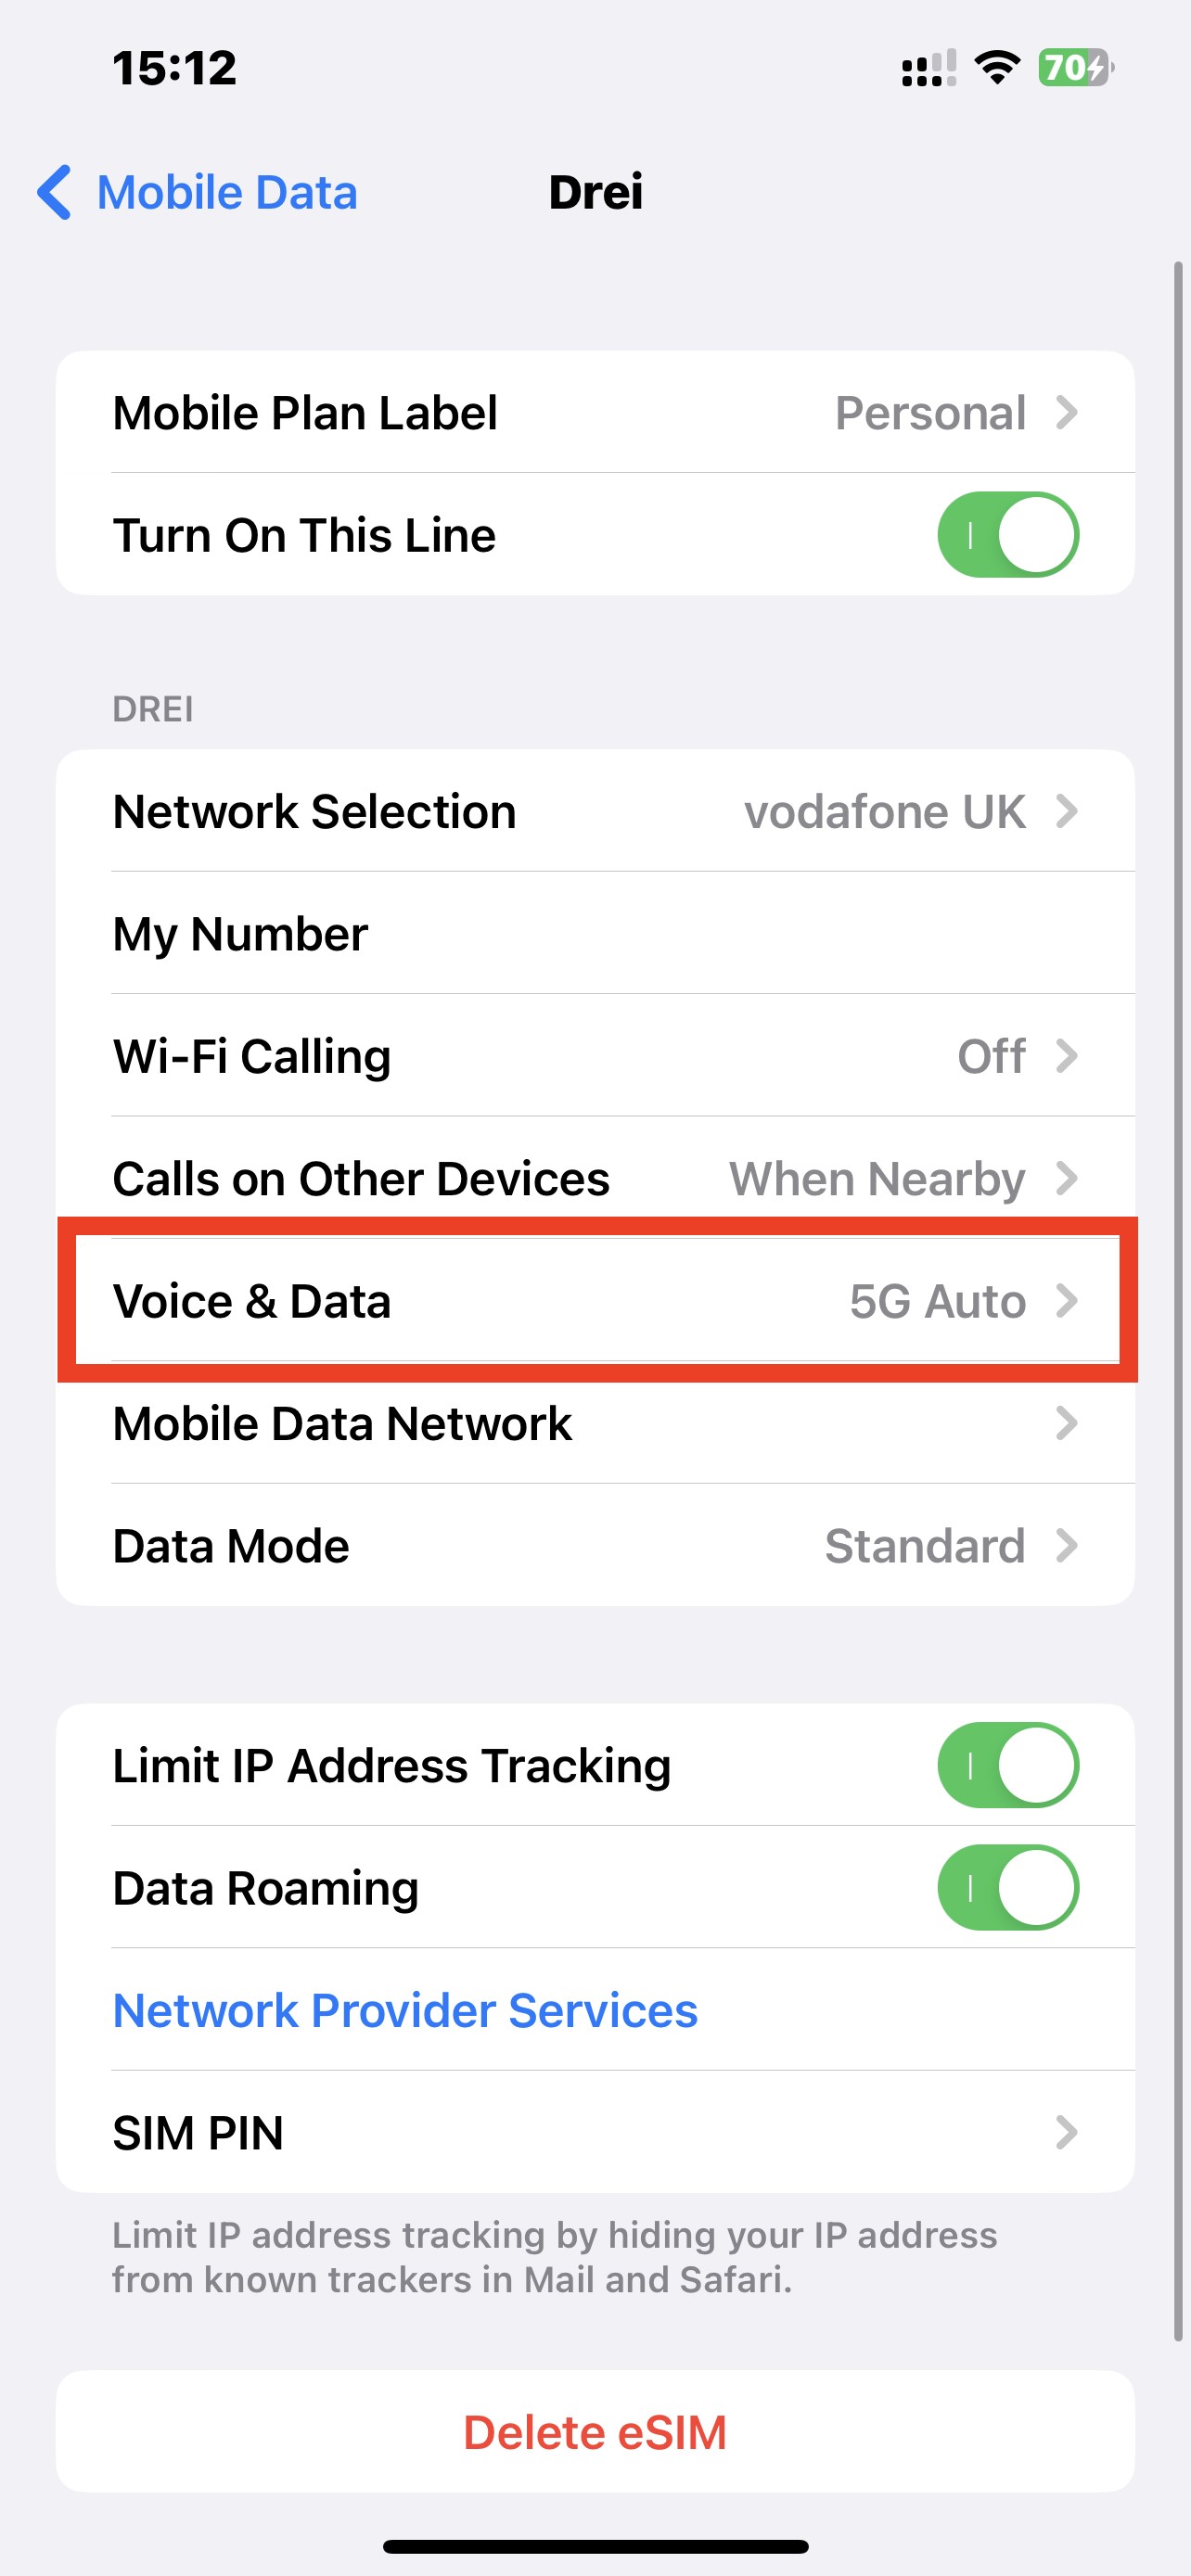
- Vodafone
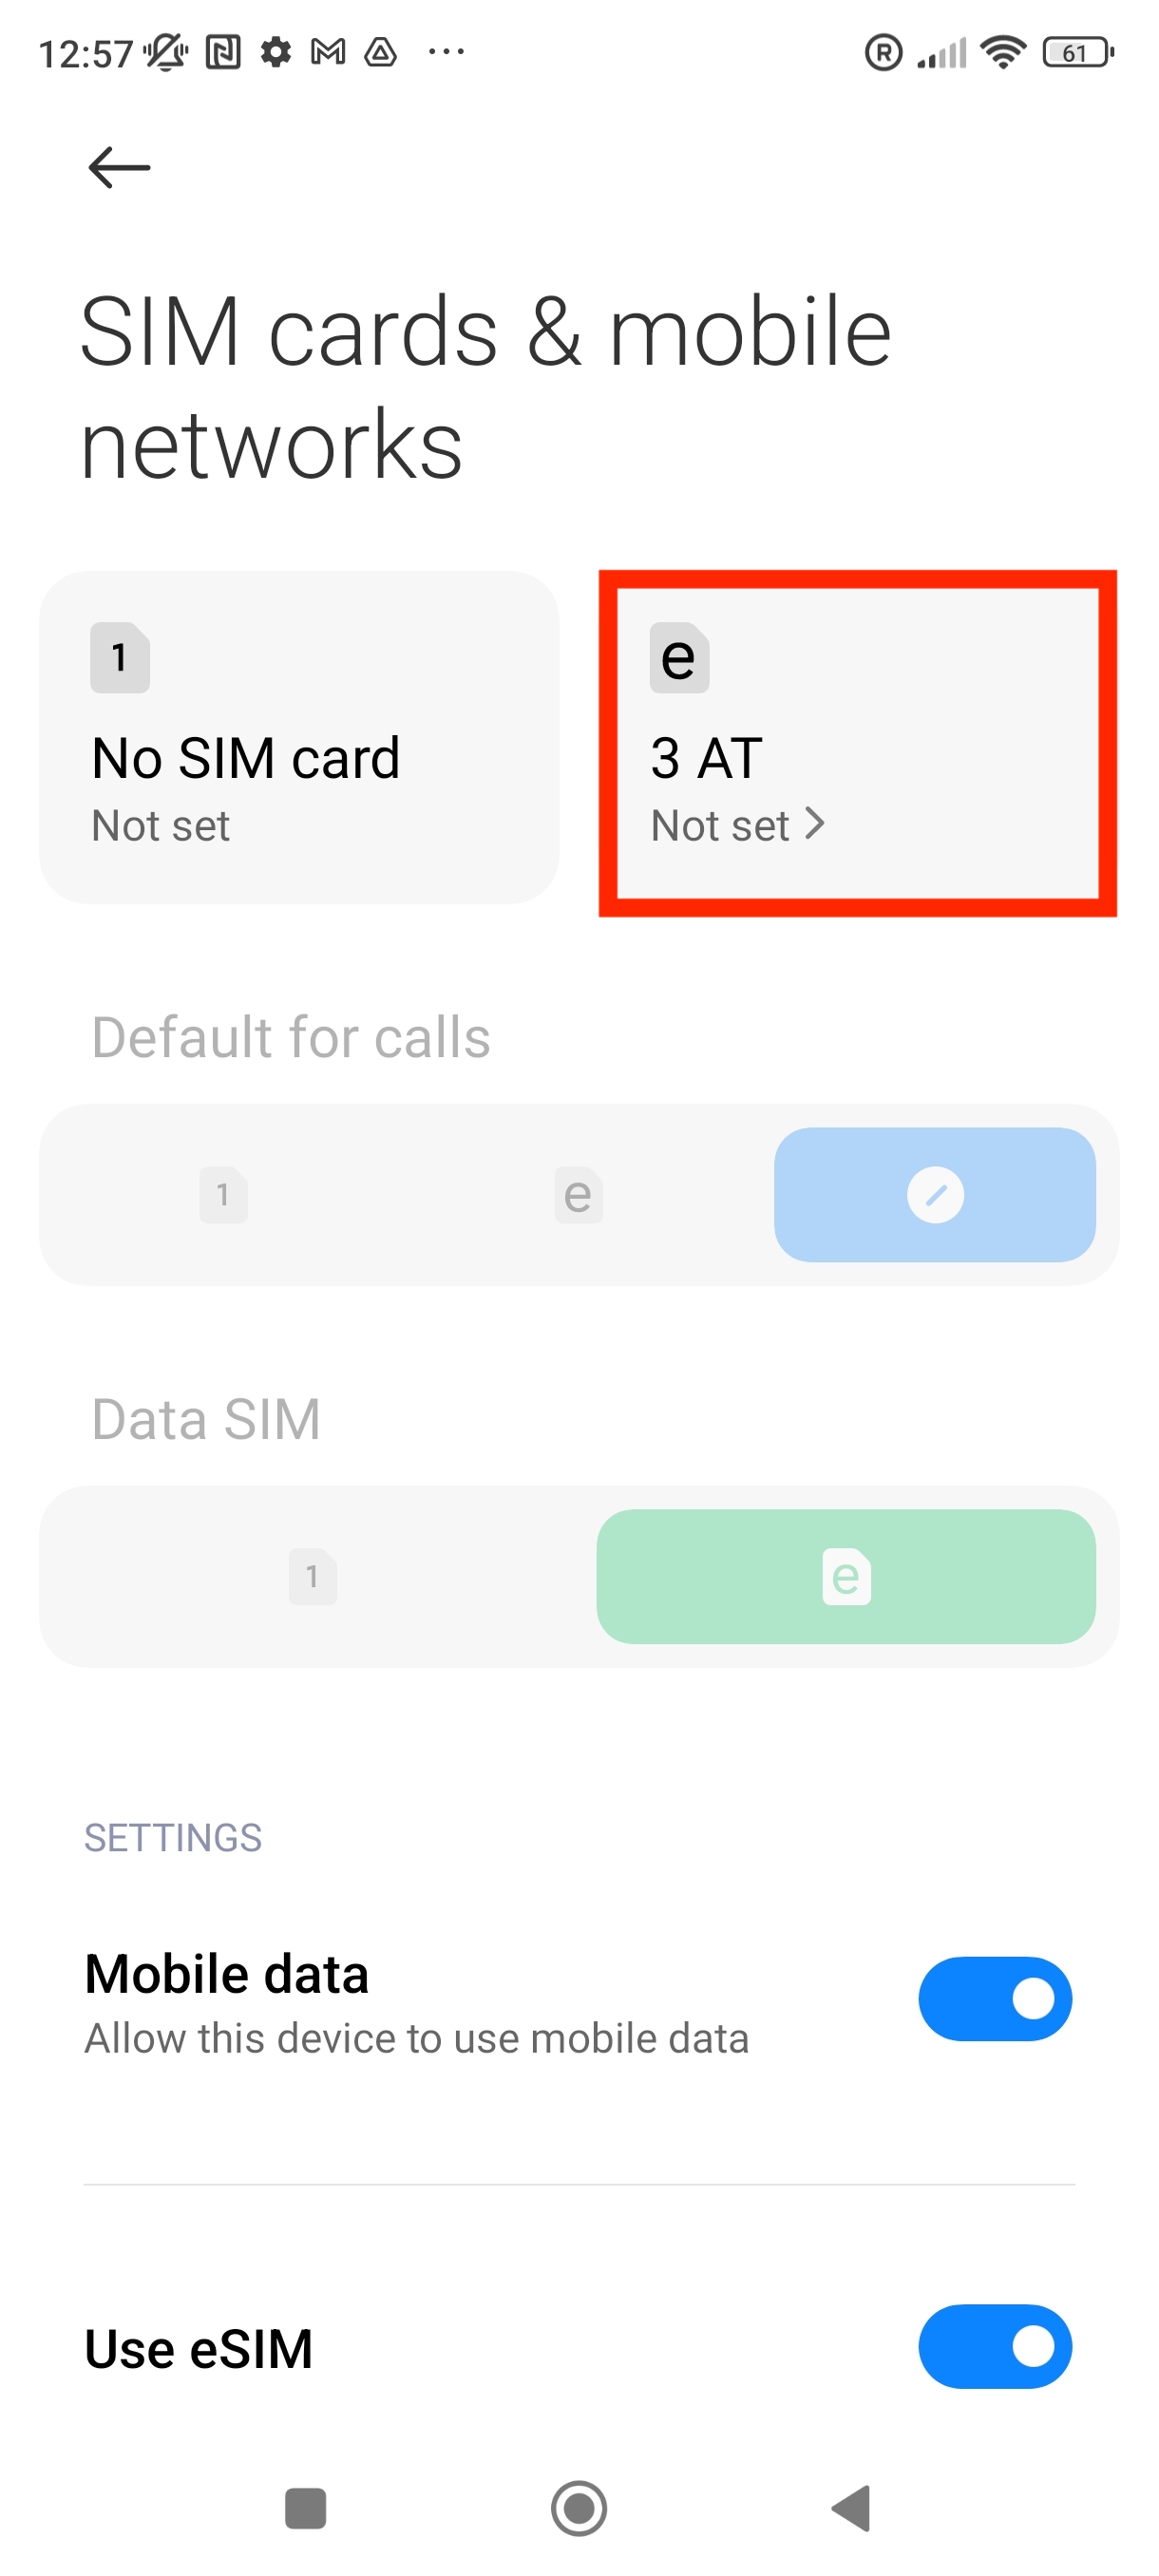
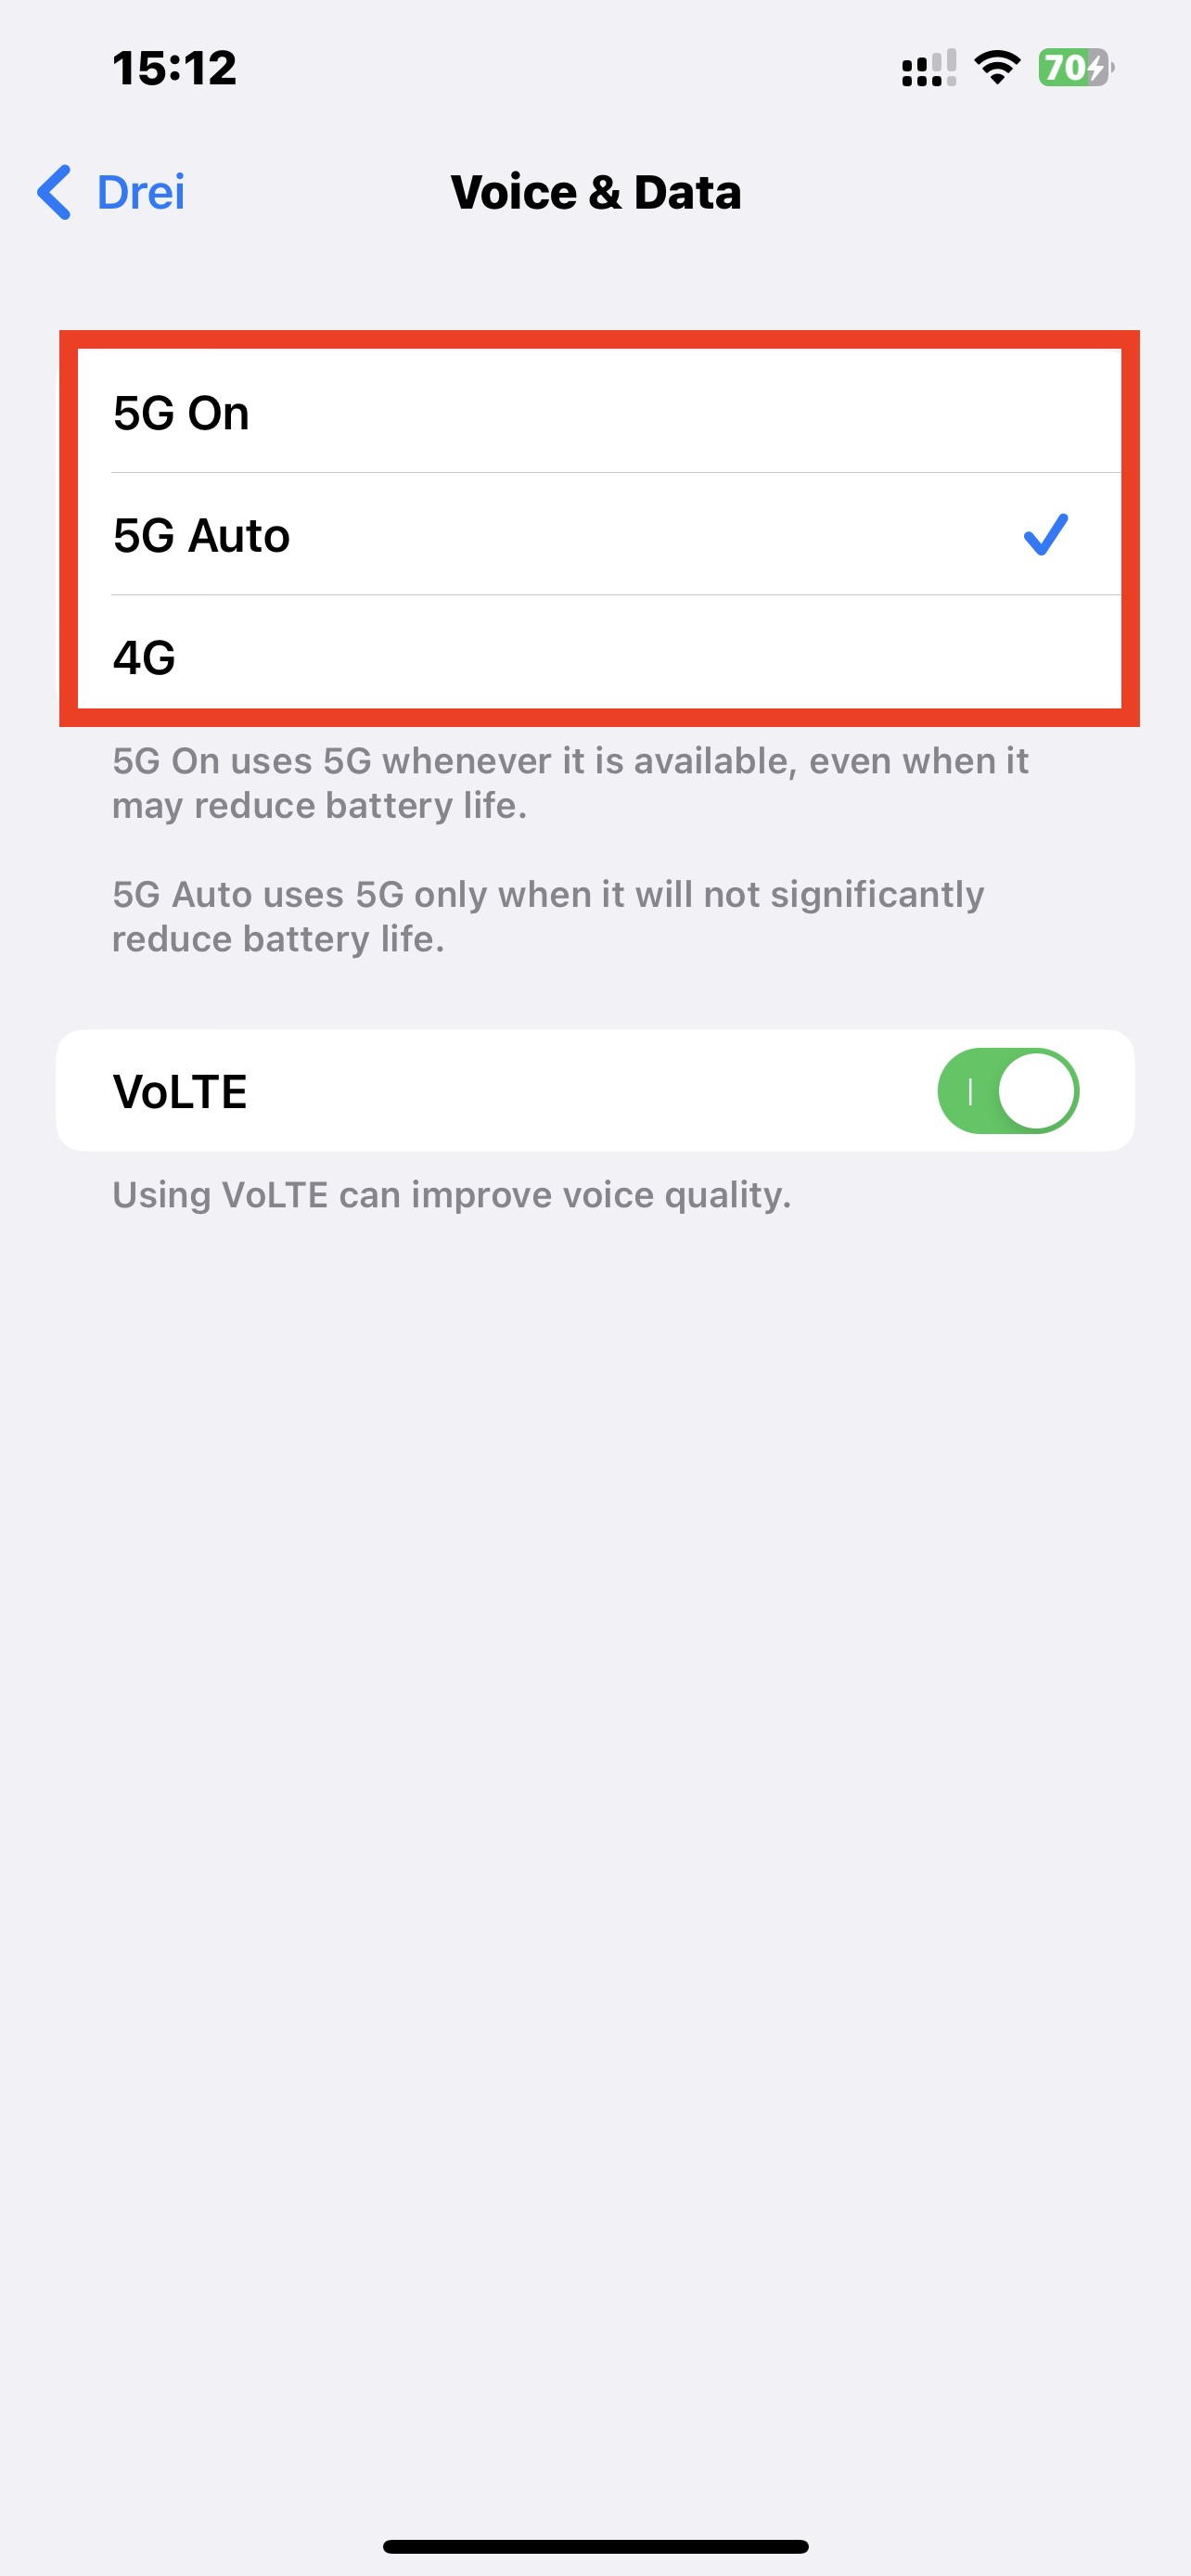
- Three
- EE
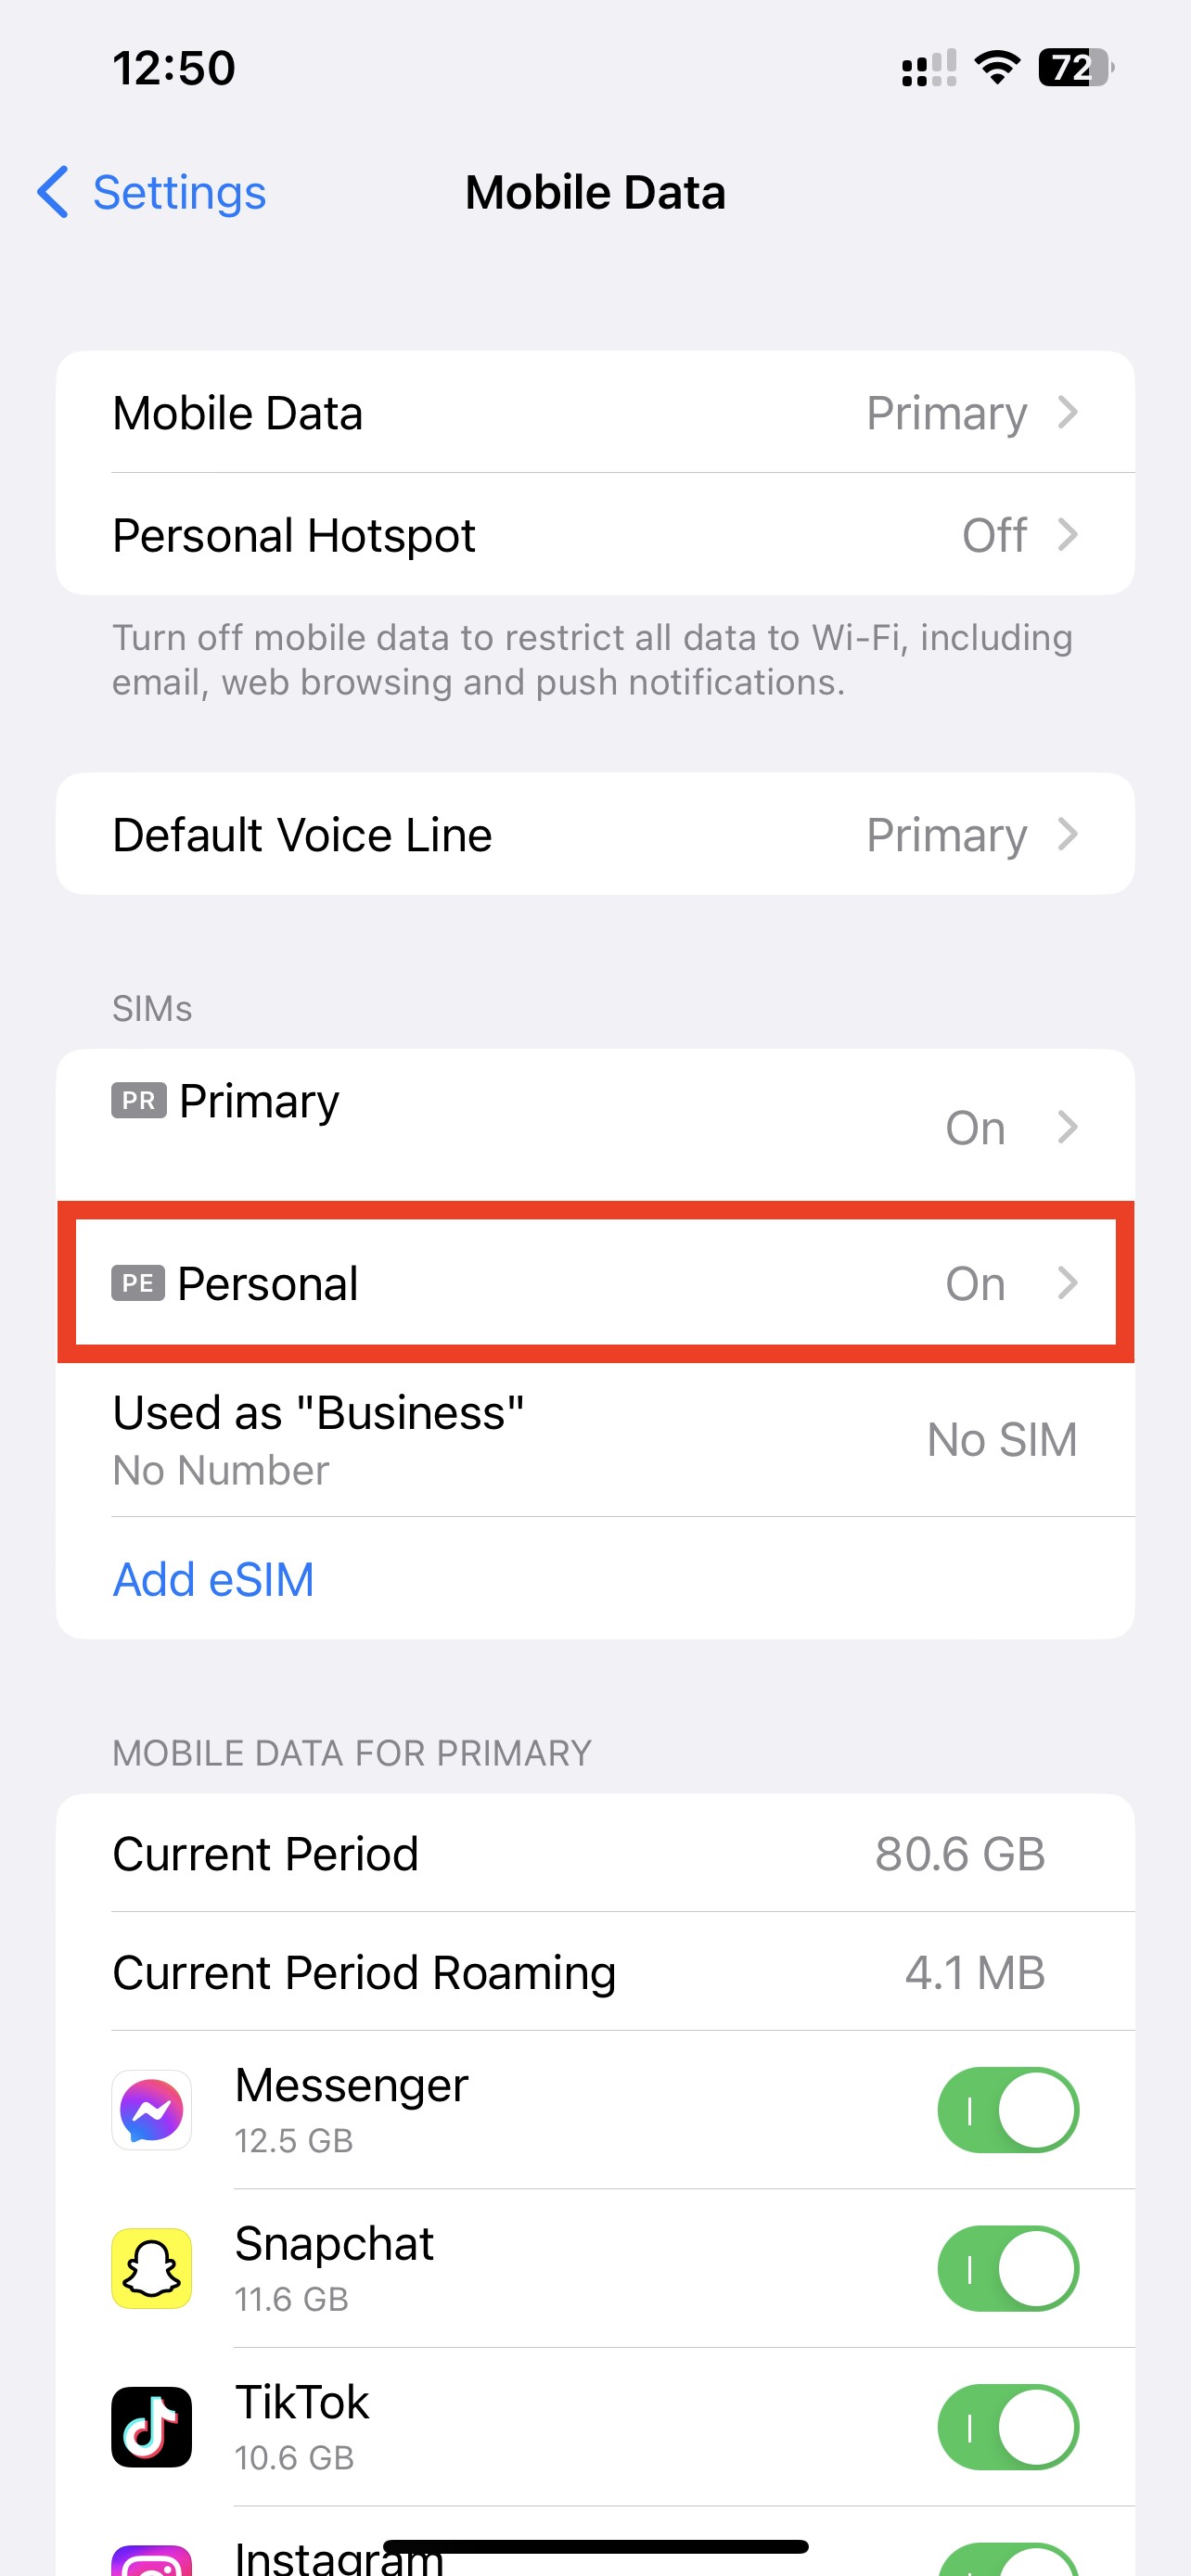
Multi-network coverage in the UK refers to the ability of mobile phone users to connect to multiple networks instead of being tied to a single network provider. Here are some benefits of multi-network coverage:
- Improved coverage: By having access to multiple networks, users can get better coverage, especially in areas where one network provider may have poor signal quality or no coverage at all.
- Greater choice for consumers: Multi-network coverage provides consumers with more choice when it comes to selecting a mobile network provider, allowing them to choose the one that best meets their needs and preferences.
- Reducing the digital divide: For those living in rural or remote areas, multi-network coverage can help reduce the digital divide by providing access to multiple networks, enabling them to stay connected and access online services and information.
Overall, multi-network coverage in the UK can benefit both consumers and mobile network providers by providing improved coverage, reducing the digital divide and giving greater choice.